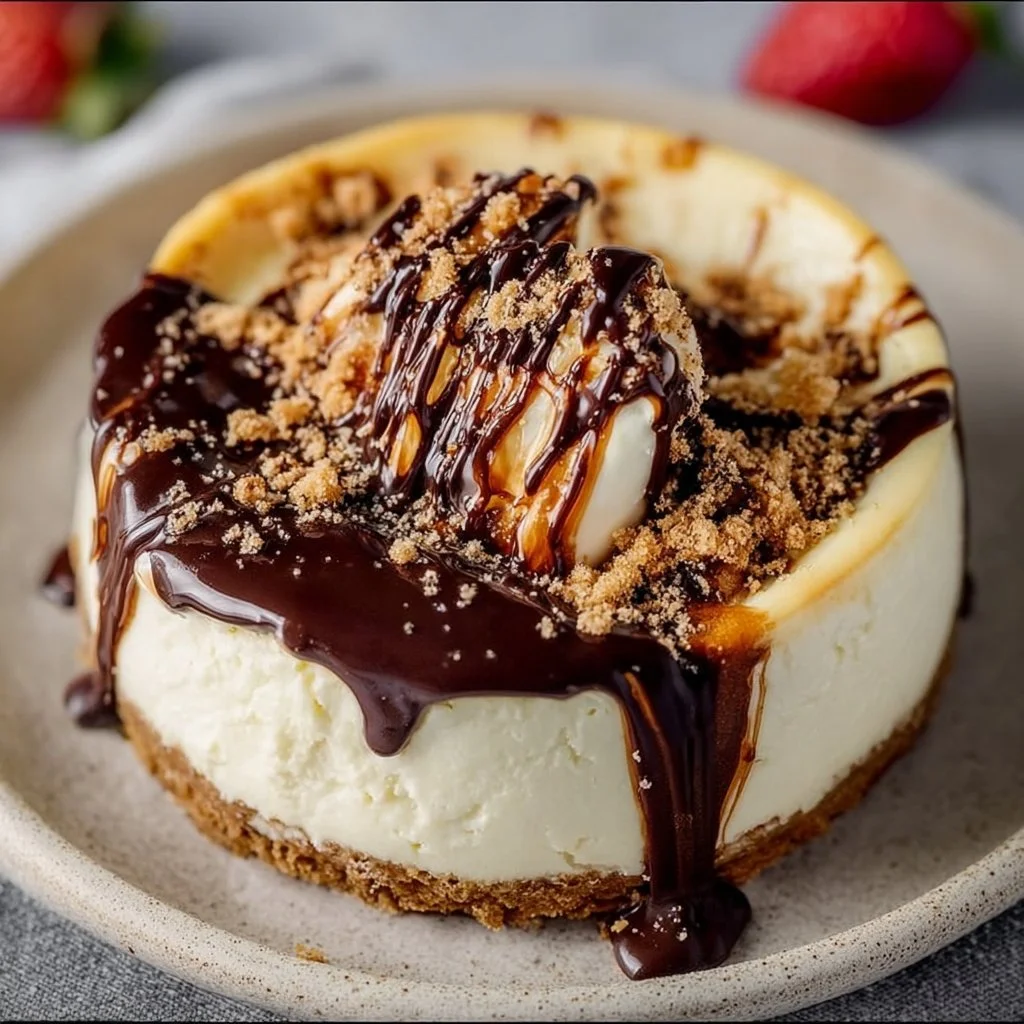
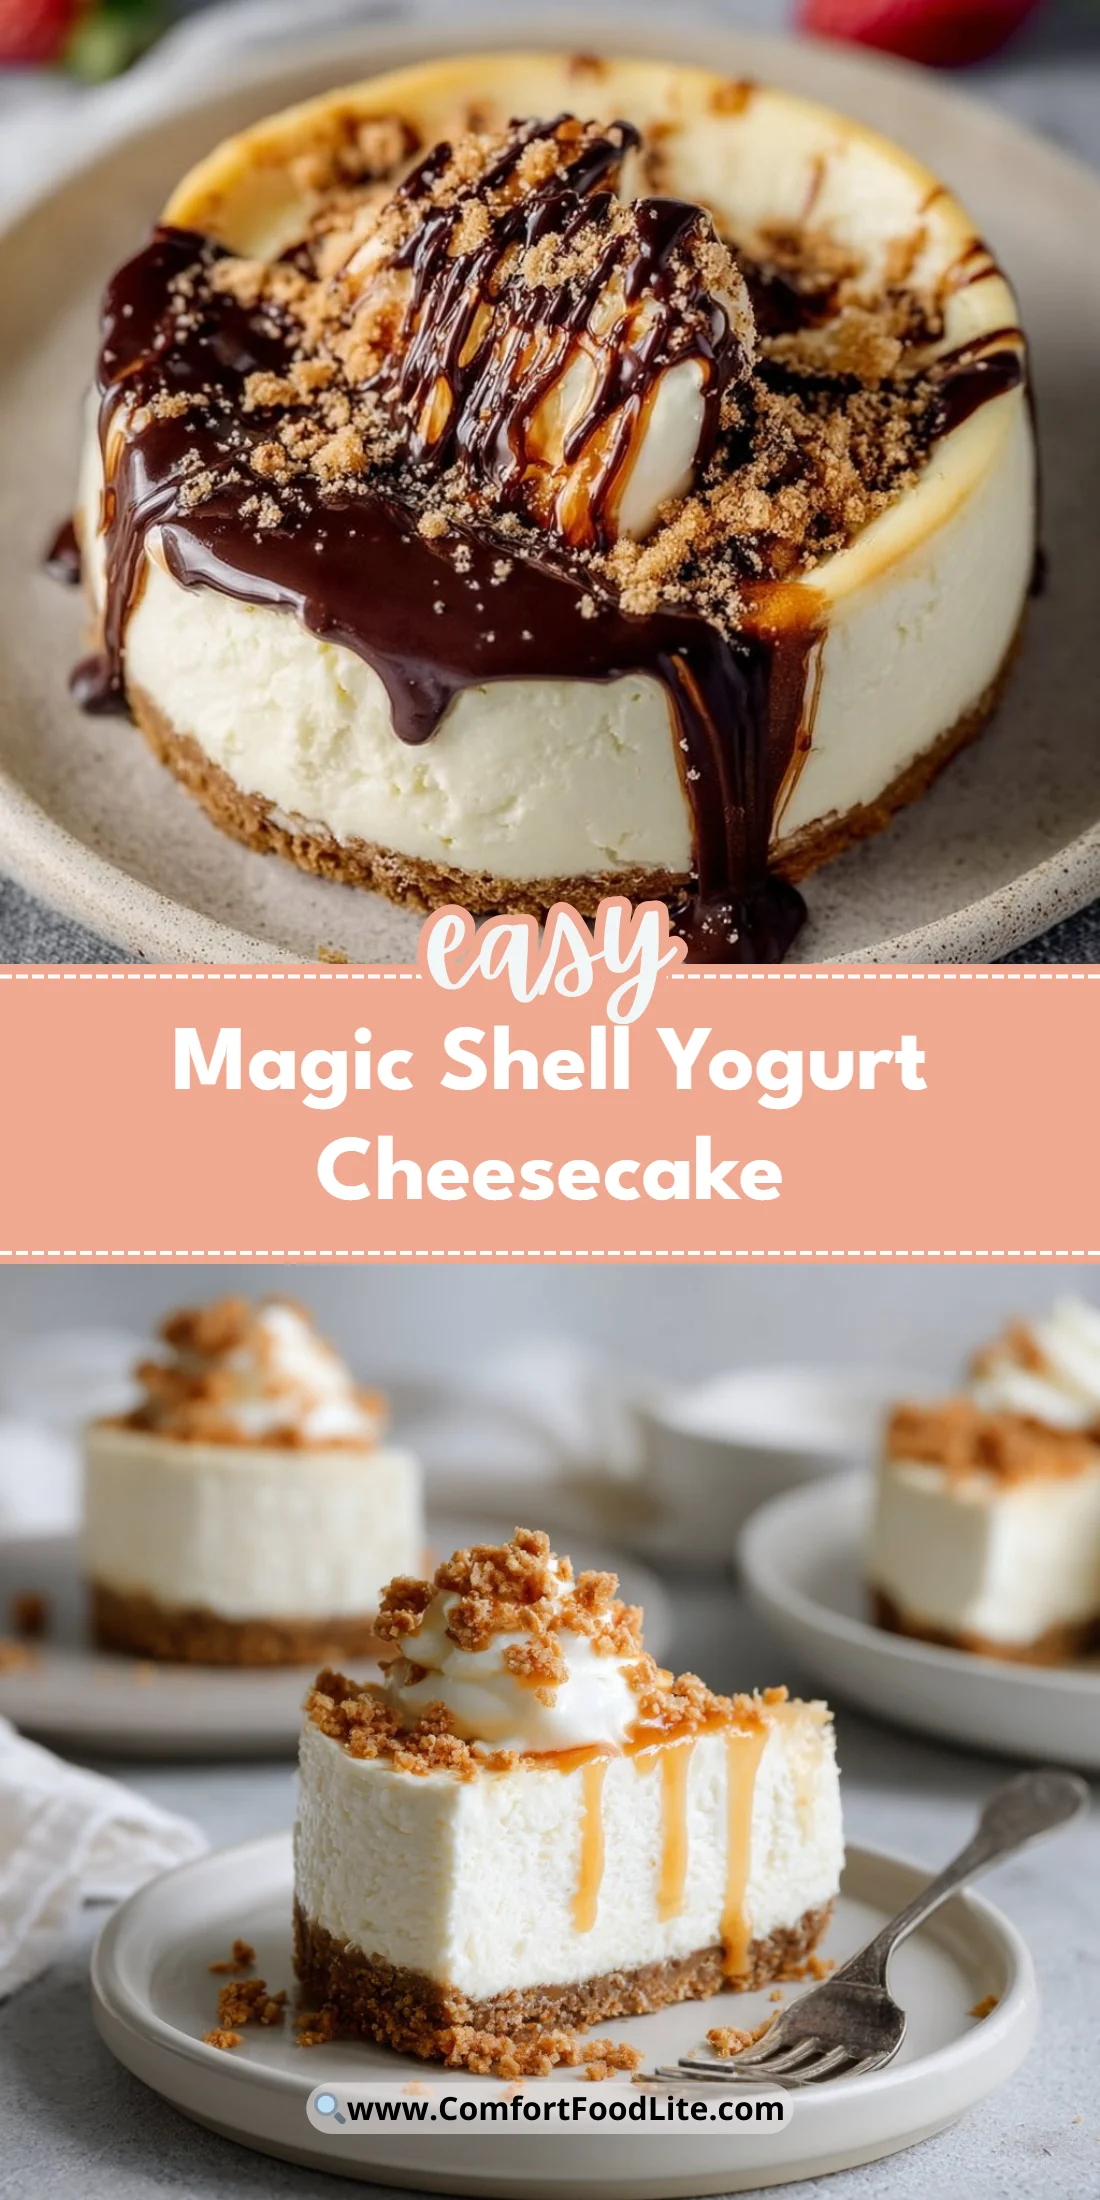
This cheesecake is a little bit clever and a lot indulgent. It marries tangy yogurt and silky cream cheese with a crunchy graham base and a crackly chocolate magic shell on top.
It’s quick enough for a weeknight dessert and special enough for company. The recipe is forgiving, dependable, and surprisingly fresh-tasting.
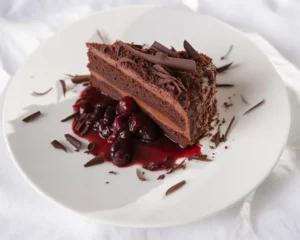
If you like exploring other cheesecake twists, try this Apple Crumble Cheesecake for another crowd-pleasing option.
Why You’ll Love This Magic Shell Yogurt Cheesecake
- Tangy, creamy filling with a lighter finish than classic cheesecake.
- Crunchy, buttery graham crust that holds its shape.
- Quick magic shell that hardens into a crisp chocolate top.
- Uses common pantry ingredients and simple equipment.
- Flexible: swap yogurt flavor or chocolate types without drama.
- Great make-ahead dessert for parties and holidays.
The flavor is a beautiful balance of tangy yogurt and rich cream cheese, with the chocolate shell adding a satisfying snap and deep cocoa note. The texture is creamy but not overly dense because the yogurt lightens the custard while the baked eggs and cream cheese provide structure.
"Absolutely delicious — the magic shell was the crowd favorite. Light, creamy, and easy to slice. Will make this for every celebration!" — 5-star reader
Key Ingredients for Magic Shell Yogurt Cheesecake
Graham cracker crumbs
Graham cracker crumbs form the base and provide a toasty, slightly sweet backbone to the cheesecake. Buy finely ground crumbs or pulse whole crackers in a food processor for an even press; coarser crumbs can lead to a crumbly crust. If you substitute digestive biscuits or Oreo crumbs, adjust sugar and salt since those swaps change sweetness and texture.
Cream cheese, 8 oz, softened
Cream cheese is the structural star that gives cheesecake its luscious mouthfeel and tang. Use full-fat Philadelphia-style blocks for the smoothest, creamiest result; higher-fat content resists breaking and keeps the filling silky. If you try low-fat or Neufchâtel, expect a thinner texture and slightly tangier flavor.
Yogurt, 1 cup (plain or flavored)
Yogurt lightens the filling, adds bright acidity, and makes the cake less dense than classic versions. Use thick Greek yogurt for body, or flavored yogurt for a twist; plain whole-milk yogurt yields the truest balance. If you replace yogurt with sour cream, the texture will be similar but with a sharper tang.
Chocolate chips, 1 cup (for magic shell)
Chocolate chips melt reliably and form the crackly topping when mixed with coconut oil. Choose semi-sweet or dark chips for balanced sweetness; premium chips give a glossier shell. If you try couverture chocolate, tempering and ratio with coconut oil will need adjustment for proper snap.
Full Ingredient List for Magic Shell Yogurt Cheesecake
- 2 cups graham cracker crumbs
- 1/2 cup butter, melted
- 1 cup yogurt (plain or flavored)
- 8 oz cream cheese, softened
- 1/2 cup sugar
- 2 eggs
- 1 teaspoon vanilla extract
- 1 cup chocolate chips
- 1 tablespoon coconut oil
Step-by-Step Instructions for Magic Shell Yogurt Cheesecake
Step 1: Preheat your oven to 325°F (160°C).
Set the oven to the target temperature and position a rack in the middle so heat circulates evenly. Preheating ensures the filling cooks gently and sets without cracking.
Pro Tip: The oven should feel steady and warm; if it still seems chilly after 10 minutes, give it a bit longer so the bake starts at an even temperature.
Step 2: Make the graham cracker crust.
Combine 2 cups graham cracker crumbs with 1/2 cup melted butter in a bowl and mix until the crumbs are evenly moistened. Press the mixture firmly into the bottom of a 9-inch springform pan, creating an even layer with a slightly raised edge if you like.
Pro Tip: The crust should hold together when pressed; it will look compact and slightly glossy from the butter.
Step 3: Prepare the yogurt-cream cheese filling.
In a separate bowl, beat together 1 cup yogurt, 8 oz softened cream cheese, 1/2 cup sugar, 2 eggs, and 1 teaspoon vanilla extract until completely smooth and lump-free. Scrape the bowl often and beat just until combined to avoid over-aeration.
Pro Tip: The filling should be glossy and pourable, without visible lumps of cheese.
Step 4: Assemble and smooth the cheesecake batter over the crust.
Pour the prepared yogurt filling over the crust and use a spatula to smooth the top into an even layer. Give the pan a light, quick tap on the counter to release any large air bubbles.
Pro Tip: The surface should be leveled and look creamy with small bubbles occasionally rising to the top.
Step 5: Bake the cheesecake until set.
Bake for about 45 minutes at 325°F (160°C), or until the center feels set but still slightly jiggly when nudged. Turn off the oven, crack the door, and allow the cheesecake to cool quietly for 30 minutes before removing it to cool fully at room temperature.
Pro Tip: The center should have a gentle wobble — not liquid, not rock-hard.
Step 6: Cool completely in the pan.
Let the cheesecake cool completely in the pan on a wire rack, then refrigerate for at least 4 hours or overnight for the best texture and easiest slicing. Cooling allows the filling to firm and the flavors to meld.
Pro Tip: The cake should feel chilled and firm to the touch before adding the magic shell.
Step 7: Make the magic shell and pour it over the cheesecake.
Melt 1 cup chocolate chips with 1 tablespoon coconut oil in a microwave in short bursts or over a double boiler, stirring until smooth. Once the cheesecake is chilled, pour the melted chocolate over the top and spread gently; the shell will harden in minutes.
Pro Tip: The chocolate should be glossy and pourable; once set, it will have a crisp, shiny finish.
Step 8: Slice and serve the Magic Shell Yogurt Cheesecake.
After the chocolate has hardened, run a hot, dry knife between slices for clean cuts and serve chilled. Store any leftovers refrigerated and enjoy within a few days for best flavor.
Pro Tip: Slices should reveal a clean cross-section: crisp shell, creamy filling, and intact crust.
Expert Tips for Magic Shell Yogurt Cheesecake
- Temperature tip: Bake at a low 325°F (160°C) to prevent cracking and overbrowning; a gentle oven creates a creamier center.
- Texture troubleshooting: If the filling is too runny after baking, it likely needs more time or refrigeration; give it additional chill time rather than re-baking.
- Equipment tip: A 9-inch springform pan makes release easy; line the bottom with parchment for stress-free removal.
- Common mistake: Overbeating the filling incorporates too much air, which can cause cracks during cooling — mix until just smooth.
- Cooling trick: Cool slowly in the oven with the door cracked for 30 minutes after baking to reduce temperature shock and cracks.
- Chocolate shell tip: Use coconut oil to thin melted chips; too much oil makes the shell soft, too little gives a dull finish — one tablespoon per cup is ideal.
- Slicing tip: Warm a knife under hot water, dry it, then slice for glossy, clean edges.
- Make-ahead tip: Cheesecake often tastes better after a day; bake ahead and add the magic shell on the day of serving for maximum crackle.
Storage & Freezing for Magic Shell Yogurt Cheesecake
Fridge storage: Keep the cheesecake in an airtight container or cover the springform pan tightly with plastic wrap and refrigerate for up to 4 days. Store on a stable shelf, not the door, to avoid temperature swings.
Freezer storage: To freeze, slice the cheesecake into portions, wrap each slice tightly in plastic wrap, then foil, and place in a freezer-safe container for up to 2 months. Wrap the whole cake the same way if you prefer.
Thawing: Thaw slices overnight in the refrigerator for best texture. Do not microwave frozen cheesecake to thaw rapidly, as this causes separation.
Reheating: Serve chilled. If you prefer slightly softer chocolate, let slices sit at room temperature for 10–15 minutes before serving.
Variations & Substitutions for Magic Shell Yogurt Cheesecake
Berry Swirl Magic Shell Yogurt Cheesecake
Fold 1/2 cup pureed berries into half the filling and swirl before baking; you’ll get ribbons of fruit throughout and a brighter, fruity finish.
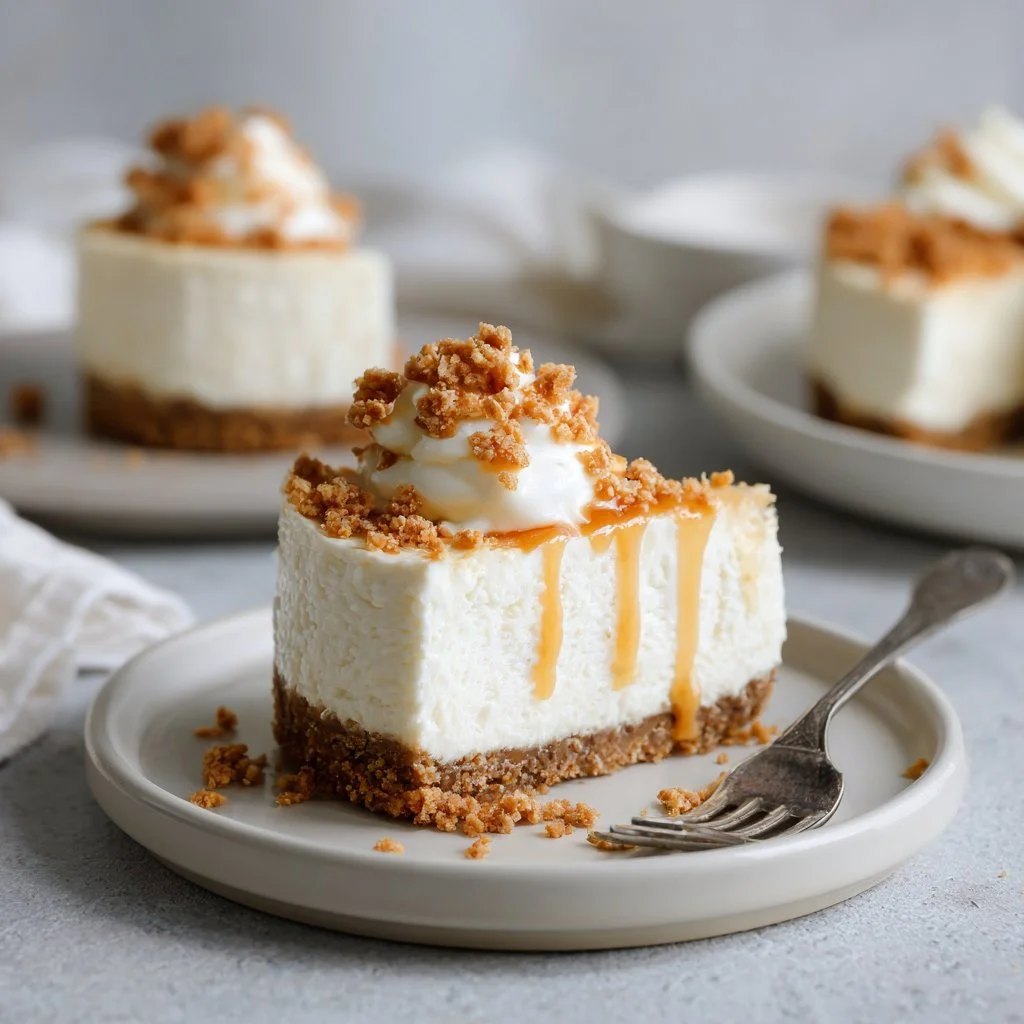
Salted Caramel Magic Shell Yogurt Cheesecake
Replace the chocolate shell with a drizzle of warm salted caramel and sprinkle flaky sea salt; the result is richer and more decadent with a soft caramel top instead of a hard shell.
Gluten-Free Magic Shell Yogurt Cheesecake
Use gluten-free graham crackers or almond meal for the crust and press as usual; texture will be slightly denser but just as flavorful.
Greek Yogurt & Lemon Cheesecake
Swap plain yogurt for Greek yogurt and add 1 tablespoon lemon zest to the filling for a tangier, denser cake with a fresh citrus lift.
Frequently Asked Questions About Magic Shell Yogurt Cheesecake
What makes this a "yogurt" cheesecake rather than a classic cheesecake?
This version includes a full cup of yogurt, which lightens the batter and increases acidity. The yogurt reduces density, adds moisture, and brightens flavor compared with a standard cream-cheese-only filling. Use thicker yogurt like Greek for structure, or regular for softer texture.
Can I use flavored yogurt instead of plain?
Yes — flavored yogurts (vanilla, strawberry, blueberry) add immediate flavor without extra steps. Keep in mind flavored varieties often contain added sugar, so reduce added sugar slightly if you prefer a less sweet result.
Why did my cheesecake crack and how do I prevent it?
Cracking usually comes from rapid temperature changes, overbeating the batter, or overbaking. To prevent cracks, mix until just smooth, bake at 325°F (160°C), cool in the turned-off oven with the door cracked, and let the cake chill thoroughly before unmolding.
How long does the magic shell stay crisp in the refrigerator?
The chocolate shell will remain crisp for several days if the cheesecake is kept cold and dry. If humidity or condensation forms, the shell can soften, so keep it tightly covered and avoid temperature swings to maintain the snap.
Can I make this ahead for a party and transport it?
Yes — make and chill the cheesecake a day ahead and add the chocolate shell the morning of the event for the best crackle. For transport, keep the cake chilled in a sturdy, covered container and place it on a flat surface in your car.
Final Thoughts on Magic Shell Yogurt Cheesecake
This Magic Shell Yogurt Cheesecake is an easy, crowd-pleasing dessert that balances creamy tang with a crisp chocolate finish. Please leave a star rating in the recipe card below and pin this recipe to Pinterest to save it for later.

Magic Shell Yogurt Cheesecake
Ingredients
Crust Ingredients
- 2 cups graham cracker crumbs Can substitute with digestive biscuits or Oreo crumbs, adjust sugar and salt accordingly.
- 1/2 cup butter, melted Provides richness to the crust.
Filling Ingredients
- 1 cup yogurt (plain or flavored) Greek yogurt recommended for body; flavored options can be used for variation.
- 8 oz cream cheese, softened Use full-fat for best results.
- 1/2 cup sugar Adjust based on yogurt sweetness.
- 2 whole eggs Provide structure to the cheesecake.
- 1 teaspoon vanilla extract Enhances flavor.
Magic Shell Ingredients
- 1 cup chocolate chips Use semi-sweet or dark for balanced taste.
- 1 tablespoon coconut oil Thin for a perfect chocolate shell consistency.
Instructions
Preparation
- Preheat your oven to 325°F (160°C). Position a rack in the middle.
- Combine 2 cups graham cracker crumbs with 1/2 cup melted butter in a bowl and mix until crumbs are evenly moistened. Press into the bottom of a 9-inch springform pan.
- In a separate bowl, beat together 1 cup yogurt, 8 oz softened cream cheese, 1/2 cup sugar, 2 eggs, and 1 tsp vanilla extract until smooth.
- Pour the filling over the crust and smooth with a spatula.
Baking
- Bake for about 45 minutes, or until center is set but slightly jiggly. Turn off oven and crack the door, allowing it to cool for 30 minutes.
- Cool completely in the pan, then refrigerate for at least 4 hours or overnight.
Magic Shell Preparation
- Melt 1 cup chocolate chips with 1 tbsp coconut oil until smooth. Pour over chilled cheesecake and spread evenly.
- Allow the chocolate to harden before slicing.
Serving
- Slice with a hot, dry knife for clean edges. Serve chilled.