The first time I made these roast beef and cheese sliders, they vanished faster than I could pull the baking dish from the oven.
They’re that sticky-cheesy, savory-perfect combo that makes a weeknight feel like a celebration.
If you want an easy, crowd-pleasing tray bake that scales up for parties, these sliders are the route — quick assembly, bold flavor, and comfort-food satisfaction.
I often pair these sliders with a simple salad or reach for leftovers the next day.
If you love the roast beef flavor profile, try it alongside my favorite rosemary and garlic roast beef for an elevated sandwich night.
Why You’ll Love This Recipe
- Fast to assemble and feeds a crowd without fuss.
- Melty cheese and tender roast beef make every bite rich and satisfying.
- The buttery, mustard-worcestershire glaze adds savory depth and a golden top.
- Easily customizable for dietary swaps or flavor twists.
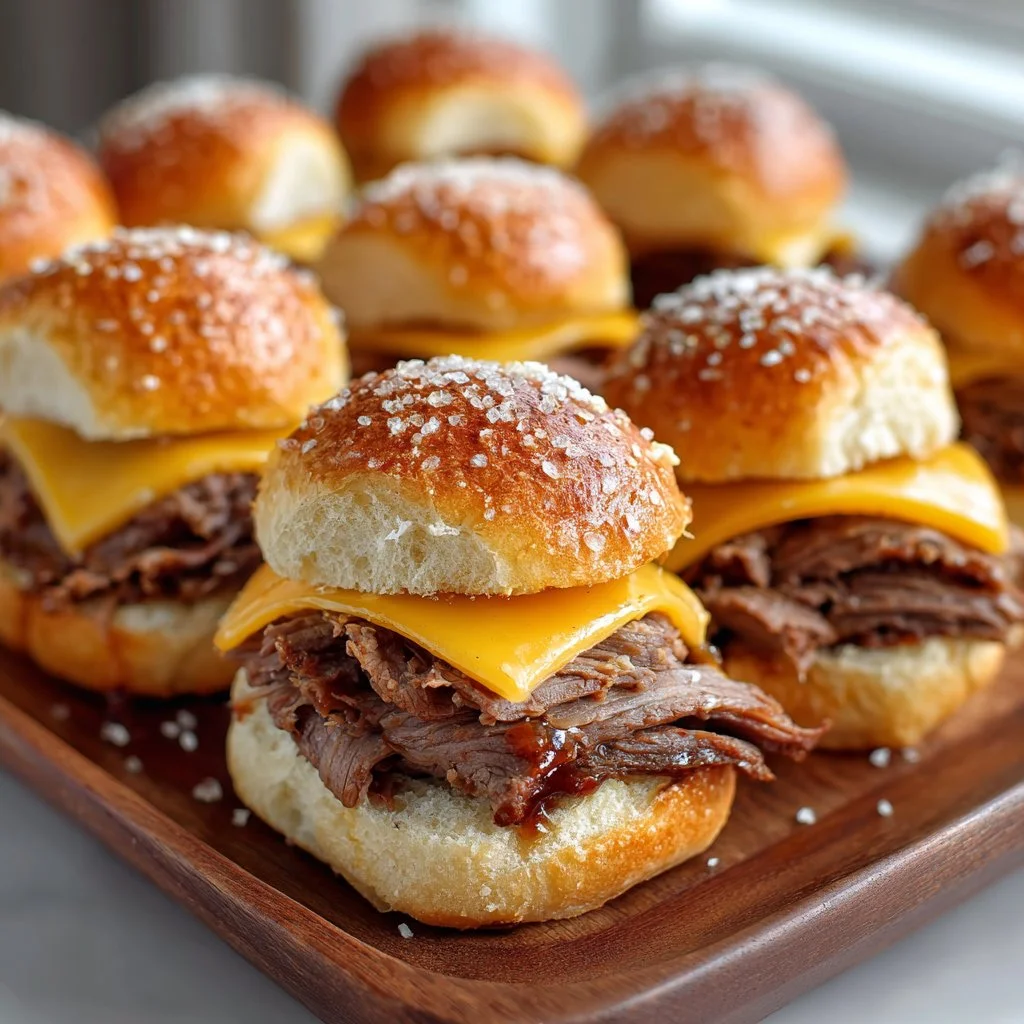
The texture is where these sliders win: soft, slightly sweet slider rolls cradle thinly sliced roast beef that’s tender but meaty, while the melted cheddar or Swiss introduces that gooey pull you want in a handheld. The butter-mustard glaze crisps the tops into a slightly caramelized finish, adding a toasted contrast to the soft interior. Every bite balances savory, tangy, and buttery notes without feeling greasy.
"These sliders disappeared at game night — perfectly melty and super easy. A new staple." — 5★ reader review
Key Ingredients
Roast beef (2 cups, sliced): Use thinly sliced roast beef for even layering and easy eating. Leftover roast beef from a Sunday roast or deli-style slices both work. If you use leftover, slice against the grain to keep bites tender.
Cheese (6 slices, cheddar or Swiss): Choose a cheese that melts well; sharp cheddar gives tang and bite, while Swiss adds nuttiness and a milder melt. Pre-sliced deli cheese is convenient and melts evenly across the sliders.
Slider buns (12): Soft, slightly sweet slider buns (Hawaiian-style or classic) make the sandwiches pillowy. A sturdier roll will hold up if you expect saucy toppings, but softer buns give that classic slider mouthfeel.
Butter + Worcestershire + Dijon (butter mixture): This trio is the magic glaze. Melted unsalted butter carries flavor, Worcestershire adds umami, and Dijon cuts with bright acidity. Use a good Dijon (not deli packets) for a smooth, sharp finish.
Full ingredient list:
- 2 cups roast beef, sliced
- 6 slices of cheese (cheddar or Swiss)
- 12 slider buns
- 1/4 cup unsalted butter, melted
- 1 tablespoon Worcestershire sauce
- 1 tablespoon Dijon mustard
- 1 teaspoon garlic powder
- Salt and pepper to taste
Step-by-Step Instructions
Step 1: Preheat and prep
Preheat the oven to 350°F (175°C).
Lightly oil or spray your baking dish so buns don’t stick.
Pro Tip: Use a rimmed baking dish that fits the 12 sliders snugly so heat circulates evenly and the tops brown uniformly.
Step 2: Make the butter glaze
In a small bowl, whisk together melted butter, Worcestershire sauce, Dijon mustard, garlic powder, and a pinch of salt and pepper.
Taste and adjust: a little more Dijon brightens it, more Worcestershire deepens the umami.
Pro Tip: Warm the butter slightly if it’s solid — it helps the ingredients emulsify and brush on smoothly.
Step 3: Build the base
Place the bottom halves of the slider buns in your prepared baking dish, aligned edge-to-edge.
This creates a pull-apart tray that’s easy to serve and keeps sandwiches together while baking.
Pro Tip: If your buns are uneven, press lightly to create a flat surface so the roast beef layers stay level.
Step 4: Layer roast beef and cheese
Evenly distribute the sliced roast beef across the bun bottoms, making sure every slider gets a good portion.
Top with the cheese slices, tearing or folding if necessary to cover layers.
Pro Tip: For extra melty coverage, tear cheese slices into smaller pieces and layer them to reach the edges of the buns.
Step 5: Top and glaze
Place the top halves of the buns on the cheese-covered bottoms.
Brush the butter-Dijon mixture generously over the tops so it seeps into the seams.
Pro Tip: Reserve a tablespoon of the butter glaze to brush on again after baking for added shine and flavor.
Step 6: Cover and bake
Cover the dish tightly with aluminum foil and bake at 350°F for about 15–20 minutes, until the cheese is fully melted.
Remove foil and return to the oven for about 5 minutes to let the tops turn golden brown.
Pro Tip: You’ll know it’s ready when the cheese is visibly melted and the top edges of the buns show a light golden color; watch closely during the last 5 minutes to avoid over-browning.
Step 7: Serve warm
Remove from the oven and let rest 2 minutes, then cut along the seams between buns to separate sliders.
Serve immediately while hot and gooey.
Pro Tip: For a finishing touch, sprinkle a few flaky salt crystals or chopped parsley over the tops for texture and color.
Expert Tips for Success
- Use thin, uniform slices of roast beef. Thin slices heat through quickly and stay tender; uneven chunks can create cold spots or overcooked edges.
- Warm roast beef slightly before assembling if it’s straight from the fridge. This helps the cheese melt more evenly during the baking stage.
- Don’t skimp on the butter mixture. The fat is what crisps the tops, carries the flavor of the Worcestershire and Dijon, and keeps buns from drying out. Use unsalted butter so you can control the salt level.
- Choose your cheese based on flavor balance. Sharp cheddar gives a bold contrast to the savory Worcestershire; Swiss mellows the flavor for a more classic deli feel. For creamier texture, try one slice cheddar + one slice Swiss layered.
- Use a tight-fitting baking dish. A snug pan keeps heat even and helps the buns rise into each other for that classic slider pull-apart look. If you don’t have a snug pan, line the edges with foil to keep buns from shifting.
- Monitor the final 5 minutes of browning. Ovens vary; remove the foil and watch for a golden top rather than a dark brown. If you want extra crisp, broil on low for 30–60 seconds, but stay right by the oven to prevent burning.
- Make-ahead assembly tip: Assemble up to the glazing step, cover, and refrigerate for up to 12 hours. Brush with reserved glaze and bake as directed, adding a few extra minutes if pulled straight from the fridge.
- For parties, hold slices of cheese and roast beef loosely chilled until the last minute — too-warm meat can make buns soggy before baking.
- Knife and serving: Use a serrated knife to cut the tray into portions cleanly; wipe between cuts if cheese strings drag. For serving, place a large cutting board beneath the dish for quick transport to the table.
Storage & Freezing
Fridge storage: Place cooled sliders in an airtight container or wrap the tray tightly with plastic wrap.
They keep well in the fridge for up to 3–4 days.
To reheat from refrigerated: Reheat in a 350°F oven for 8–12 minutes covered with foil to warm through, then uncover for 2–3 minutes to refresh the top.
Alternatively, microwave individual sliders for 30–45 seconds, then crisp in a hot skillet for 30–45 seconds per side.
Freezing: Assemble sliders but avoid baking. Wrap the entire baking dish tightly in plastic and foil or transfer sliders to a freezer-safe container.
Freeze for up to 2 months.
Reheating from frozen: Thaw overnight in the fridge, then bake at 350°F for 20–25 minutes covered, uncover and bake 5–7 minutes until golden and cheese is fully melted.
If baking from frozen, add 10–15 minutes to the covered bake time but monitor tops closely to prevent over-browning.
Variations & Substitutions
French Dip-style sliders: Add a thin layer of au jus or serve with small ramekins of warmed beef broth for dipping. Use a softer roll and Swiss cheese to lean into that classic French Dip flavor.
For a twist on the assembly and inspiration, see this handheld sandwich method in my chicken cheese steak sandwich recipe for ideas on layering and melt techniques.
Spicy roast beef sliders: Mix a teaspoon of Sriracha or a pinch of cayenne into the butter glaze and swap cheddar for pepper jack.
This adds a bright heat without overpowering the beef.
Vegetarian swap: Replace roast beef with thick slices of grilled portobello mushrooms or seasoned seitan and use a vegetarian Worcestershire alternative.
Top with provolone for a smoky-melted texture.
Global flavor twist: Add caramelized onions and a smear of horseradish mayo for a sharp, sweet contrast.
If you like onion-forward tarts, the flavor pairings echo those in my caramelized onion and goat cheese tarts and translate well to sliders.
Frequently Asked Questions
Q: Can I use deli roast beef for these sliders?
A: Absolutely. Deli roast beef is thin-sliced and melts into the cheese nicely. If the slices are very thin, layer them slightly thicker so each slider has an even beef-to-bread ratio.
Q: Will the sliders get soggy if I assemble early?
A: They can if left assembled too long. To prevent sogginess, assemble up to the cheese stage, cover, and refrigerate. Add the butter glaze right before baking or reserve some glaze to brush after baking.
Q: What cheese melts best for roast beef sliders?
A: Cheddar and Swiss are classic choices. For maximum gooeyness, combine one slice of a good melting cheese (like American or provolone) with one slice of cheddar for flavor depth.
Q: Can I add vegetables or toppings before baking?
A: Yes — thinly sliced onions, roasted red peppers, or pickled jalapeños work well. Keep toppings thin so they heat through. For wet toppings like tomatoes, add them after baking to avoid sogginess.
Q: How do I scale the recipe up for a party?
A: The recipe scales easily. Use a sheet pan lined with a rimmed sheet and place slider buns close together; monitor bake times as larger pans may take a few minutes longer to heat through. For inspiration on serving larger crowds, check techniques from other hearty beef dishes like beef and broccoli stir fry, which also scale well.
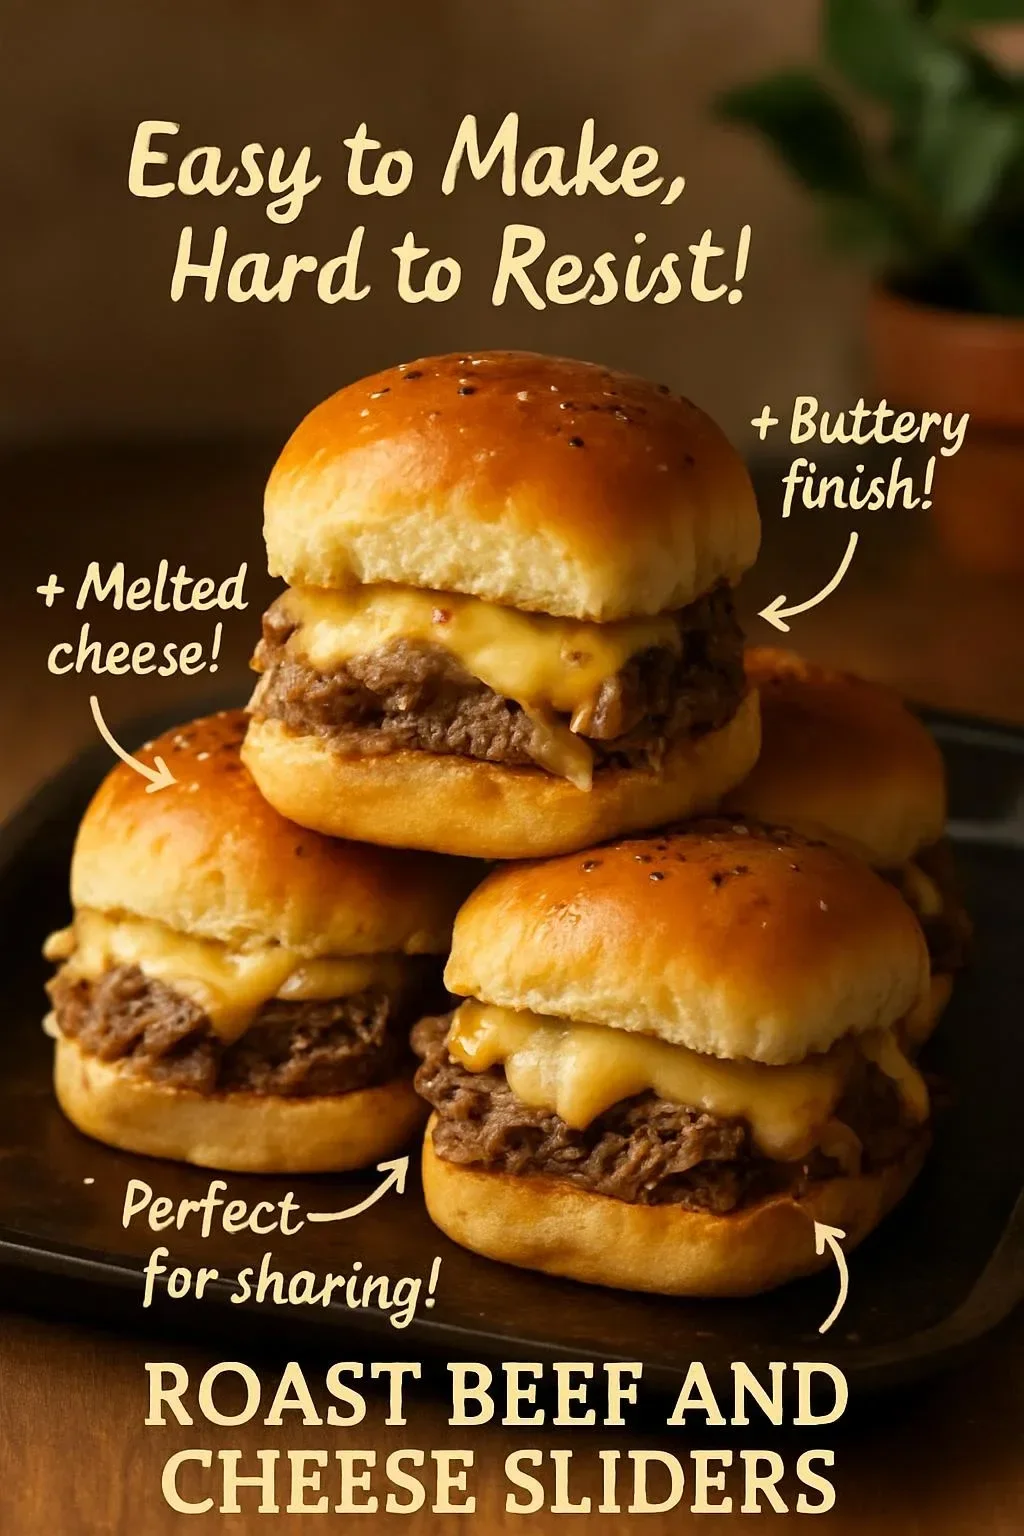
{image_template}
Final Thoughts
These roast beef and cheese sliders are a straightforward, crowd-pleasing recipe that’s perfect for game day, casual dinners, or meal prep.
They’re easy to adapt, hold up well to make-ahead plans, and deliver that satisfying melty bite every time.
Please leave a star rating in the recipe card below and pin this to your favorite Pinterest board so you can find it easily next time.
Conclusion
If you want additional approaches to roast beef sliders and variations, I recommend this detailed Roast Beef Sliders Recipe – Foodal for inspiration and technique notes.
For a simple, family-friendly take with step-by-step photos, see Easy Roast Beef Sliders Recipe – YellowBlissRoad.com.

Roast Beef and Cheese Sliders
Ingredients
For the Sliders
- 2 cups roast beef, sliced Use thinly sliced roast beef for even layering and easy eating.
- 6 slices cheese (cheddar or Swiss) Choose a cheese that melts well; sharp cheddar provides tang and bite.
- 12 units slider buns Soft, slightly sweet slider buns (Hawaiian-style or classic).
For the Butter Glaze
- 1/4 cup unsalted butter, melted Use a good quality unsalted butter for controlled salt level.
- 1 tablespoon Worcestershire sauce Adds umami flavor.
- 1 tablespoon Dijon mustard Brightens the glaze with sharp acidity.
- 1 teaspoon garlic powder Enhances the flavor blend.
- to taste Salt and pepper Adjust to your preference.
Instructions
Preparation
- Preheat the oven to 350°F (175°C). Lightly oil or spray your baking dish.
- In a small bowl, whisk together melted butter, Worcestershire sauce, Dijon mustard, garlic powder, and a pinch of salt and pepper.
- Place the bottom halves of the slider buns in your prepared baking dish.
Assembly
- Evenly distribute the sliced roast beef across the bun bottoms.
- Top with cheese slices.
- Place the top halves of the buns on the cheese-covered bottoms and brush with the butter-Dijon mixture.
Baking
- Cover the dish tightly with aluminum foil and bake for 15-20 minutes.
- Remove foil and return to the oven for an additional 5 minutes to brown the tops.
Serving
- Remove from the oven, let rest for 2 minutes, then cut along the seams between buns to separate sliders.
- Serve immediately while hot and gooey.