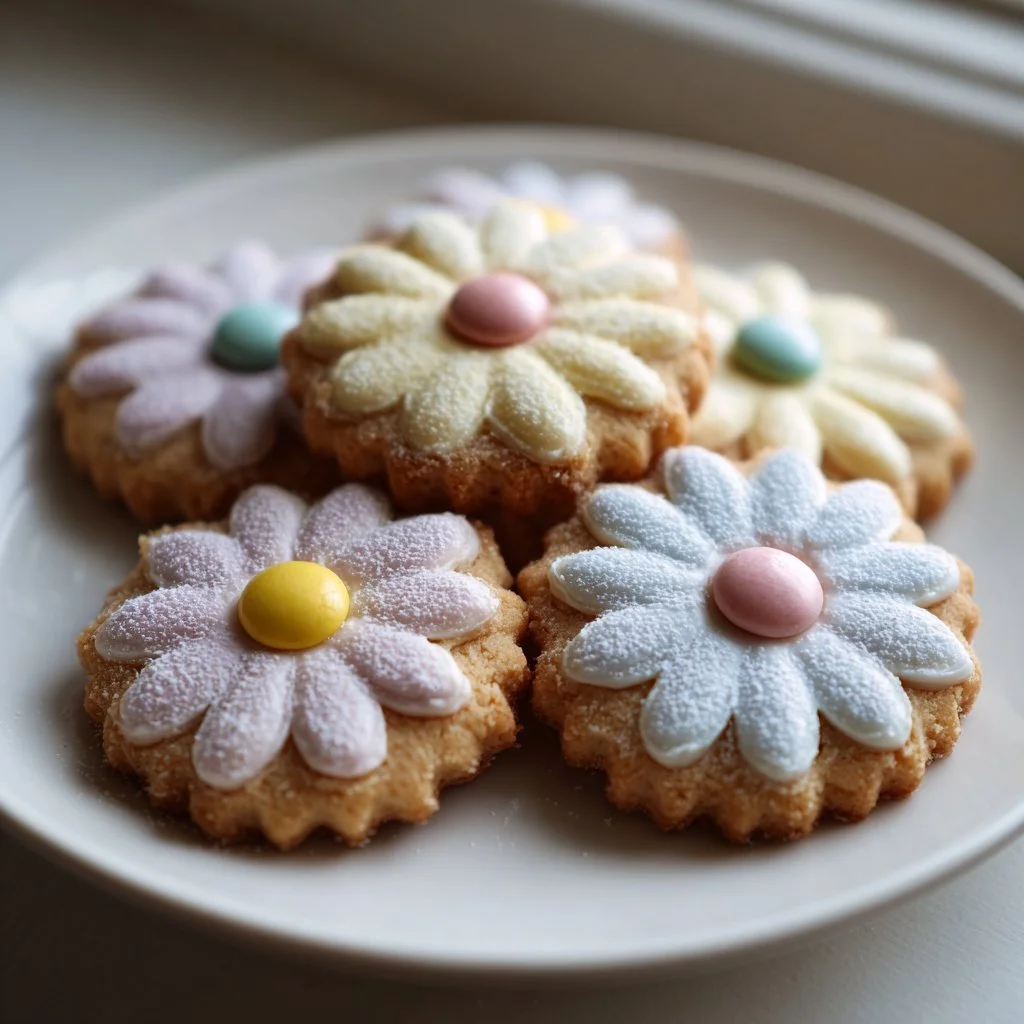
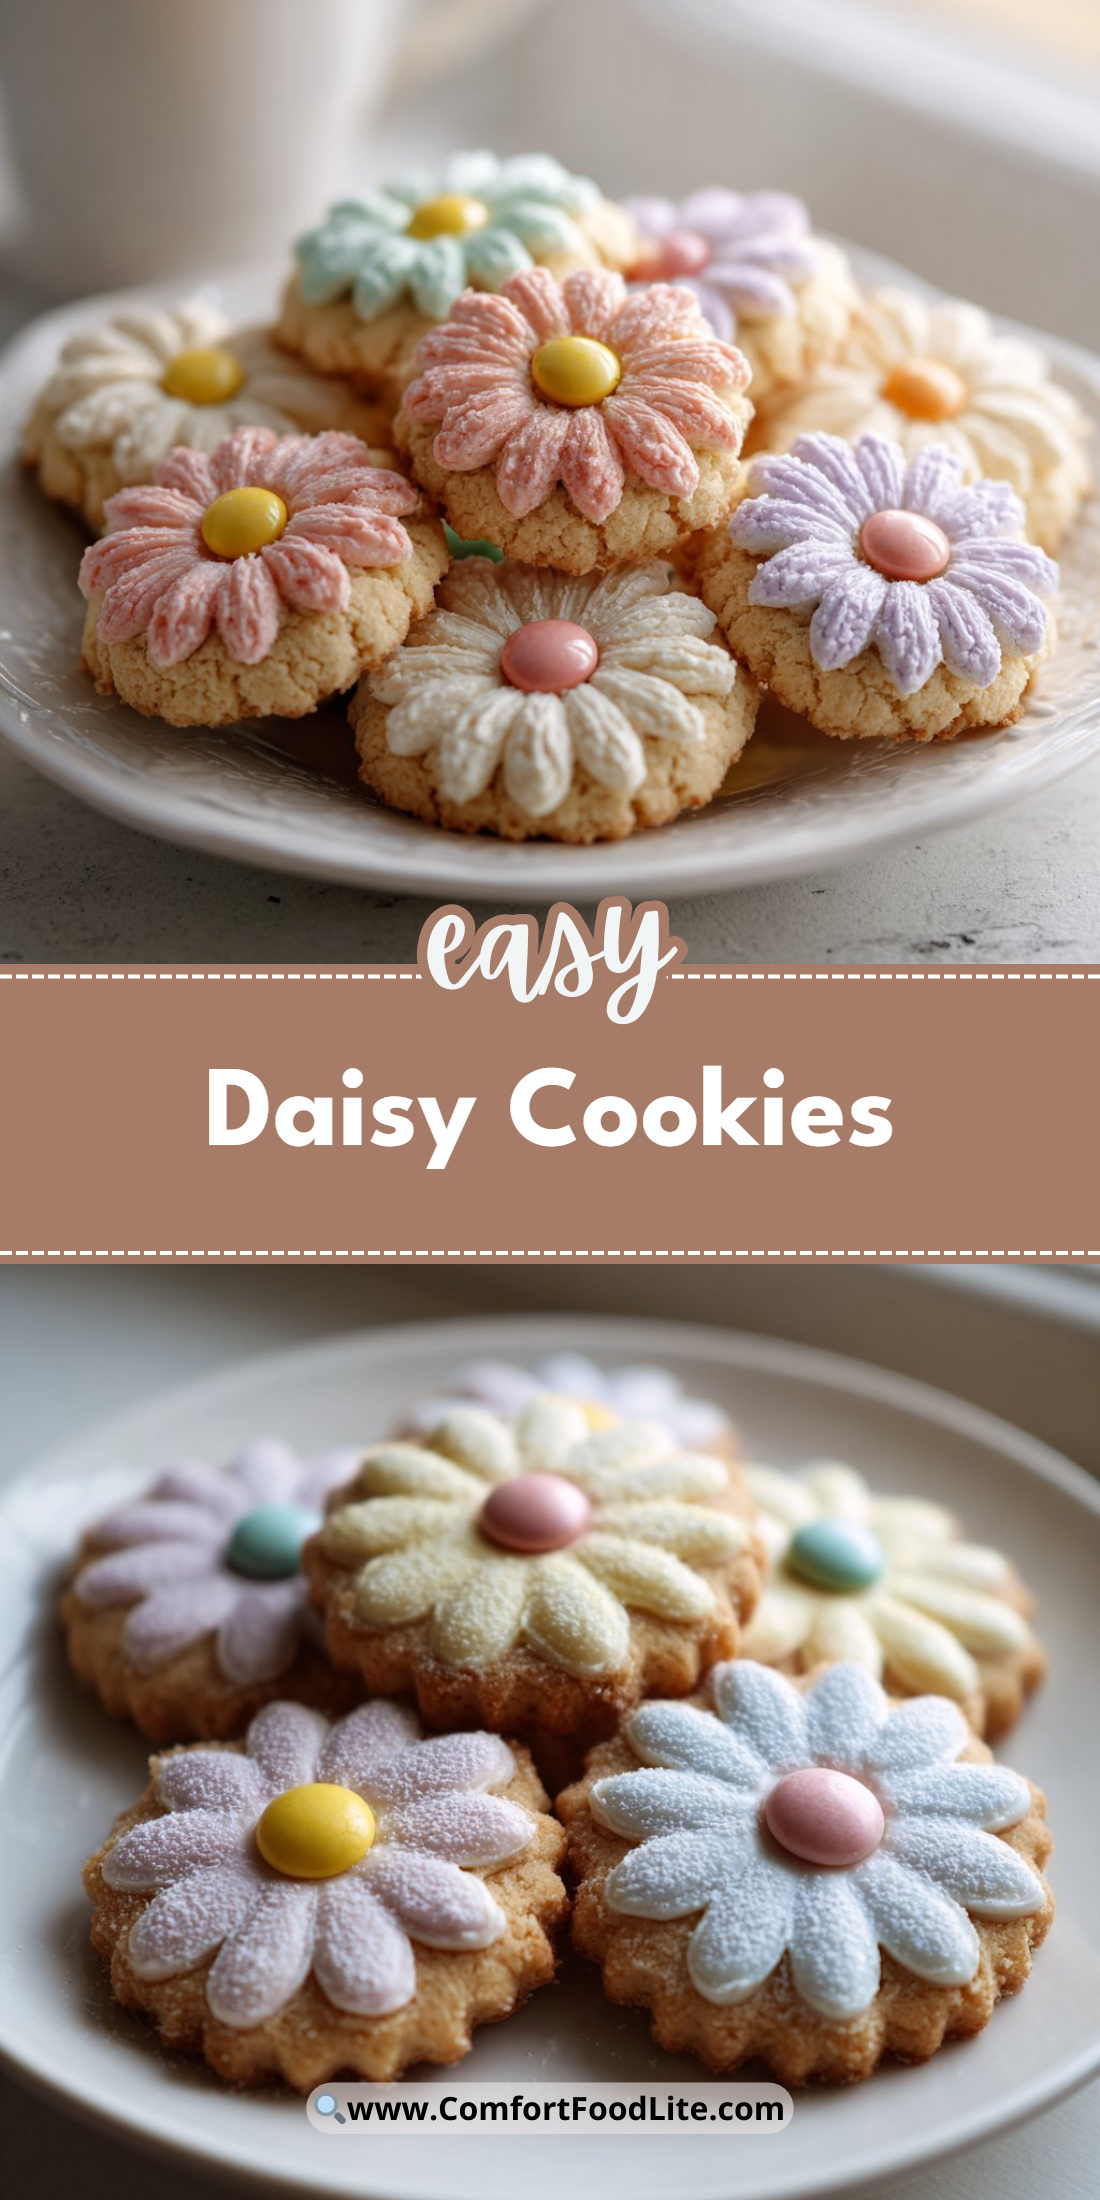
A bright, playful cookie that looks like spring on a plate — these Daisy Cookies are quick to make and joyful to eat.
They come together from a short, buttery dough and a single colorful candy center.
Perfect for bake sales, kid-friendly parties, or an easy afternoon treat.
Keep reading for the ingredient science, troubleshooting visuals, and pro tips to make them perfect every time.
Why You’ll Love This Daisy Cookies
– Quick 5-ingredient recipe with minimal mixing.
– Crisp edges with tender, melt-in-your-mouth centers.
– Customizable with candy colors for every occasion.
– Kid-friendly shaping — no cutters required.
– Chill-and-bake method for consistent texture.
– Great for batch baking and freezing ahead.
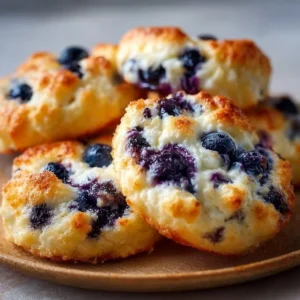
These Daisy Cookies taste like a delicate shortbread kissed with powdered sugar, with a faint buttery sweetness and a pleasantly crumbly bite. The edges bake pale-golden while the centers remain tender, and the Smartie adds a crisp, chocolatey pop that balances the soft cookie.
"★★★★★ These were the cutest cookies I’ve made — light, buttery, and my kids loved pressing their favorite colors into the centers. Came out perfect the first time!" — A satisfied reader
Try a different cookie twist if you want a denser, more muffin-like crumb for another occasion.
Key Ingredients for Daisy Cookies
Plain flour
Plain (all-purpose) flour gives Daisy Cookies their structure and tender crumb. Choose a standard all-purpose flour with about 10–11% protein. If you substitute cake flour, the cookies will spread less and become ultra-tender; bread flour will make them tougher and chewier.
Unsalted butter (cold to cool room temperature)
Cold butter rubbed into the dry ingredients creates small pea-sized pieces that melt during baking and create a delicate, shortbread-like flake. Use unsalted butter so you control the salt level — if using salted butter, skip adding any extra salt elsewhere. If you use melted butter, the texture will be denser and the cookies will spread more.
Icing sugar (confectioners’ sugar)
Icing sugar dissolves into the dough, giving a smooth, slightly creamy sweetness and a fine, melt-in-the-mouth texture. Regular granulated sugar will create a grittier texture and more browning; if you must substitute, pulse granulated sugar in a blender to make it finer.
Smarties (for center)
A single candy in the center gives a bright focal point and a thin chocolate shell contrast. Any small, flat chocolate candy works — choose ones that won’t melt into a puddle quickly. If you skip the candy, press a small dot of jam instead, but expect a slightly softer center and some bleeding during baking.
Full Ingredient List for Daisy Cookies
– 225g plain flour
– 150g unsalted butter (cold to cool room temperature)
– 75g icing sugar
– Smarties (for center)
Step-by-Step Instructions for Daisy Cookies
Step 1: Preheat and prepare
Preheat the oven to 190°C (375°F) and line a baking tray with baking paper. A hot oven ensures quick set of the dough edges so the petals hold their shape.
Pro Tip: The tray should feel hot when you touch the oven rack briefly; the lined paper will sit flat without bubbles.
Step 2: Combine dry ingredients and work in butter
In a bowl, whisk the plain flour and icing sugar together to aerate and remove lumps. Add the cold, cubed butter and rub it into the dry mix using your fingertips until the mixture resembles coarse breadcrumbs — pea-sized bits of butter are ideal.
Pro Tip: The mix should look like coarse sand with visible butter specks; it will smell faintly sweet and buttery.
Step 3: Form the dough and portion
Bring the mixture together by pressing it gently until a smooth dough forms; avoid overworking to keep the texture tender. Divide the dough into small balls weighing about 18–22g each; this yields evenly sized cookies that bake uniformly.
Pro Tip: The dough should hold together when pressed, not be sticky; a small crack on the surface is fine.
Step 4: Shape petals and chill
Place each small ball on the tray and shape flower petals by pressing the ends of your fingers into the dough to create five or six petal impressions around the center. Press a Smartie into the center of each flower, then chill the tray in the fridge for 30 minutes to firm the butter.
Pro Tip: The shaped petals should have distinct indentations and the Smartie should sit flush in the center; the dough should feel cold to the touch after chilling.
Step 5: Bake and cool
Bake the cookies for 8–10 minutes until the edges are pale golden and the tops remain light. Remove from the oven and transfer to a wire rack to cool completely; they firm up as they cool and reach the ideal texture.
Pro Tip: Look for barely-golden edges and a matte top; if the tops are shiny and brown, they’ve overbaked.
Expert Tips for Daisy Cookies
– Temperature tips: Keep butter cold until the mixing step; chill shaped cookies 30 minutes to prevent spreading.
– Oven accuracy: Use an oven thermometer to ensure 190°C true heat; many ovens run hot or cold.
– Dough texture: Aim for a cohesive, slightly firm dough — too wet and petals won’t hold.
– Size consistency: Weigh dough balls for uniform baking and consistent petal shaping.
– Equipment tips: Use a small cookie scoop or kitchen scale and a wire cooling rack for best results.
– Texture troubleshooting: If cookies are crumbly after baking, next time beat the dough a touch more to hydrate the flour; if too soft, chill longer before baking.
– Common mistakes: Overworking the dough warms the butter and causes spreading; under-chilling creates flat flowers.
– Visual cue tip: If the Smarties sink during baking, the dough was too soft; chill longer or press the candy shallower.
See a similar pressed-cookie technique for more shaping inspiration.
Storage & Freezing for Daisy Cookies
Room-temperature storage: Store cooled Daisy Cookies in an airtight container layered with parchment paper. They keep well for up to 5 days and stay crisp at the edges with tender centers.
Fridge storage: If your kitchen is warm, refrigerate in an airtight container for up to 7 days. Bring to room temperature before serving for best flavor and texture.
Freezer storage: Freeze unbaked cookie shapes or fully baked cookies. For unbaked: flash-freeze shaped, chilled cookies on a tray, then transfer to a freezer-safe container for up to 3 months. For baked: cool completely, layer with parchment and freeze for up to 2 months.
Thawing and reheating: Thaw frozen baked cookies at room temperature for 30–60 minutes. Reheat for 3–4 minutes at 150°C (300°F) to refresh the edge crispness. For frozen unbaked dough, bake directly from frozen and add 1–2 minutes to the bake time.
Compare storage tips with other cookie types to adjust times for moisture-sensitive fillings.
Variations & Substitutions for Daisy Cookies
Chocolate-dipped Daisy Cookies
Dip the cooled cookie half-way into melted dark chocolate and place on parchment to set. This adds a richer chocolate note and a glossy finish without changing the base cookie texture.
Lemon-scented Daisy Cookies
Add 1 teaspoon grated lemon zest to the dough and reduce icing sugar by 5g. The bright citrus lifts the buttery base and creates a fresher, more aromatic cookie.
Jam-centered Daisy Cookies (Smartie alternative)
Instead of a Smartie, press 1/4 teaspoon of thick jam into the center before chilling. Expect a softer, slightly sticky center and a burst of fruity flavor.
Almond shortbread Daisy Cookies
Replace 25g of the plain flour with finely ground almond flour for a nutty flavor and slightly more tender crumb. The cookies will be more delicate and have a richer mouthfeel.
Frequently Asked Questions About Daisy Cookies
Q: Can I make the dough ahead of time?
A: Yes. You can prepare the dough, shape the flowers, and keep them chilled in the fridge for up to 24 hours before baking. For longer storage, flash-freeze the shaped cookies and store in a freezer-safe container for up to 3 months; bake from frozen, adding 1–2 minutes to the bake time.
Q: My petals spread and lost definition. What went wrong?
A: The most common causes are warm butter, overworked dough, or insufficient chilling. Use cold butter, avoid kneading, and chill shaped cookies at least 30 minutes. Also verify your oven temperature — too low a heat can allow spreading before edges set.
Q: Can I substitute margarine or a dairy-free butter for the unsalted butter?
A: Margarine or plant-based butter can be used, but textures vary. Stick with a block-style, high-fat alternative for best results; stick margarine can sometimes produce a greasier or flatter cookie. Expect slight flavor and texture differences.
Q: How do I prevent Smarties from bleeding color into the cookie?
A: Use Smarties or similar candies that have a sealed sugar shell; press them gently into the chilled dough so they sit flush. Avoid overly soft or recent-chocolate-coated candies that may melt and color the dough during baking.
Q: Can I make larger or smaller Daisy Cookies?
A: Yes. Adjust dough ball weights but remember baking time will change. Smaller cookies (12–15g) may only need 6–8 minutes, while larger ones (30g+) may need up to 12 minutes. Keep a close eye on edge color and texture.
Final Thoughts on Daisy Cookies
If you enjoyed this guide, please leave a star rating in the recipe card below and pin this to Pinterest for later.
For extra inspiration and to see similar takes on floral sugar cookies, check out daisy sugar cookie ideas at A Homemade Living, or if you want to buy a set, consider ordering Daisy Sugar Cookies from Elle’s Belles for comparison.
For detailed decorated daisy techniques, this Gerbera Daisy Cookies tutorial is a lovely reference.

Daisy Cookies
Ingredients
For the Cookie Dough
- 225 g plain flour Use standard all-purpose flour for structure; avoid cake or bread flour.
- 150 g unsalted butter Should be cold to cool room temperature for best texture.
- 75 g icing sugar Gives a smooth sweetness; avoid regular granulated sugar.
For the Decoration
- 12 pieces Smarties One for the center of each cookie.
Instructions
Preparation
- Preheat the oven to 190°C (375°F) and line a baking tray with baking paper.
- In a bowl, whisk together the plain flour and icing sugar to aerate and remove lumps.
Mixing the Dough
- Add the cold, cubed butter and rub it into the dry mix with your fingertips until it resembles coarse breadcrumbs.
- Bring the mixture together by pressing it gently until a smooth dough forms.
Shaping and Chilling
- Divide the dough into small balls weighing about 18–22g each.
- Shape the balls into flower petals on the tray, pressing a Smartie into the center of each flower.
- Chill the tray in the fridge for 30 minutes.
Baking
- Bake the cookies for 8–10 minutes until edges are pale golden, then cool on a wire rack.