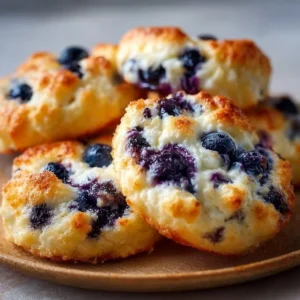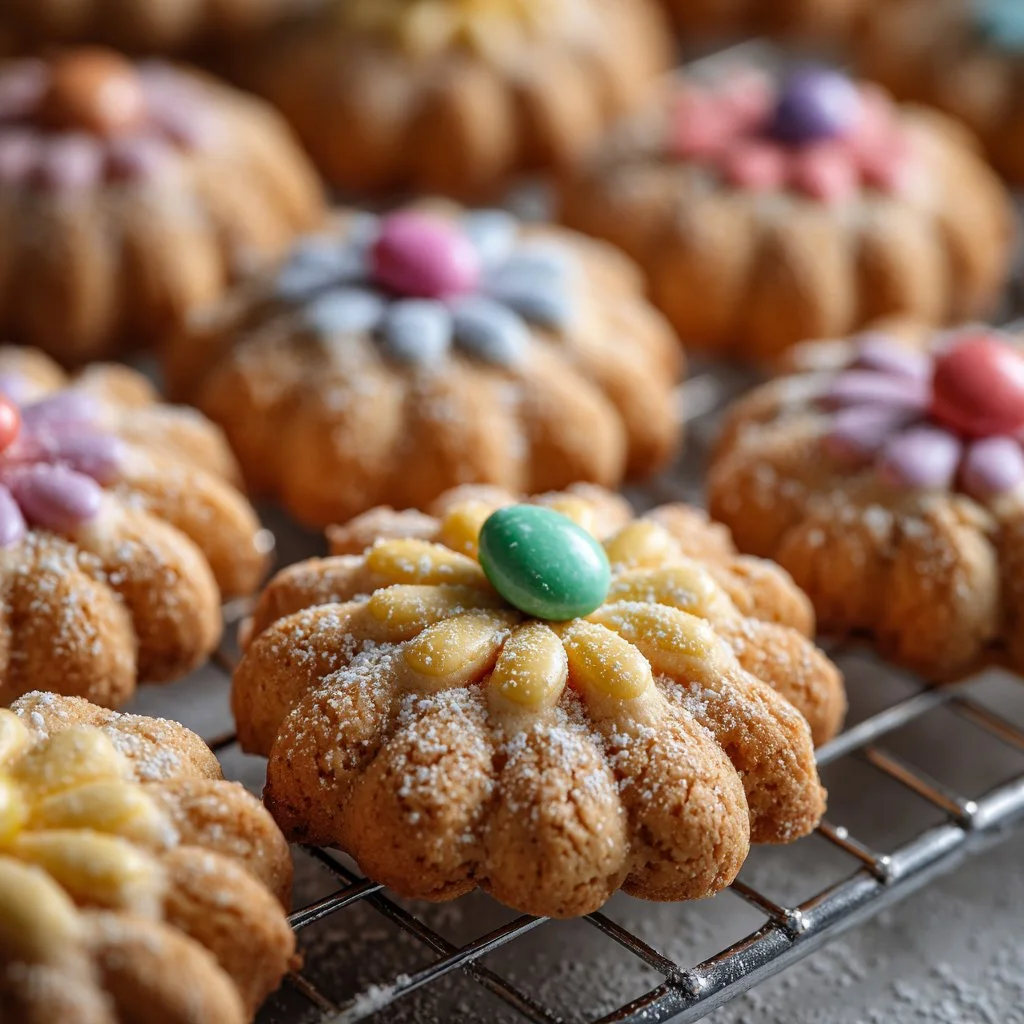
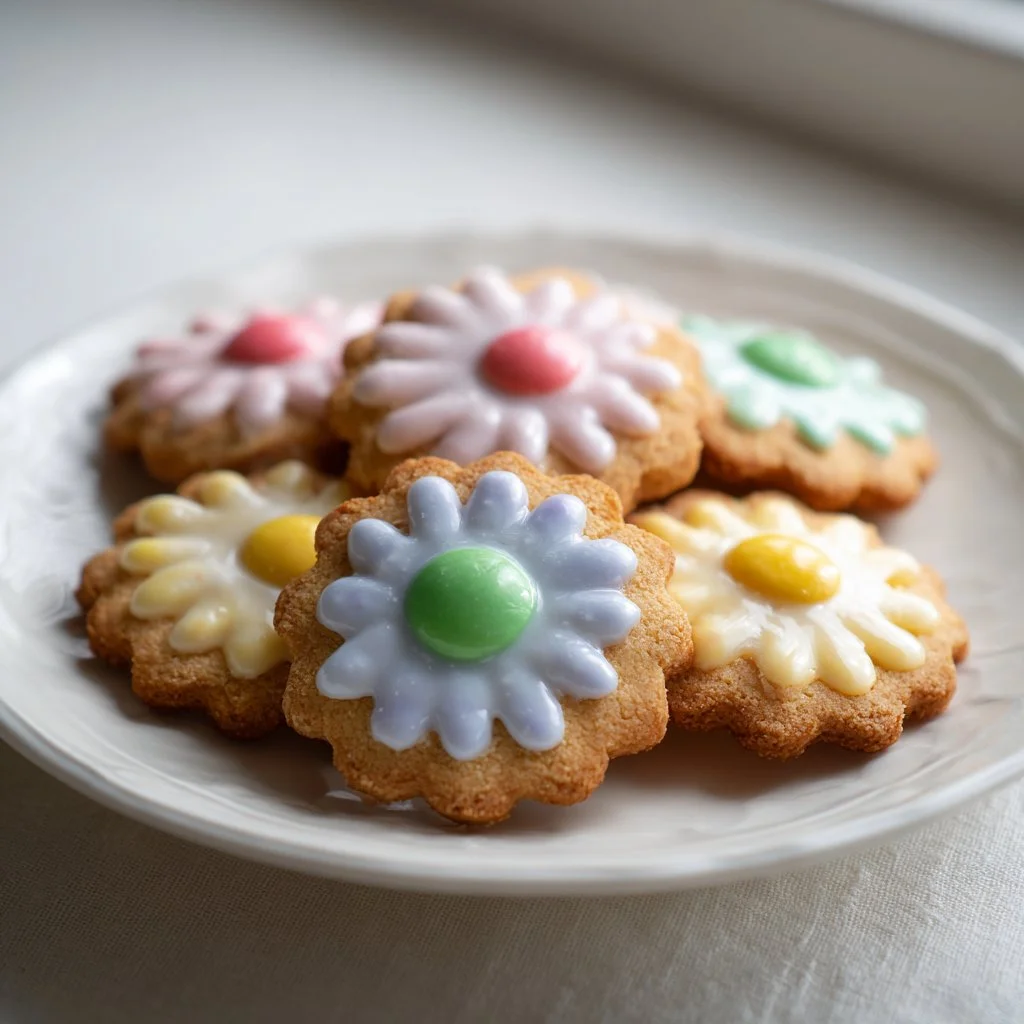
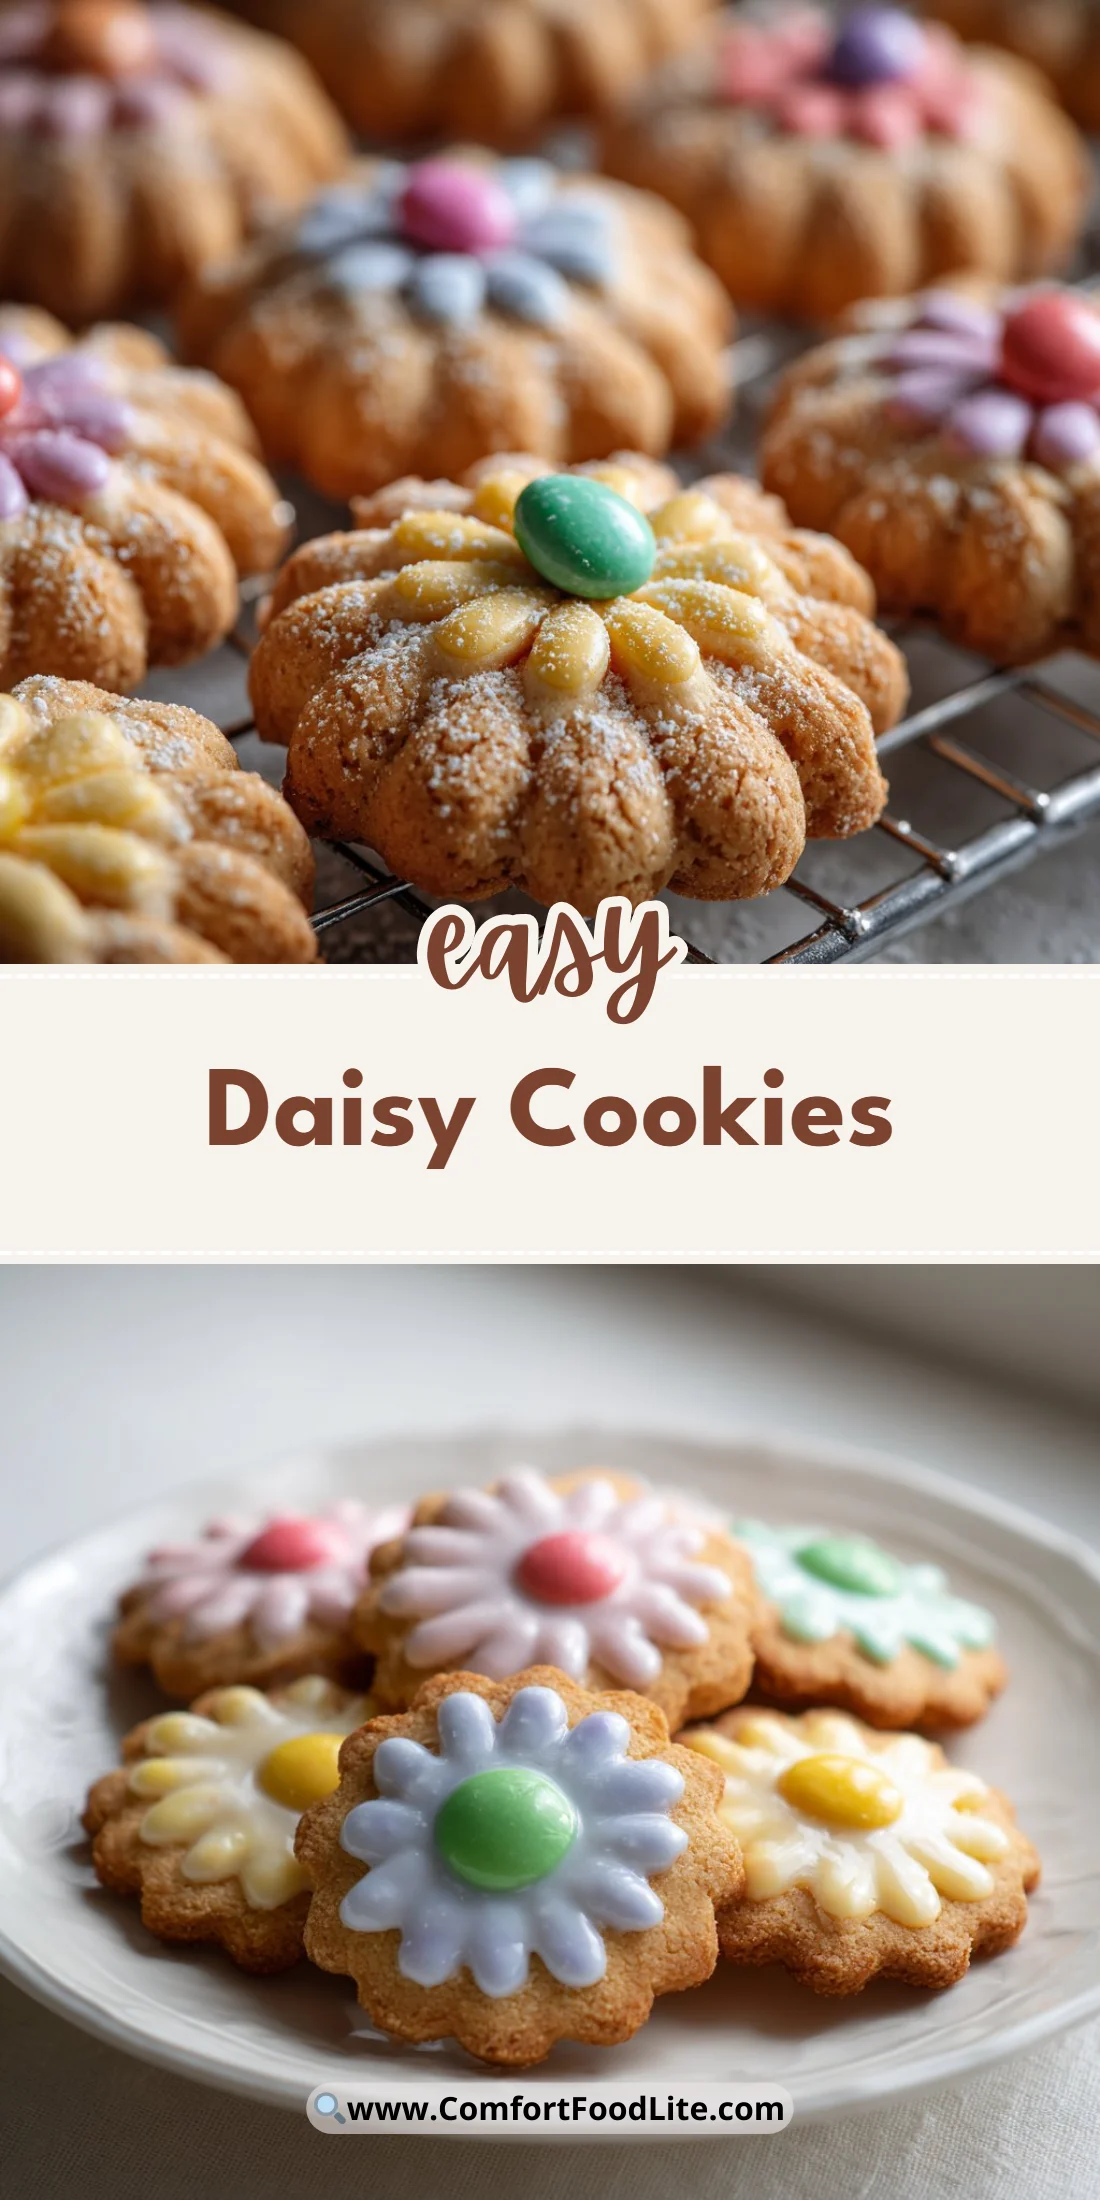
A simple press-cookie that’s as cheerful as a spring bouquet, Daisy Cookies are buttery, crumbly, and finished with a smartie center that kids and adults both adore.
These cookies come together fast with just a few pantry staples and a quick chill, so they’re perfect for last-minute parties or an afternoon bake with kids.
You’ll find clear troubleshooting tips, ingredient science, and variations below to help you nail the texture every time.
Try this as a base for decorated cookies or a playful cookie swap—small tweaks change texture and flavor dramatically.
Why You’ll Love This Daisy Cookies
- Effortless: only four main ingredients and minimal hands-on time.
- Kid-friendly: the Smartie center makes every cookie feel like a treat.
- Textural contrast: crisp edges with a tender, sandy center.
- Customizable: easy to swap colors or centers for holidays.
- Perfect cookie cutter-free design: no rolling or cutters needed.
- Great for gifting: stacks well and looks charming in tins.
The flavor is a pure butter cookie with just a hint of sweetness from the icing sugar; it’s delicate rather than cloying, and the Smartie adds a small pop of chocolate. Texture-wise you get a shortbread-like crumb that melts on the tongue but still holds a shaped petal edge for a pretty presentation.
“Five stars — my family called these the happiest cookies. The petals held shape and the centers stayed put — perfect for a bake day with my kids!”
Key Ingredients for Daisy Cookies
Plain flour
Plain (all-purpose) flour forms the structure of the cookie; its moderate protein content creates a tender crumb without becoming chewy. Buy fresh, unstabilized flour from a sealed bag and avoid over-sifting or you may lose volume. If you substitute with cake flour you’ll get an even softer, more fragile cookie; use that if you want a melt-in-your-mouth shortbread.
Butter (cold to cool room temperature)
Cold butter rubbed into the dry ingredients yields a light, sandy texture because small butter pieces create steam pockets in the oven. Use unsalted quality butter for clean flavor; European-style butter gives a richer taste but slightly less spread. If you use melted butter the cookies will spread and flatten and lose their petal definition.
Icing sugar
Icing (confectioners’) sugar dissolves completely and keeps the dough smooth, delivering that fine, tender bite typical of shortbread-style cookies. Choose a brand with cornstarch to prevent clumping; if you replace it with caster sugar you’ll get a grittier texture and more spread.
Smarties (for center)
Smarties add color and a small chocolate hit; they act mainly as decoration. Use fresh, whole Smarties so they don’t crack during baking. Substitute with similar candy (M&Ms, chocolate drops) for color or with a small jam dot for a soft center — baking time or chilling may need slight adjustment.
Full Ingredient List for Daisy Cookies
- 225g plain flour
- 150g butter (cold to cool room temperature)
- 75g icing sugar
- Smarties (for center)
If you like cookie mashups, this is a great recipe to pair with other favorites like banana bread cookies for a tea-party spread.
Step-by-Step Instructions for Daisy Cookies
Step 1: Preheat and prepare
Preheat the oven to 190°C (375°F). Line a baking tray with baking paper so the cookies slide off easily after baking and don’t pick up brown spots.
Pro Tip: The tray should feel cool to the touch and the paper should sit flat with no wrinkles; a flat surface helps petals bake evenly.
Step 2: Combine dry ingredients and rub in butter
In a bowl, whisk the plain flour and icing sugar briefly to aerate. Add the cold butter in small cubes and rub it into the dry mix with your fingertips until the mixture resembles coarse breadcrumbs and tiny pea-sized butter pieces remain.
Pro Tip: Look for a sandy texture with small lumps of butter that reflect light; if it looks greasy, you’ve overworked the butter and may need to chill the mix.
Step 3: Bring dough together and shape
Gently bring the dough together with a light squeeze into a ball. Divide into small, even portions and roll between palms into balls. Flatten each ball slightly and use your thumb or a spoon edge to form petal shapes around the edge to create a daisy outline.
Pro Tip: The dough should hold shape when pressed; if it cracks, it’s too dry — warm briefly in your hands and press together until smooth.
Step 4: Add the Smartie and chill
Press a single Smartie into the center of each cookie, pushing just enough to sit flush with the petals. Place the tray in the fridge to chill for 30 minutes—this firms the butter and prevents excessive spread during baking.
Pro Tip: After chilling, the dough should feel firm and slightly cold; the Smartie should remain glossy and undented.
Step 5: Bake until lightly golden
Bake the chilled cookies for 8–10 minutes. Watch the edges; you want the base to be set and the bottoms lightly golden while the tops remain pale for a tender center.
Pro Tip: When done, edges will be just a shade darker than the middle; they should smell buttery and slightly toasted.
Step 6: Cool and serve
Transfer cookies to a wire rack to cool completely before stacking or serving. Cooling lets the centers set and prevents the Smarties from slipping out when handled warm.
Pro Tip: The cookies should feel firm at the edges and a touch soft in the center when warm, but completely set at room temperature.
Note: for a lighter flavor or chewier result, compare techniques with similar builds like the cherry kiss cookies method where chilling times and centers change the outcome.
Expert Tips for Daisy Cookies
- Temperature tip: Keep butter cold until you start rubbing it into the flour; chill shaped cookies for 30 minutes to maintain petal shape and avoid spread.
- Texture troubleshooting: If cookies turn out too crumbly, add a teaspoon of cold water to help bind; if too soft, chill longer and reduce oven temperature by 10°C for a slightly longer bake.
- Equipment tip: Use a silicone baking mat or parchment for even bottoms; a light-colored baking tray prevents over-browning.
- Measuring tip: Weigh ingredients where possible for consistent results—225g flour is much more reliable than cups.
- Common mistake: Overworking the dough warms the butter and causes spread—mix only until cohesive.
- Visual cue: Before baking, petals should look defined and the Smartie should sit neatly without sinking; after baking, petals remain visible and edges are faintly golden.
- Flavor boost: For a subtle aromatic lift, add 1/4 tsp vanilla extract or finely grated lemon zest to the dough—don’t overdo it or you’ll change the shortbread character.
- Batching tip: Freeze shaped, unbaked cookies on a tray, then transfer to a bag; bake from frozen, adding 1–2 minutes to the time for easy prep ahead.
If you enjoy classic chocolate cookies, try these techniques alongside a reliable base like the chocolate chip cookies method to compare texture differences.
Storage & Freezing for Daisy Cookies
Fridge storage: Store cooled Daisy Cookies in an airtight container in the fridge for up to 7 days to keep the Smarties crisp and the texture firm.
Freezer storage: Place the chilled, unbaked shaped cookies on a tray and freeze until solid, then transfer to a heavy-duty freezer bag or airtight container for up to 3 months.
Thawing: Thaw frozen baked cookies at room temperature for 30–60 minutes in a single layer to avoid condensation sogginess; unbaked shapes can be baked from frozen, add 1–2 minutes to the bake time.
Reheating: Warm cookies in a 150°C (300°F) oven for 3–4 minutes to refresh crispness; avoid microwaving which softens the texture too much.
Variations & Substitutions for Daisy Cookies
Chocolate-dipped Daisy Cookies: After cooling, dip half of each cookie in melted dark or milk chocolate and let set on parchment; the chocolate adds richness and structure for gifting.
Lemon-scented Daisy Cookies: Add 1 tsp finely grated lemon zest and 1/4 tsp lemon extract to the dough for a zesty, brighter bite that balances the butteriness.
Jam-centered Daisy Cookies: Replace the Smartie with a small 1/4 tsp of thick jam (strawberry or raspberry). Press jam into the center before baking and reduce chilling to 15 minutes to prevent softening the jam too much.
Gluten-free Daisy Cookies: Substitute a 1:1 gluten-free flour blend and add 1–2 tbsp more icing sugar if the dough feels too sticky; expect a slightly different crumb and adjust chilling as needed.
Frequently Asked Questions About Daisy Cookies
Can I make the dough ahead of time for Daisy Cookies?
Yes. The dough can be formed into balls and chilled for up to 48 hours before baking; this often improves flavor. For longer storage, freeze shaped, unbaked cookies for up to 3 months and bake from frozen, adding 1–2 minutes.
Why did my Daisy Cookies spread and lose their petals?
Most spreading is caused by warm butter, insufficient chilling, or too-hot oven causing butter to melt quickly. Use cold butter, chill shaped cookies for at least 30 minutes, and bake on a cool tray; reduce oven temp by 10°C if needed.
Can I replace Smarties with other toppings for Daisy Cookies?
Yes. Small chocolate buttons, nonpareils, or a dot of thick jam all work. If using jam, shorten chilling and watch closely in the oven to avoid boiling or leaking.
How can I make the center look glossy and perfect on Daisy Cookies?
Press the Smartie in just before chilling so it sits flush and retains its sheen. If you bake immediately, the candy may crack or dull; chilling preserves the smooth surface during the initial heat of the oven.
Are these Daisy Cookies suitable for freezing after baking?
Yes. Baked cookies freeze well when fully cooled. Layer them between parchment in an airtight container or heavy-duty freezer bag for up to 3 months. Thaw at room temperature for 30–60 minutes before serving to avoid condensation.
Final Thoughts on Daisy Cookies
These Daisy Cookies are a playful, reliable bake that rewards precise temperature and handling with beautiful petals and a tender, buttery crumb. If you enjoyed the recipe, please leave a star rating in the recipe card below and pin this to Pinterest for later.
You can find similar inspiration in curated collections like Daisy sugar cookies at A Homemade Living, purchase specialty daisy packs from bakeries such as Daisy Sugar Cookies – 10 Pack – Elle’s Belles Bakery, or follow detailed decorating tutorials like the Gerbera Daisy Cookies tutorial from The Sweet Adventures of Sugar Belle.