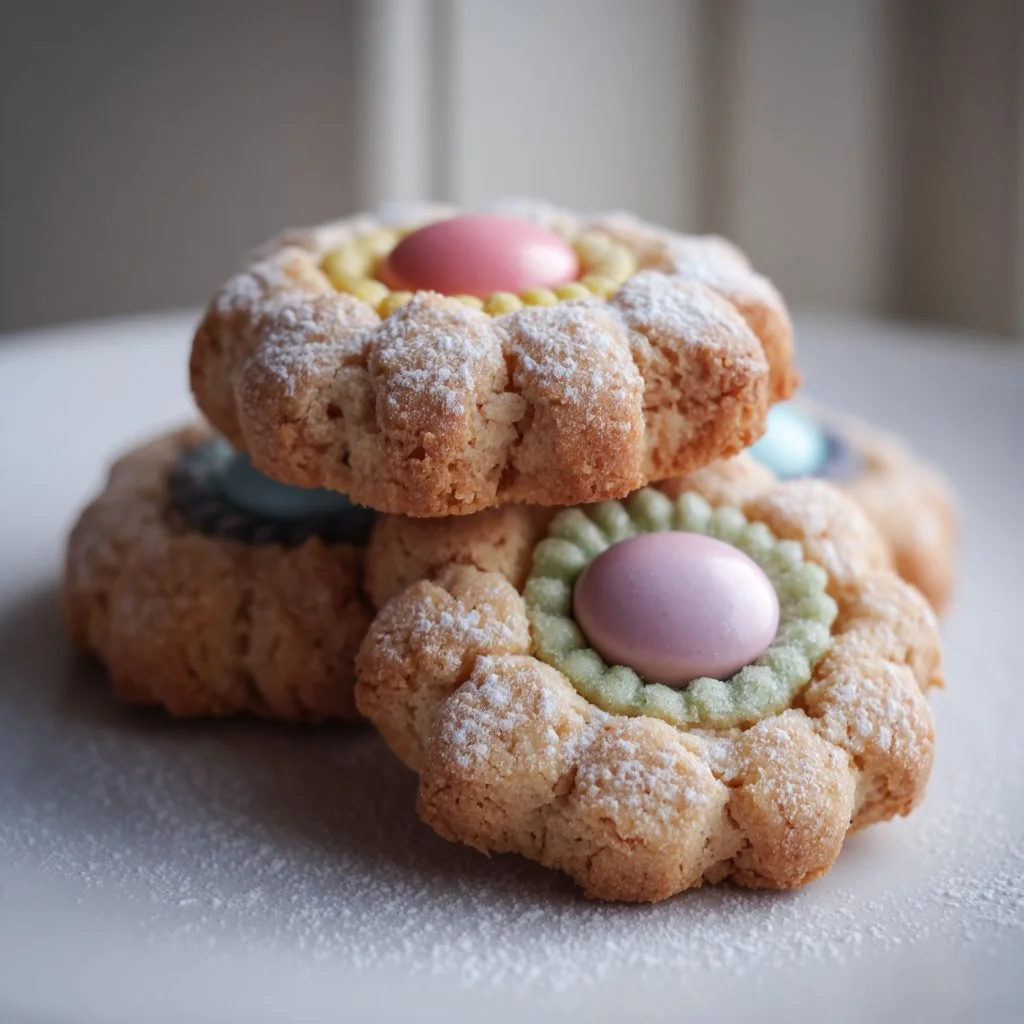
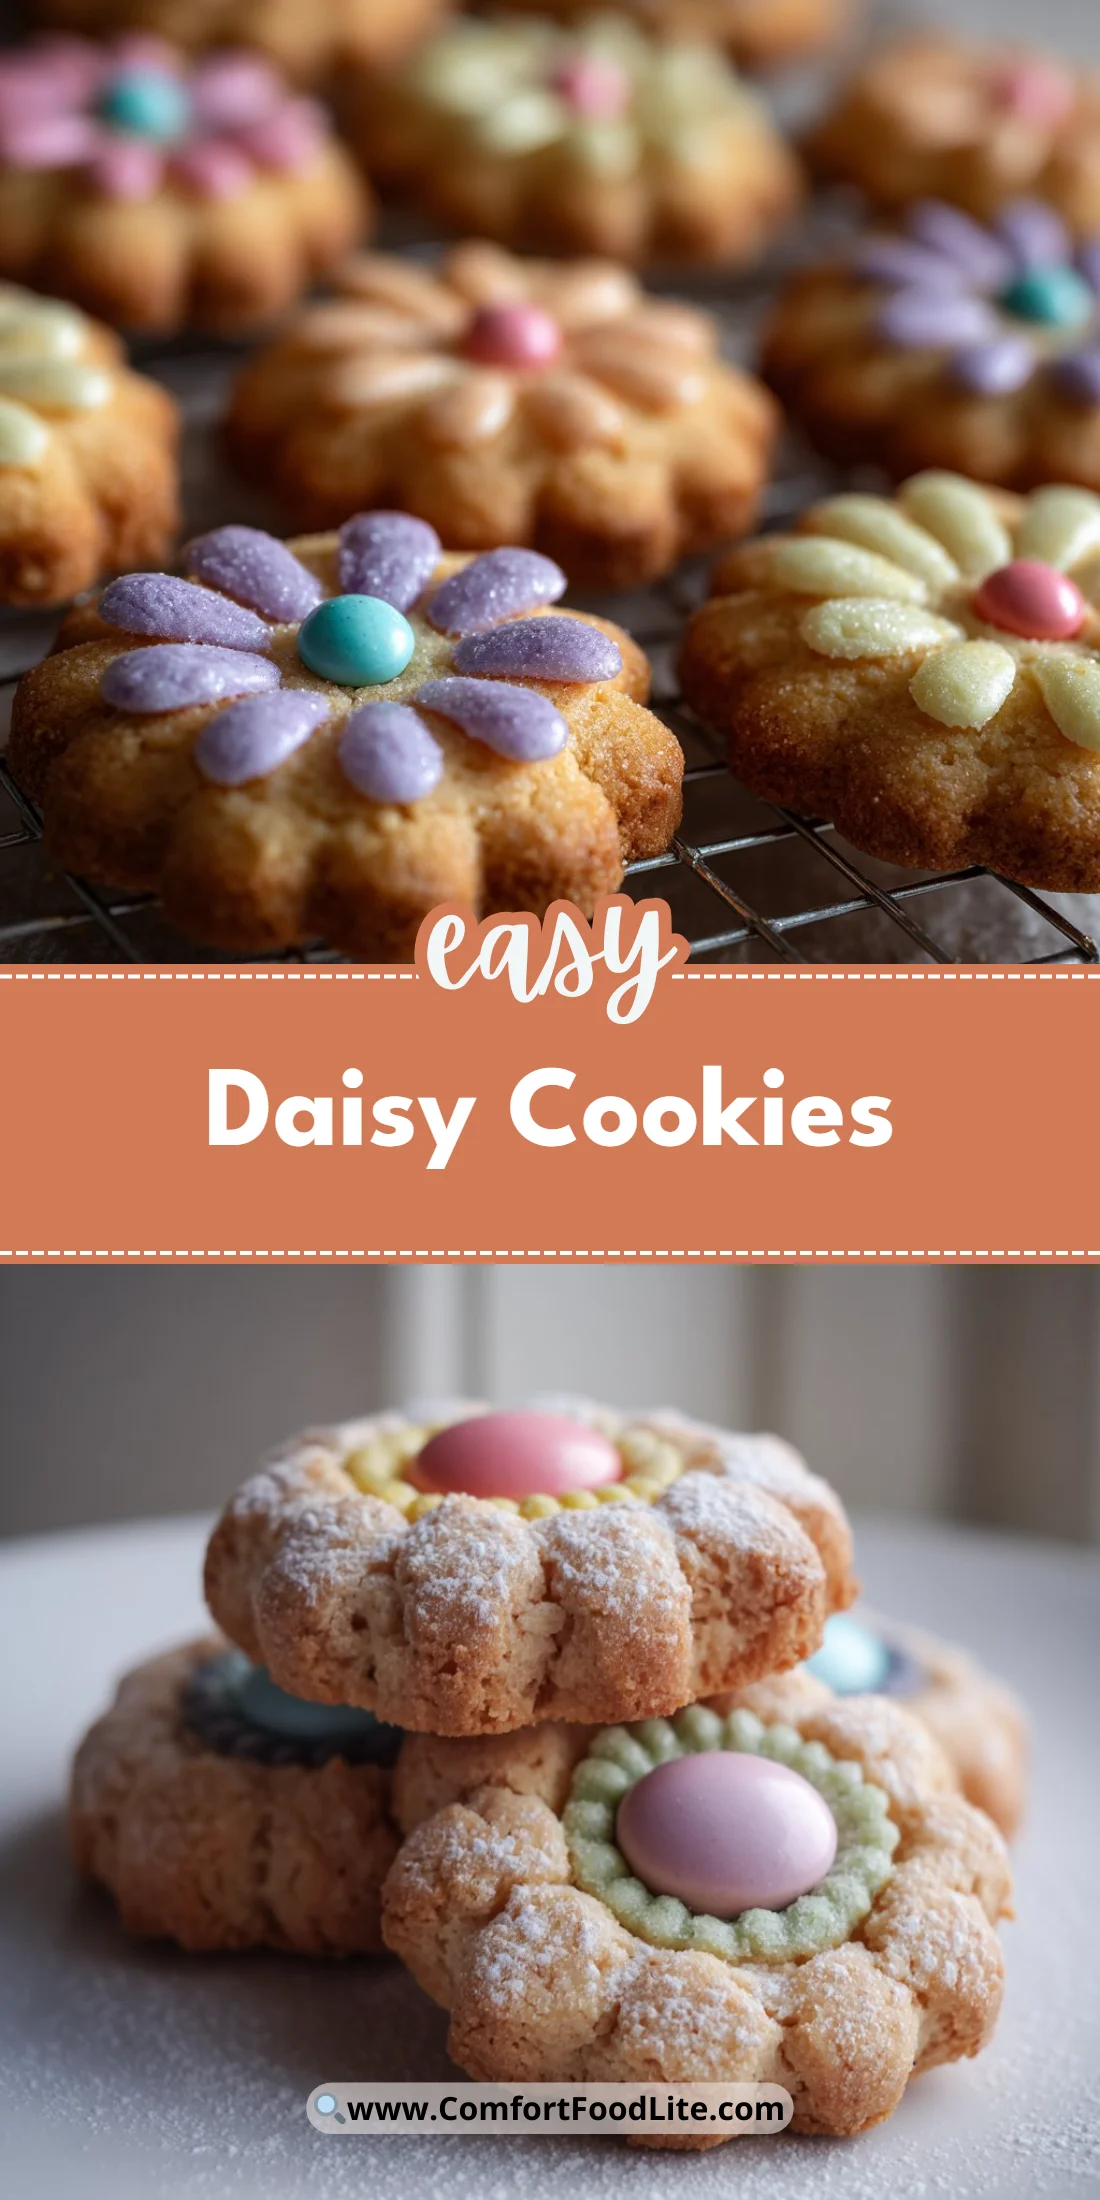
A sunny, crisp cookie that looks like a little flower and melts in your mouth — Daisy Cookies are the kind of bake that brightens a teatime or school lunch. They’re quick to mix, child-friendly to shape, and perfect for gifting in spring boxes.
This recipe is short on fuss and big on visual charm. You only need a handful of pantry staples to make dozens of delicate, buttery flowers.
If you like small-batch cookie projects, you may also enjoy the soft-chewy twists in banana bread cookies, which share the same cozy, home-baked appeal.
Why You’ll Love This Daisy Cookies
– Simple pantry ingredients you probably already have.
– Quick to mix and chill; no rolling pin required.
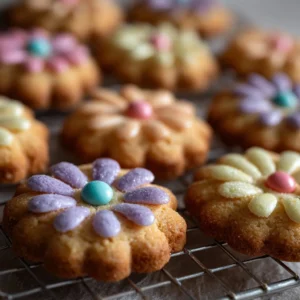
– Elegant, kid-friendly flower shape that’s fun to decorate.
– Light, almost shortbread-like crumb with a sweet candy center.
– Great for parties, cookie swaps, and themed gift boxes.
– Freezer-friendly dough and baked cookies for make-ahead ease.
These Daisy Cookies bite into a tender, delicate crumb that’s buttery with a whisper of sweetness from the icing sugar. The Smartie in the center adds a pop of color and a little chocolatey crunch, while the petal shaping keeps edges pale and tender rather than crisp. The overall texture sits between shortbread and a classic butter cookie — melt-in-the-mouth yet sturdy enough to pick up without falling apart.
"Five stars — I made these for a school bake sale and they sold out within an hour. So cute, and the texture is perfectly tender." — Real reader review
Key Ingredients for Daisy Cookies
Flour (225g): Plain flour forms the structural network in these cookies. It provides the gluten framework that holds the fragile petals together while still allowing a fine, tender crumb when handled minimally. For best results, spoon and level your flour into the measuring cup or weigh it; swapping to cake flour will give an even more fragile cookie, while bread flour will make them tougher.
Butter (150g, cold to cool room temperature): Butter is the flavor and moisture star. Using cold butter that you rub into the flour creates small fat pockets that yield a delicate, sandy texture after baking. If you substitute margarine or a low-fat spread, expect less flavor and a slightly different mouthfeel; European-style butter (higher fat) will enhance richness and spread minimally.
Icing sugar (75g): Icing sugar dissolves into the dough, keeping the bite smooth and tender without any grainy texture. It also contributes to the signature melt-in-the-mouth quality of these cookies. If you swap caster/regular granulated sugar, the cookies will be coarser and less shortbread-like, and may brown more during baking.
Smarties (for center): Smarties add color, a hint of chocolate, and a focal point for the daisy design. Yellow or pastel colors create a classic daisy look. You can substitute M&M minis or chocolate drops, but avoid large or irregular candies that will disrupt baking or sink into the dough.
Full Ingredient List for Daisy Cookies
– 225g plain flour
– 150g butter (cold to cool room temperature)
– 75g icing sugar
– Smarties (for center)
Step-by-Step Instructions for Daisy Cookies
Step 1: Preheat and prepare
Preheat your oven to 190°C and line a baking tray with baking paper so cookies won’t stick. Proper preheating ensures even oven spring and the pale-golden edge color these cookies are known for.
Pro Tip: The tray should feel hot when you place it in the oven; the cookie bases will begin to set immediately and keep their petal shape.
Step 2: Mix dry ingredients and add butter
In a bowl, sift or whisk the plain flour and icing sugar together to blend and aerate them. Add the cold butter and rub it into the dry mix with your fingertips until the mixture resembles coarse breadcrumbs — small pea-sized bits of butter are ideal.
Pro Tip: The mix should look sandy with little lumps; it should smell faintly sweet and buttery, not greasy.
Step 3: Bring the dough together
Bring the dough together gently — press and fold a few times until it just forms a cohesive mass; avoid overworking to keep the texture tender. Divide the dough into small, even balls (about walnut-sized) for uniform baking.
Pro Tip: The dough should feel cool and slightly crumbly but hold together when pressed; if sticky, chill briefly.
Step 4: Shape petals and add Smarties
Shape each ball on the tray into a flower by pressing down and forming petal impressions around the edge; press a Smartie into the center of each flower. For best results, chill the shaped cookies on the tray for 30 minutes so they don’t lose shape in the oven.
Pro Tip: Visually, the petals should be defined and slightly separated, with a centered candy; the surface should look matte, not wet.
Step 5: Bake
Bake for 8–10 minutes until the edges are a pale golden color. Keep a close eye in the last two minutes, as they go from perfect to overbaked quickly. Remove from the oven when centers are set and edges show a whisper of color.
Pro Tip: The cookies should smell buttery and slightly sweet; the centers remain pale and the edges will be only the faintest gold at done-ness.
Step 6: Cool and serve
Cool the cookies on a wire rack before serving so they finish setting and don’t break when picked up. Once cool, the petals should be crisp enough to hold shape but tender when bitten.
Pro Tip: When fully cooled, the below-surface crumb should look uniform and fine, not gummy.
Pro Tip: For more shaping inspiration, compare petal techniques with other decorated bites like these cherry kiss cookies where center placement and gentle shaping matter.
Expert Tips for Daisy Cookies
– Chill shaped cookies for a full 30 minutes; cold dough keeps the petals sharp and prevents spreading.
– Use cold butter and minimal handling; heat and overmix develop gluten and toughen the cookies.
– If cookies crack on top, the oven temperature may be too high; try 5°C lower next time.
– For even baking, rotate the baking tray halfway through the 8–10 minute window.
– Use a small cookie scoop or scale for uniform balls so all cookies bake in the same time.
– For prettier petals, press gently with the back of a small spoon and clean between impressions.
– Swap to baking parchment or silicone mats to avoid sticking — metal pans without lining can brown the bases too fast.
– Common mistake: pressing the Smartie too far into the dough before chilling; it can sink during baking. Press just enough to sit flush.
Storage & Freezing for Daisy Cookies
Fridge storage: Store baked Daisy Cookies in an airtight container in the fridge for up to 5 days. Use a shallow container to avoid stacking too high and squashing petals.
Freezer storage: Freeze baked cookies in a single layer on a baking tray until firm, then transfer to a freezer-safe bag or container for up to 3 months. For dough, flash-freeze shaped cookies on a tray, then bag and freeze for up to 1 month.
Thawing: Thaw baked cookies at room temperature for 30–60 minutes. If frozen dough, bake directly from frozen and add 1–2 minutes to the bake time.
Reheating: Warm cookies in a 150°C oven for 3–4 minutes to gently revive tenderness; avoid microwaving, which can soften them too much. Use rigid, airtight boxes for best shape protection.
Variations & Substitutions for Daisy Cookies
Lemon-glazed Daisy Cookies: Add 1 tsp finely grated lemon zest to the dough and brush a thin lemon icing on cooled cookies for a zesty lift. The result is brighter flavor with the same delicate crumb.
Chocolate-dipped Daisy Cookies: Dip half of each cooled cookie into melted dark or white chocolate and set on parchment. This adds richness and a glossy finish, and the chocolate helps hold the petal edges together.
Almond Daisy Cookies: Replace 25g of the plain flour with finely ground almond meal for a nuttier flavor and slightly more tender texture. Expect a softer center and a hint of almond aroma.
Vegan Daisy Cookies: Use vegan butter block with similar fat content, and replace icing sugar with a vegan-certified brand if needed. Texture will be similar but flavor may be subtly different depending on the butter substitute.
Frequently Asked Questions About Daisy Cookies
Q: Can I make the dough ahead and bake later?
A: Yes — shaped dough can be wrapped and refrigerated for up to 24 hours before baking. For longer storage, freeze shaped cookies on a tray, then bag for up to 1 month and bake from frozen, adding 1–2 minutes to baking time.
Q: Why did my cookies spread and lose their petals?
A: Spread usually comes from warm butter, overworked dough, or insufficient chilling. Use cold butter, handle dough gently, and chill shaped cookies a full 30 minutes before baking to preserve the petal shapes.
Q: Can I use caster sugar instead of icing sugar?
A: You can, but caster or granulated sugar will give a slightly grainier texture and more browning. Icing sugar dissolves into the dough for that classic shortbread-like melt, so it’s preferred for the original texture.
Q: How do I get consistent petal shapes every time?
A: Use a small spoon or the rounded end of a piping tip to press petals, work on a lined tray, and keep cookie balls uniform by weighing or using a small scoop. Chill the tray so shapes set before baking.
Q: Are these cookies suitable for children to make?
A: Yes — the dough is simple and shaping is fun for kids. Supervise when using the oven, and let children press Smarties into centers and make creative color combinations for the petals.
Final Thoughts on Daisy Cookies
These Daisy Cookies are a quick, charming bake that balances buttery tenderness with an eye-catching finish; leave a star rating in the recipe card and pin to Pinterest for later. For more daisy-style inspiration and commercial examples, see Daisy sugar cookies resources and shop-ready sets like Daisy Sugar Cookies – 10 Pack for party ideas; for decorative technique tutorials, check out Gerbera Daisy Cookies.
Daisy Cookies
Ingredients
Main Ingredients
- 225 g plain flour Sifted and aerated for best results.
- 150 g butter (cold to cool room temperature) Use cold butter for a delicate texture.
- 75 g icing sugar Contributes to the melt-in-the-mouth quality.
- as needed Smarties For the center decoration; substitute with M&M minis if desired.
Instructions
Preparation
- Preheat your oven to 190°C and line a baking tray with baking paper.
- Sift or whisk plain flour and icing sugar together in a bowl.
- Add the cold butter and rub it into the dry mix until it resembles coarse breadcrumbs.
- Bring the dough together gently and divide it into small, even balls.
Shaping and Baking
- Shape each ball into a flower on the tray, pressing down and forming petal impressions, then add a Smartie in the center.
- Chill the shaped cookies on the tray for 30 minutes.
- Bake for 8–10 minutes until the edges are pale golden. Remove from oven when centers are set.
- Cool on a wire rack before serving.