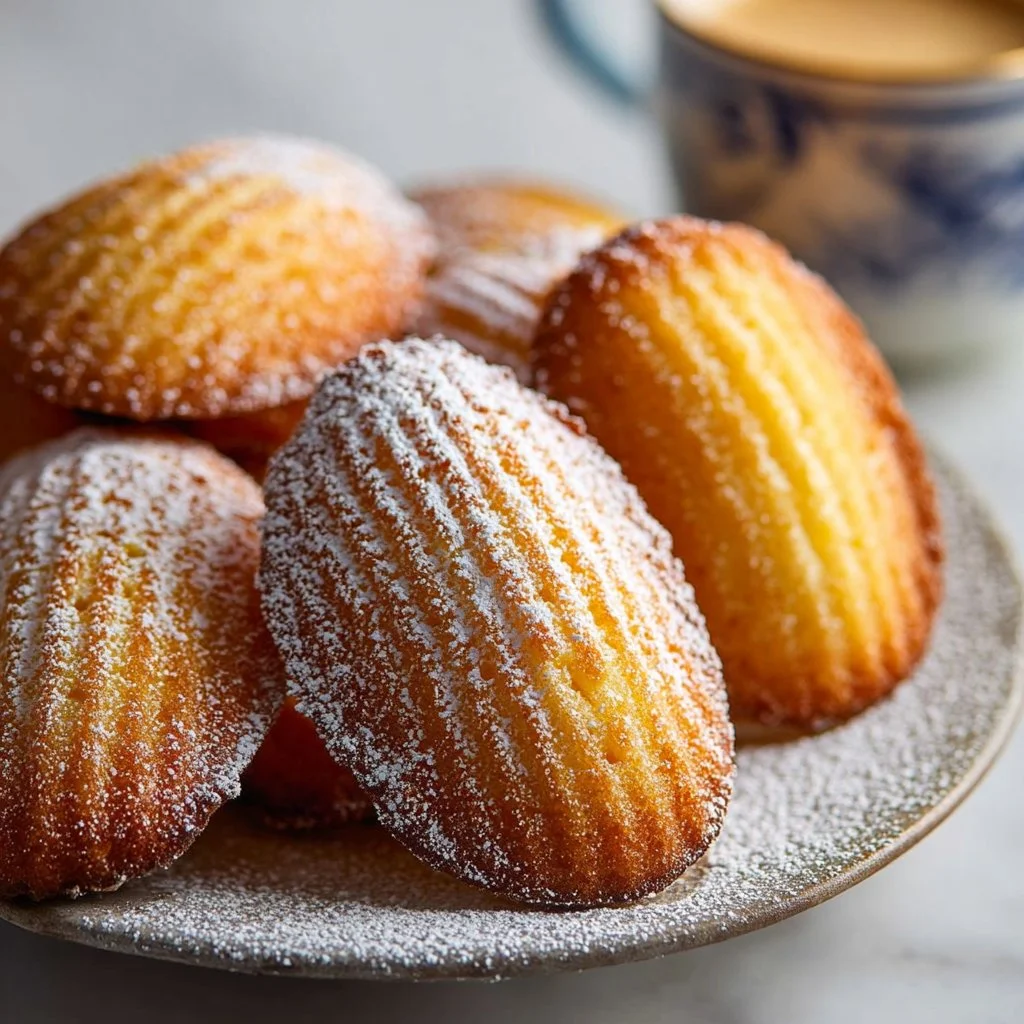
The first time I made these madeleines I thought I’d broken the pan—the batter rose into the perfect hump and the kitchen filled with warm, browned-butter perfume.
They’re deceptively simple: a light sponge, shell-crisp edges, and the tiny nub of lemon and vanilla that makes them addictive.
This version relies on browned butter and a resting period for a pronounced nutty flavor and the unmistakable “belly” every madeleine lover wants.
If you love small-batch baking that feels elegant but is forgiving, these are for you — and if you want another tea-time favorite, try my classic banana bread for something equally comforting.
Why You’ll Love This Recipe
- Little effort, big payoff: the technique is simple but yields a bakery-level shell and hump.
- Browned butter flavor: toasty, caramel notes lift the whole cookie without extra sugar.
- Texture contrast: crisp edges and a soft, almost custardy center make them irresistible.
- Make-ahead friendly: chilling the batter improves rise and lets you bake fresh batches over two days.
Madeleines are a study in contrasts. The exterior should be thin and crisp from the hot oven, while the interior remains tender and slightly springy. The whipped eggs create air that traps steam in baking and gives that pillowy center, while the browned butter folds in melted fat and nutty complexity. The lemon zest and vanilla slice through the richness and brighten every bite, so you never feel overwhelmed.
"Five stars — These were the best madeleines I’ve ever made at home. The hump is perfect and the browned butter aroma stopped everyone in their tracks." — Claire, reader
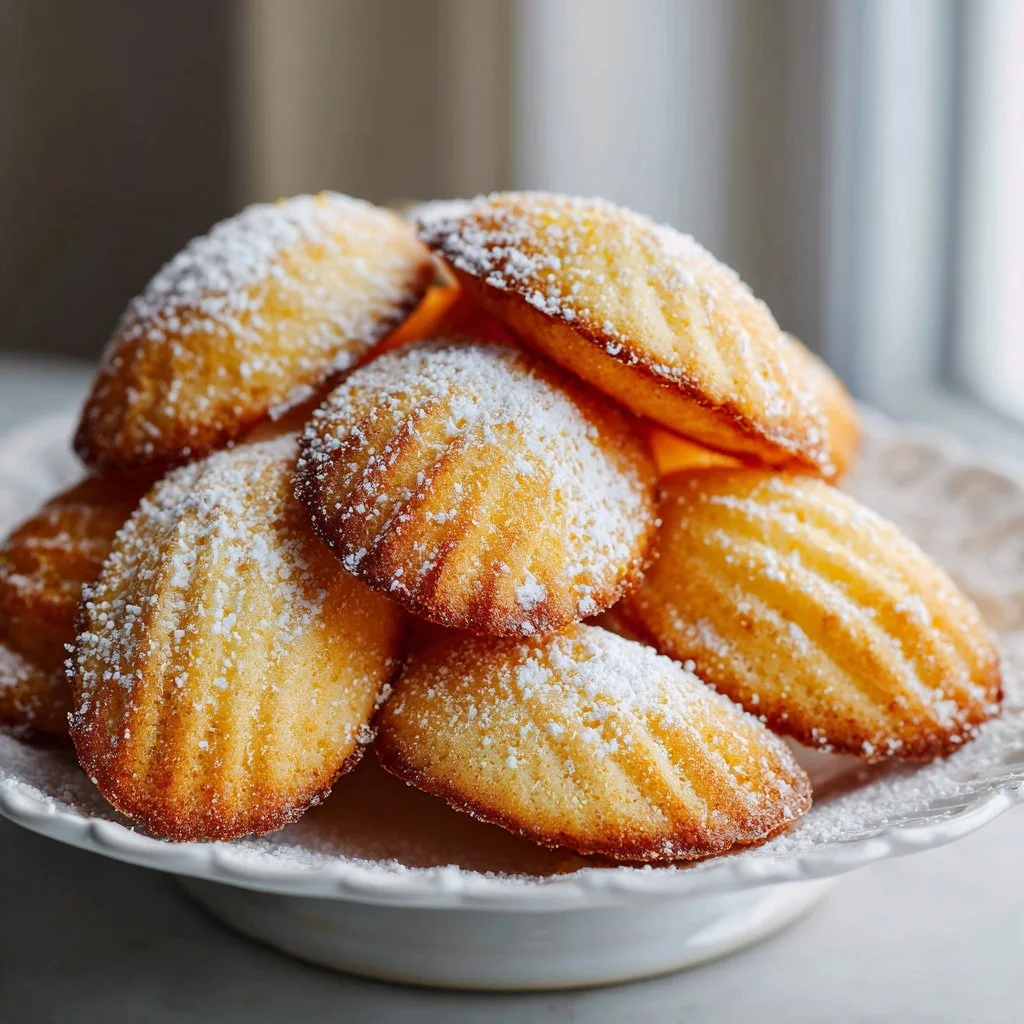
If you like the savory-to-sweet balance in small bites, you’ll appreciate how these pair with tea, coffee, or a light glass of dessert wine. Try one warm with a dusting of confectioners’ sugar to see why they vanish so fast.
Key Ingredients
Unsalted butter (1 stick / 4 ounces): Browned butter is the backbone here. Using unsalted gives you control over seasoning, and browning concentrates a deep, nutty flavor that substitutes or extracts can’t replicate. I reach for European-style butters when I want extra richness; plug your nose and watch the butter foam then settle into golden solids.
Large eggs (3, room temperature): Eggs are the leavening engine when whipped with sugar. Room-temperature eggs whip up faster and trap more air, which creates lift and the classic madeleine belly. If you’re baking in winter, warm eggs in a bowl of warm water for 5 minutes.
Granulated sugar (3/4 cup): Sugar stabilizes the foam and sweetens without making the sponge dense. Use regular granulated sugar—not superfine—to get the correct structure; if you have superfine, cut the whip time slightly to avoid over-aeration.
All-purpose flour (1 cup) and baking powder (1 1/4 tsp): Flour provides structure while the baking powder gives the final push for the hump. Measure flour with the spoon-and-level method to avoid heavy, gummy cakes. If you prefer, sift flour and baking powder together once for an even distribution.
I discuss texture-building tricks in other recipes too, like the savory-to-sweet contrasts in Cheesy French Onion Meatballs, which all come down to balancing fat, acid, and temperature.
Full ingredients:
- Unsalted butter – 1 stick (4 ounces)
- Vanilla extract – 2 teaspoons
- Lemon zest – 1 1/2 teaspoons, finely grated
- All-purpose flour – 1 cup
- Baking powder – 1 1/4 teaspoons
- Salt – 1/4 teaspoon
- Large eggs – 3 (at room temperature)
- Granulated sugar – 3/4 cup
- Confectioners sugar – 1/2 cup (optional for dusting)
Step-by-Step Instructions
Step 1: Brown the butter and flavor it
Place the butter in a heavy saucepan over medium heat and melt it, swirling often.
Continue to cook until the milk solids turn golden-brown and the butter smells nutty — watch closely so it doesn’t burn.
Remove from heat, stir in vanilla extract and the finely grated lemon zest, and let the mixture cool to room temperature.
Pro Tip: The butter will foam, then the foam will settle and brown bits will appear; this is your visual cue that it’s ready.
Step 2: Whisk the dry ingredients
In a medium bowl whisk together the all-purpose flour, baking powder, and salt until evenly combined.
Set the bowl aside so the dry mix is ready when your whipped eggs are done.
Pro Tip: Sift or whisk thoroughly to avoid lumps and ensure an even rise in each madeleine shell.
Step 3: Whip eggs and sugar to ribbon stage
In a separate large bowl, whip the room-temperature eggs and granulated sugar on medium-high speed for 3–4 minutes.
Stop when the mixture is thick, pale, and forms a ribbon when the whisk is lifted.
Pro Tip: The texture should be like light custard; if you overbeat, the batter will deflate and you’ll get flat madeleines.
Step 4: Fold in flour, then butter
Gently fold the flour mixture into the whipped eggs in three additions, using a rubber spatula to keep as much air as possible.
Once incorporated, fold in the cooled browned butter in a thin stream until just combined—do not overmix.
Pro Tip: The batter will be shiny and slightly thick; avoid vigorous stirring so you don’t knock out the air that makes the hump.
Step 5: Chill the batter
Cover the bowl and refrigerate the batter for at least 4 hours and up to 2 days. This resting period firms up the batter and deepens flavor.
Pro Tip: Chilled batter creates a temperature contrast in the oven that helps the hump form; this is a classic baker’s trick also useful in other dishes — see oven notes in my beef chili guide for temperature calibration ideas at Classic Beef Chili.
Step 6: Prep pan and bake
Preheat your oven to 375°F (190°C). Butter and lightly flour a madeleine pan, tapping out excess flour.
Spoon level scoops of batter into the center of each mold (about three-quarters full). Bake for 12 minutes until the bellies have risen and the edges are golden brown.
Pro Tip: A single test tray is worth it; oven hot spots vary so check the first batch and adjust time by a minute if needed.
Step 7: Cool and finish
Cool the madeleines in the pan for 2 minutes, then gently turn them out onto a wire rack.
Once cooled slightly, dust with confectioners sugar just before serving for an elegant finish.
Pro Tip: Serve warm or at room temperature; if dusting, wait until they’re slightly cool to prevent sugar from melting.
Expert Tips for Success
- Control the browning: When making beurre noisette (browned butter), use a light-colored pan so you can see the milk solids turn golden. Remove from heat immediately when you smell a toasty aroma.
- Room-temperature eggs are non-negotiable: warm eggs incorporate better and hold air. If you forget to warm them, sit them in warm water five minutes before starting.
- Whip to the right stage: Look for the ribbon stage—thick, pale, and slow to fall off the whisk. Underwhipping = dense; overwhipping = collapsed final rise.
- Chill for lift: Resting the batter in the fridge for at least 4 hours firms the fats and gives a better oven spring. Don’t skip this even if you’re tempted to bake immediately.
- Pan care matters: Properly butter and flour the pan between batches. If madeleines stick, give the pan a cool-down and a fresh brush of butter—this prolongs pan life and ensures clean shells.
- Temperature control during baking: Start at 375°F for a strong initial rise, but if your kitchen runs hot, drop to 350°F and add a minute or two to the bake time. Check edges for golden color.
- Avoid overfilling molds: Fill to three-quarters; too full and the hump will be irregular, too little and you won’t get the classic silhouette.
- Use quality vanilla and fresh lemon zest: These simple aromatics punch above their weight. Zest just before mixing to capture bright citrus oils.
- Troubleshooting: If you get flat madeleines, assess egg temperature, whip time, and whether you overfolded the batter. A sous-chef trick I use for tricky batter timing appears in another chilled-batter recipe like my pot pie pasta, where temperature and timing are everything.
- Timing and storage for batches: If baking multiple batches, keep finished madeleines on a wire rack in a single layer; store uncovered for up to 24 hours to keep edges crisp, or re-crisp slightly in a 300°F oven for 3–4 minutes.
Storage & Freezing
Fridge: Cool madeleines completely before storing. Arrange in a single layer in an airtight container with parchment between layers to prevent sticking. They keep fresh for up to 3 days in the refrigerator, but they’re best eaten within 24 hours for optimal crispness.
Freezer: Freeze madeleines individually on a sheet tray until solid, then transfer to a resealable freezer bag or airtight container. They’ll keep for up to 2 months. When you want one, reheat directly from frozen: 300°F for 6–8 minutes to restore a little crispness without drying them out.
Reheating: For best results, warm in a 300–325°F oven for 3–5 minutes if taken from the fridge, or 6–8 minutes if frozen. Avoid the microwave; it makes the exterior soggy and the interior gummy. If you like a dusting of sugar, add confectioners sugar after reheating.
Variations & Substitutions
- Lemon-Poppy Seed: Add 1 tablespoon of poppy seeds to the batter for a classic pairing with the lemon zest. It adds slight crunch and visual interest.
- Orange & Almond: Swap lemon zest for orange zest and fold in 2 tablespoons of finely ground almonds for a Mediterranean twist. Reduce flour by 1–2 tablespoons if batter feels dry.
- Chocolate-Dipped: Dip the cooled madeleine half into tempered dark chocolate and let set on parchment for a luxe finish. Sprinkle sea salt for contrast.
- Gluten-Free: Use a 1:1 gluten-free baking flour blend with xanthan gum included. Expect a slightly different crumb; chill for the full 2 days if possible to firm structure.
- Dairy-Free: Substitute browned butter with browned vegan butter or browned coconut oil flavoring for a similar nutty note. Remember melted plant fats behave slightly differently; reduce by a teaspoon or two if batter seems too loose.
Frequently Asked Questions
Q: Why didn’t my madeleines get a hump?
A: The hump needs both well-whipped eggs and a cold batter. Check that your eggs were room temperature, that you reached the ribbon stage when whipping, and that you chilled the batter for at least 4 hours. Also confirm your oven was preheated to 375°F and the pan was properly buttered and floured.
Q: Can I skip browning the butter?
A: You can, but you’ll lose depth of flavor. Regular melted butter gives good texture but lacks the toasted, caramel notes that browned butter contributes. If pressed for time, add a teaspoon of toasted nut oil for a hint of that toasty flavor.
Q: How do I prevent madeleines from sticking to the pan?
A: Thoroughly butter each mold and dust with flour, tapping out excess. If your pan is older or nonstick performance has declined, consider using a silicone spray made for baking or invest in a new madeleine pan for consistent results.
Q: Can I scale this recipe up?
A: Yes, you can double the recipe, but do so in separate bowls so you can whip eggs and fold gently without overworking a very large volume. Chill each batch in its own container for consistent results.
Q: Are madeleines supposed to be cakey or cookie-like?
A: They should sit between the two—a delicate sponge with a slightly crisp exterior. Not dense like a cookie, but not as airy as a chiffon cake. The goal is a tender, buttery interior with a defined outer edge.

Final Thoughts
These madeleines are a small ritual — a little time, a simple technique, and the reward is a shelf of shell-shaped delights.
If you make them, warm one and taste the browned butter and lemon together; you’ll understand why I keep this recipe in rotation.
Please leave a star rating in the recipe card below and pin this to your favorite baking board for later.
Conclusion
If you want another interpretation of classic madeleines, this take from Classic French Madeleines Recipe – Baker by Nature is a helpful comparison for technique and flavor notes.
For a step-by-step visual guide and tips on achieving the hump and shell crispness, read the Kitchn’s guide at How To Make Classic French Madeleines – The Kitchn.
And if you want another baker’s take with slightly different timing and proportions, see this version at Classic French Madeleines for comparison and troubleshooting ideas.

Browned Butter Madeleines
Ingredients
For the batter
- 1 stick Unsalted butter (4 ounces) Browned butter is essential for flavor.
- 2 teaspoons Vanilla extract Use quality vanilla extract for best flavor.
- 1.5 teaspoons Lemon zest, finely grated Zest just before mixing for maximum flavor.
- 1 cup All-purpose flour Measure using the spoon-and-level method.
- 1.25 teaspoons Baking powder Helps the madeleines rise.
- 1/4 teaspoon Salt Enhances flavor.
- 3 large Eggs (room temperature) Warm in water if needed to help with whipping.
- 3/4 cup Granulated sugar Stabilizes the egg foam.
- 1/2 cup Confectioners sugar (optional for dusting) Dust just before serving for presentation.
Instructions
Prepare the Batter
- Brown the butter in a heavy saucepan over medium heat, swirling often until it turns golden-brown and smells nutty.
- Remove from heat and stir in vanilla extract and lemon zest, cooling the mixture to room temperature.
- In a bowl, whisk together the flour, baking powder, and salt; set aside.
- In a separate bowl, whip the eggs and granulated sugar on medium-high speed until thick and pale, forming a ribbon when whisk is lifted.
- Gently fold in the flour mixture into the whipped eggs in three additions.
- Add the cooled browned butter in a thin stream until just combined, taking care not to overmix.
- Cover and refrigerate the batter for at least 4 hours or up to 2 days.
Bake the Madeleines
- Preheat the oven to 375°F (190°C) and butter and flour a madeleine pan.
- Spoon scoops of batter into each mold about three-quarters full and bake for 12 minutes, until edges are golden brown.
- Cool the madeleines in the pan for 2 minutes, then transfer them to a wire rack.
- Dust with confectioners sugar just before serving.