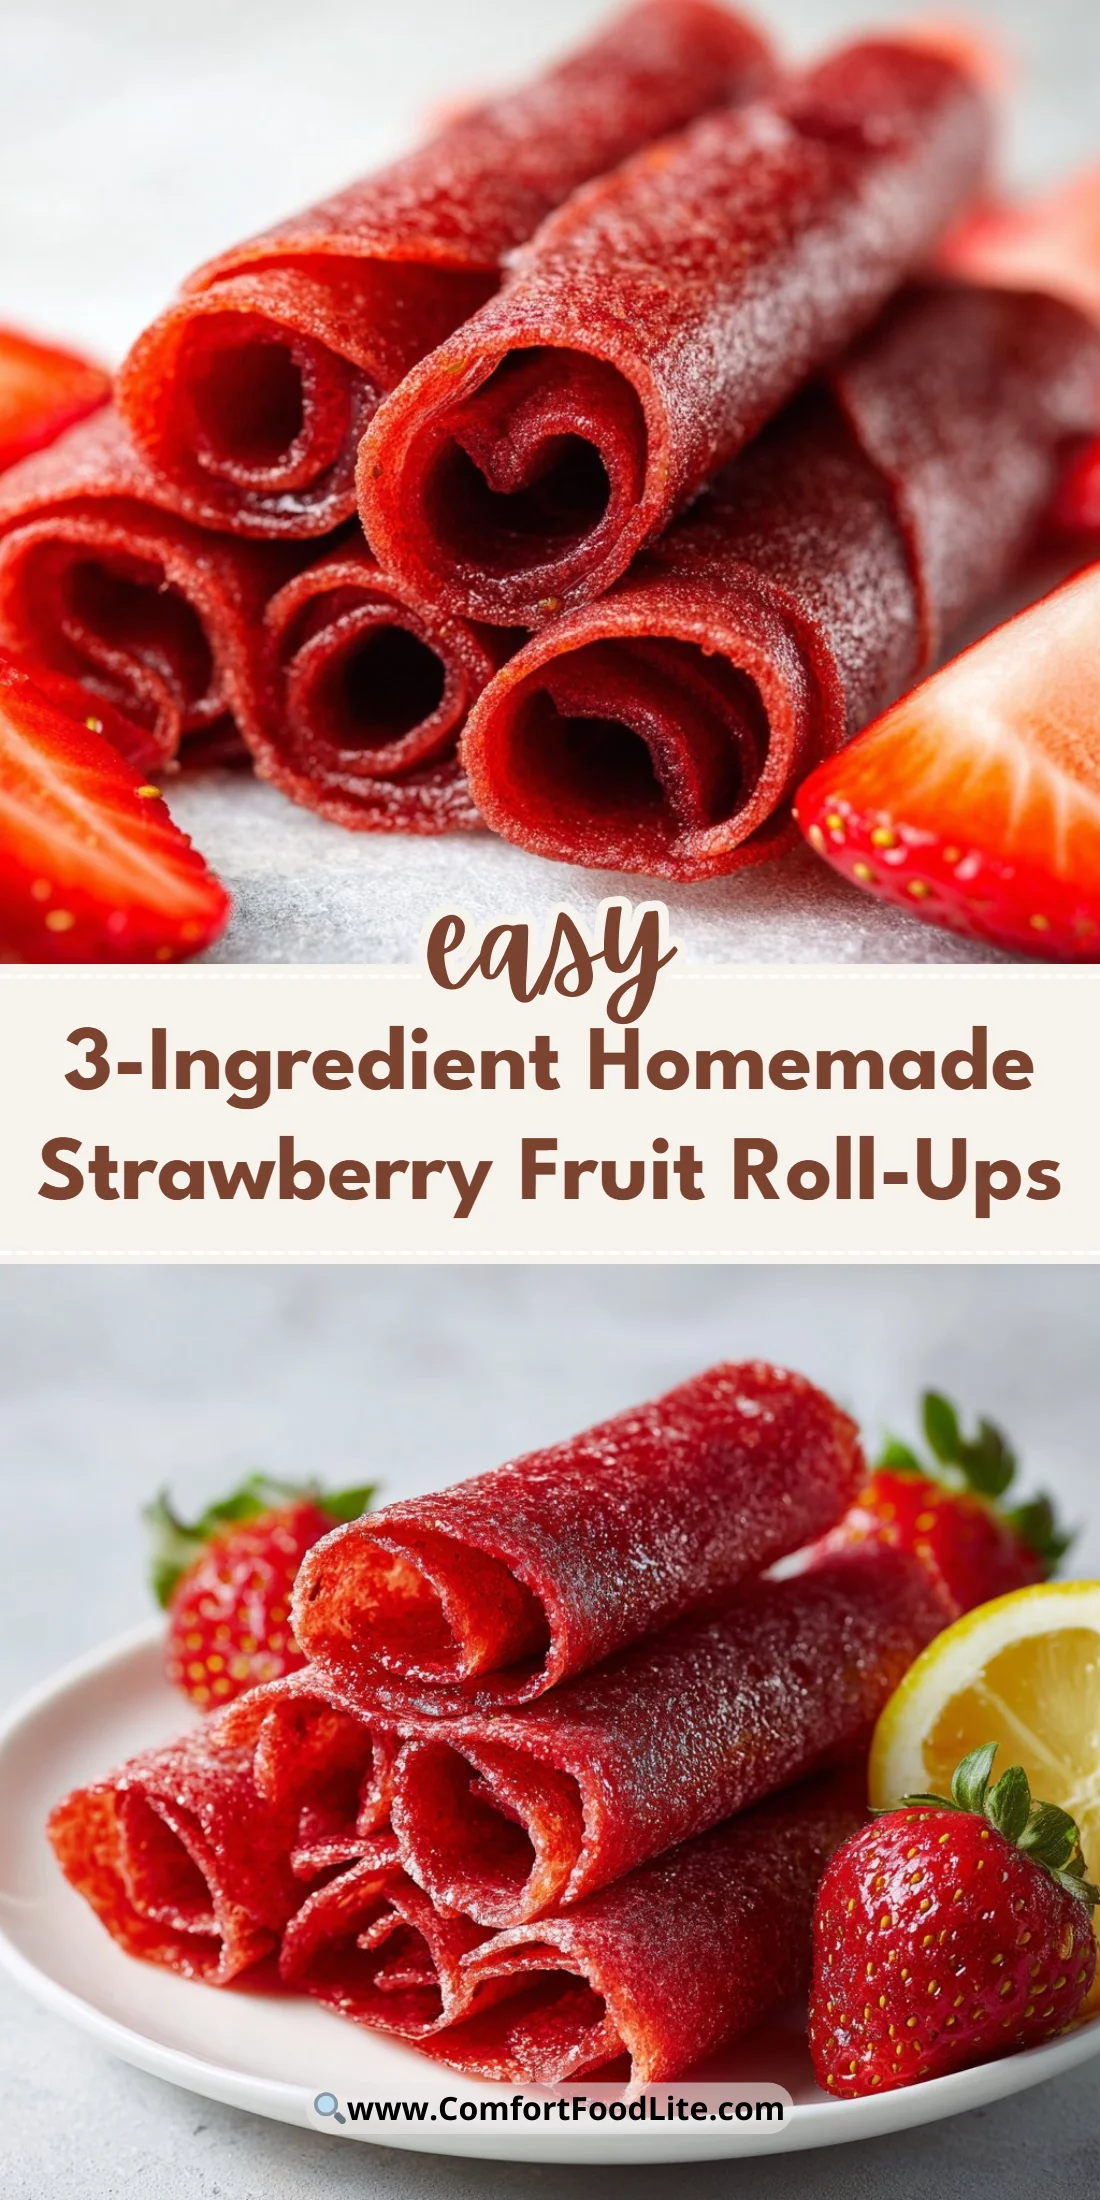
The first time I made these, my kids thought they were store-bought candy.
It’s just three ingredients and a low oven, but the result is intensely fruity, chewy, and gloriously portable.
This recipe is perfect for lunchboxes, snacks, and anything that needs a fresh-hit of strawberry without added junk.
If you love ultra-simple fruit snacks, you’ll also appreciate recipes like Homemade Strawberry Kiss Cookies for another quick strawberry treat.
Why You’ll Love This Recipe
- Only three real ingredients: strawberries, honey, and lemon juice.
- No added pectin, gelatin, or corn syrup—just fruit.
- Totally customizable thickness and chew (you control oven time).
- Great for packing, gifting, and kid-friendly snacking.
- Uses frozen berries just as well as fresh, so it’s year-round.
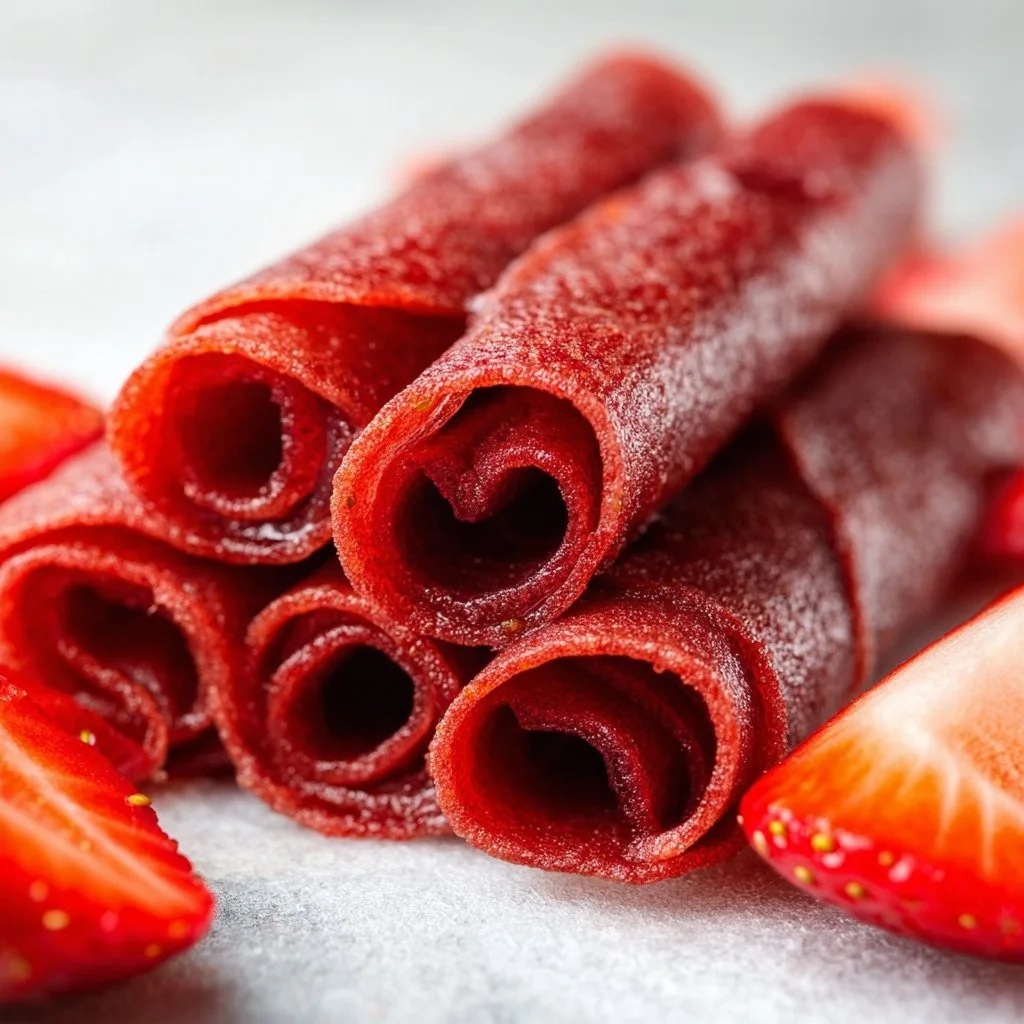
The texture is like a concentrated fruit leather: chewy but not gummy, pliable yet sturdy enough to roll or fold. The flavor is bright strawberry with a soft caramel note from the honey and a balancing tang from lemon juice. Because the fruit is cooked slowly at a low temperature, the natural sugars concentrate and the color deepens without burning.
"My picky toddler devoured these and demanded more the next day — a household win!" — 5 stars, Morgan R.
Key Ingredients
Strawberries — The star. Fresh berries deliver the brightest flavor, but frozen (thawed) strawberries work perfectly and are often sweeter because they’re picked at peak ripeness. If using frozen, drain excess water after thawing before blending to speed drying time. For the most vibrant results, choose berries that smell sweet and deep red throughout.
Honey — Acts as both a sweetener and humectant, helping the roll-ups hold together while adding a round, floral sweetness. You can swap for maple syrup if you need a vegan option, but the final mouthfeel will be slightly different. Use a mild-flavored honey (like clover) for pure strawberry flavor, or a darker honey for a richer caramel note.
Lemon juice — Small but critical. The acid brightens the fruit, helps preserve color, and balances sweetness. Fresh-squeezed lemon is best; bottled will work in a pinch but the flavor is flatter. Two tablespoons is enough to keep the roll-ups tasting lively without noticeable tartness.
Optional: If your strawberries are very watery, a small pinch of fine salt will enhance flavor and round out sweetness.
Full ingredient list:
- 3 cups strawberries (frozen (thawed), or fresh)
- 3 Tbsp honey
- 2 Tbsp lemon juice
Step-by-Step Instructions
Step 1: Preheat and prepare your pan
Preheat your oven to 140–170°F (or as low as it goes). The goal is slow drying, not baking.
Line a sheet pan with parchment paper and smooth it flat so there are no air bubbles.
Pro Tip: If your oven’s lowest setting is 200°F, prop the door open slightly with a wooden spoon to drop the internal temp a bit. You’ll know the oven is ready when it stays steady at the low range and doesn’t roast the fruit.
Step 2: Blend the fruit
Add the strawberries, honey, and lemon juice to a food processor or high-speed blender.
Blend until perfectly smooth, stopping to scrape down the sides as needed.
Pro Tip: If your puree is very watery, pulse a few extra times to create a slightly thicker emulsion; this reduces oven time. You’ll know it’s ready when the mixture pours in a slow, ribbon-like stream.
Step 3: Spread the puree on the pan
Pour the blended fruit onto the lined sheet pan. Use an offset spatula to spread it into an even layer, about 1/8 to 1/4 inch thick. Thin layers dry faster and make chewier roll-ups; thicker layers make softer, more pliable strips.
Pro Tip: Draw a light border on the parchment with a dry-erase marker (off the edge) as a guide for even spreading. The mixture should gloss over the surface but not pool.
Step 4: Low-and-slow dry in the oven
Place the pan in the oven and dry for 4–6 hours, depending on oven temp and thickness. Rotate the pan halfway if your oven has hot spots. The roll-up is done when the center is no longer tacky to the touch and the surface has a dull, leathery appearance.
Pro Tip: You’ll know it’s ready when a fingertip leaves no sticky residue and the edges pull slightly away from the parchment. If the center still feels sticky after 6 hours, extend in 30-minute increments.
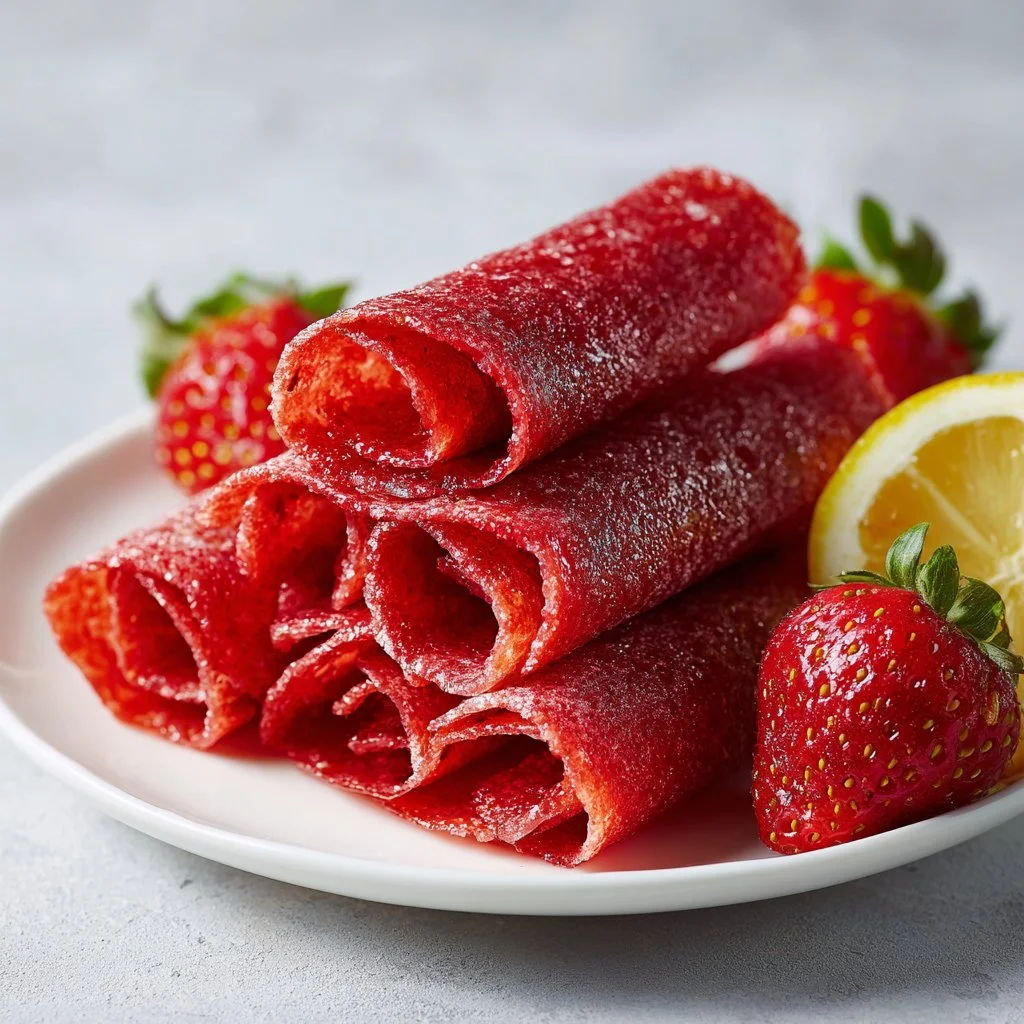
Step 5: Cool and cut into strips
Cool the fruit leather completely on the pan—this helps it firm up. Gently peel the parchment away and flip the sheet so the fruit leather sits on a clean surface. Trim ragged edges with scissors or a pizza cutter, then slice into 1-inch strips.
Pro Tip: Use a ruler or the width of a cutting board as a guide for uniform strips. Store rolled or flat depending on preference. You’ll know you did it right when the strips bend without cracking.
Expert Tips for Success
- Oven temperature matters more than time. Aim for the lowest possible heat and check after 4 hours. If your oven is warmer than 170°F, check earlier to avoid darkening.
- Use parchment—not silicone—if you want easy peeling and crisp edges; silicone can trap moisture and extend drying time.
- If your strawberries are very sweet or super ripe, reduce honey to 2 Tbsp and taste the puree before baking. You can always add sweetness later.
- For consistent results, homogenize batches: blend multiple batches of strawberries to equal 3 cups measured after processing. Measuring before blending can mislead because pureed volume changes.
- Rotate pans halfway through drying. Even small hot spots in home ovens cause uneven textures—rotation gives even chew.
- Test doneness by cutting a small piece and letting it cool; if it tears rather than stretches, it’s slightly over-dry for some tastes, but still delicious.
- Don’t skip the lemon juice. Acid not only brightens flavor but also helps limit enzymatic browning during drying.
- If you want translucency and glossy finish, finish drying with the oven door ajar for the last 20–30 minutes to allow moisture to escape.
- For faster results, dehydrate in a food dehydrator at 135–140°F for 6–8 hours; times vary by model and layer thickness.
- Label your storage containers with the date; homemade fruit leather is best within 2 weeks at room temp but can last much longer frozen.
Storage & Freezing
Fridge: Store rolled pieces in an airtight container layered between parchment paper. They’ll keep for up to 2 weeks in the refrigerator. The cool environment slows moisture migration and preserves chewy texture.
Freezer: For long-term storage, wrap individual strips tightly in plastic wrap then store in a freezer-safe bag. Press out excess air and freeze for up to 6 months. Thaw at room temperature before eating.
Reheating / Refreshing: If frozen roll-ups feel stiff, let them sit on the counter for 15–30 minutes to relax. For a fresh-soft texture, place wrapped strips in a warm spot (not direct heat) for a few minutes. Avoid microwaving—fast heat makes them rubbery.
Variations & Substitutions
- Mixed berries: Use a blend of strawberries and raspberries or blueberries for deeper flavor. Keep sugar content in mind; raspberries add tartness.
- Tropical twist: Swap half the strawberries for mango for a bright, sunny roll-up. Mango’s fibrous nature may require slightly longer drying.
- Vegan swap: Replace honey with maple syrup or agave; expect a slightly thinner texture and a distinct maple note.
- Spiced: Add a pinch of ground ginger or cinnamon to the blender for a warming background note that pairs beautifully with honey.
- Savory-sweet pairing: Cut into small squares and pair with goat cheese as a sweet-salty snack; see ideas like Chicken Salad Cucumber Roll-Ups for creative finger-food inspiration.
Frequently Asked Questions
Q: Can I use frozen strawberries straight from the freezer?
A: Thaw frozen strawberries first and drain any excess liquid. Very watery purees extend drying time and can lead to uneven texture. If your berries are particularly juicy, pat them dry with paper towels before blending.
Q: How thin should I spread the fruit mixture?
A: Aim for 1/8 to 1/4 inch thickness. Thinner sheets dry faster and become chewier; thicker sheets remain softer and may need extra time. Use a straight edge or offset spatula for an even layer.
Q: Is there a sugar-free option?
A: The honey is there for texture and preservation as well as sweetness. You can omit sweetener if your berries are very sweet, but the resulting leather will taste more purely fruity and may dry a bit firmer.
Q: Can I make these in a dehydrator instead of an oven?
A: Yes. Use 135–140°F and check between 6–8 hours. Dehydrators provide a very consistent low heat and can produce more uniform results than some ovens.
Q: Why did my roll-ups get sticky after a day?
A: This usually happens when humidity is high or the pieces weren’t fully dry before storage. Let them finish drying until the middle is no longer tacky, and store in airtight containers with parchment layers. If stickiness occurs anyway, refrigerate to slow moisture transfer.
Final Thoughts
These 3-ingredient strawberry roll-ups are one of those recipes that feels fancy but takes almost no effort. They’re a fantastic way to use up berries, reduce food waste, and give kids (and adults) a real-fruit treat they’ll actually want to eat.
Please leave a star rating in the recipe card below and pin this recipe to your favorite board so you can find it again.
Conclusion
If you’d like to compare techniques or see the original inspiration, check out the 3-Ingredient Homemade Strawberry Fruit Roll-Ups for another clear how-to.
For a slightly different take and tips on texture from a long-time recipe developer, read the Strawberry Fruit Roll Ups (Homemade, Real Fruit) – Fifteen Spatulas.

3-Ingredient Strawberry Roll-Ups
Ingredients
Main Ingredients
- 3 cups strawberries (frozen (thawed), or fresh) If using frozen, drain excess water after thawing before blending.
- 3 Tbsp honey Can be replaced with maple syrup for a vegan option but may alter texture.
- 2 Tbsp lemon juice Fresh-squeezed is best for bright flavor.
Instructions
Preparation
- Preheat your oven to 140–170°F (or as low as it goes). Line a sheet pan with parchment paper.
- Add the strawberries, honey, and lemon juice to a food processor or blender and blend until smooth.
- Pour the blended fruit onto the lined sheet pan and spread it into an even layer, about 1/8 to 1/4 inch thick.
Drying
- Place the pan in the oven and dry for 4–6 hours, or until the surface has a dull, leathery appearance.
- Rotate the pan halfway through if your oven has hot spots.
Cooling and Cutting
- Let the fruit leather cool completely on the pan, then peel away the parchment and cut into strips.