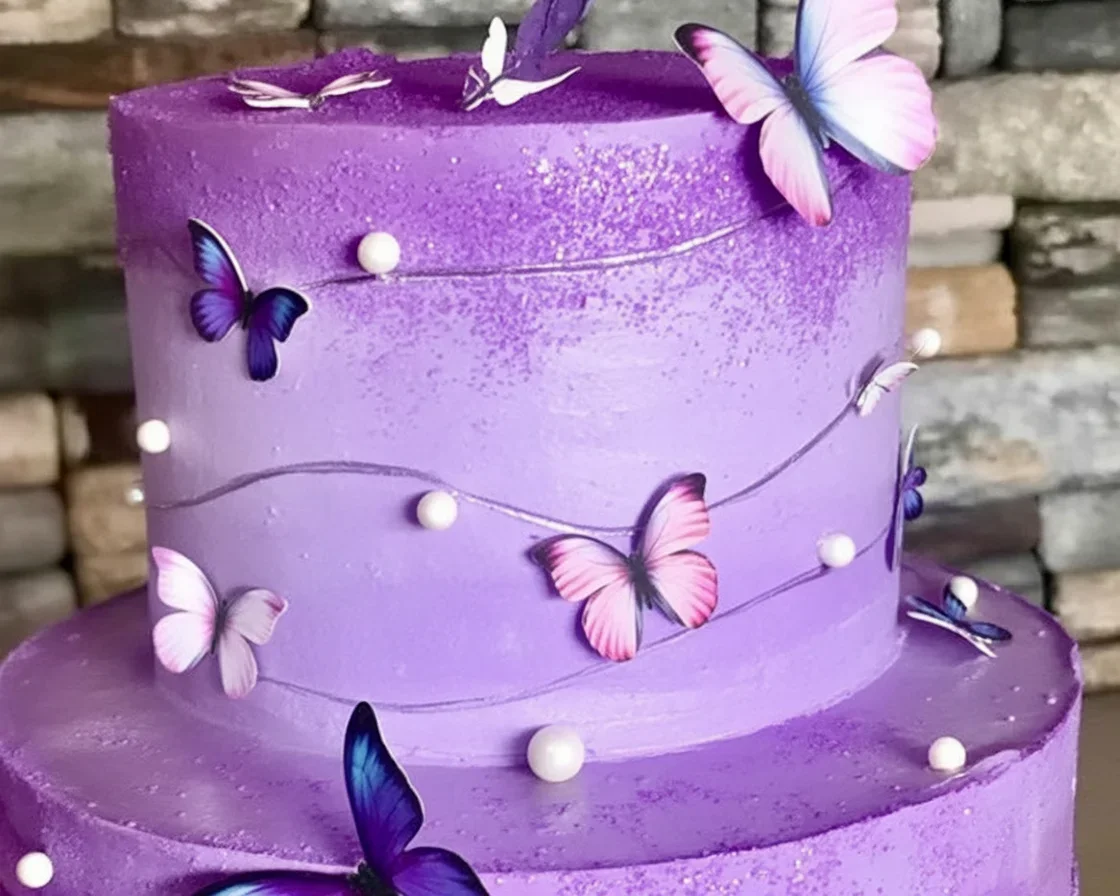
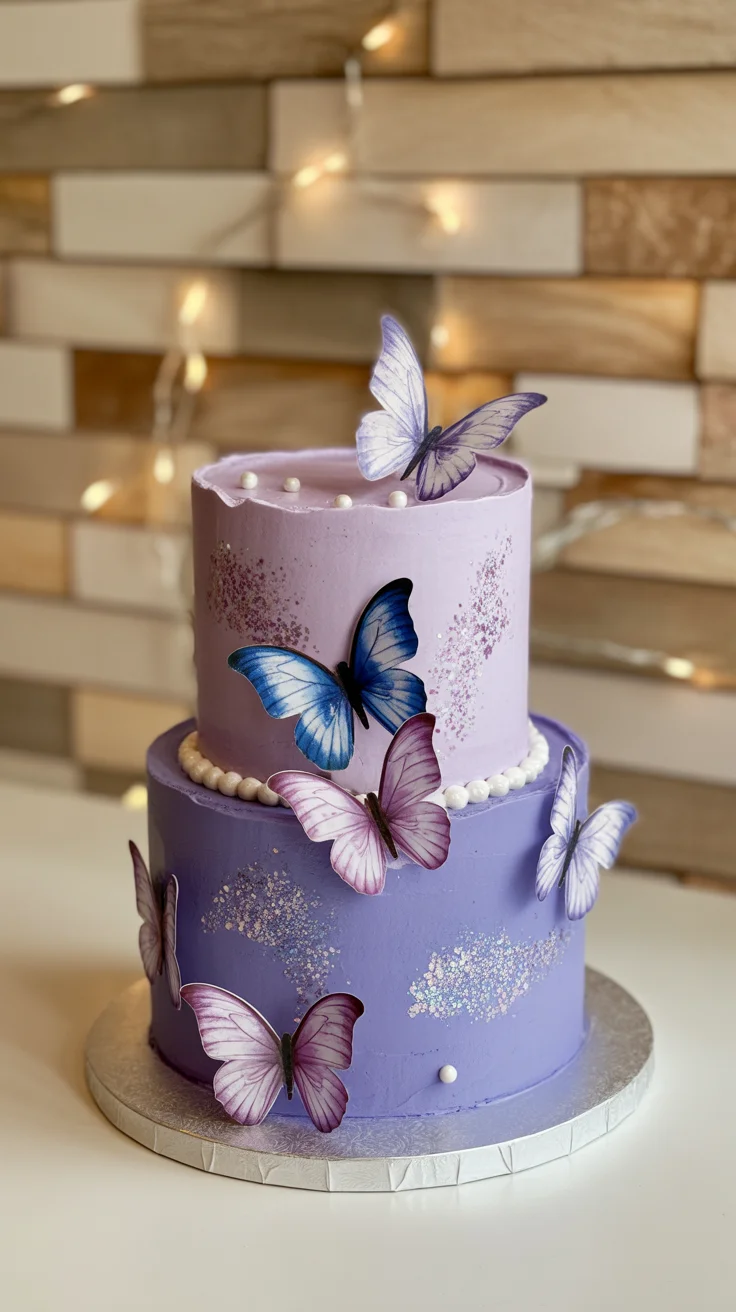
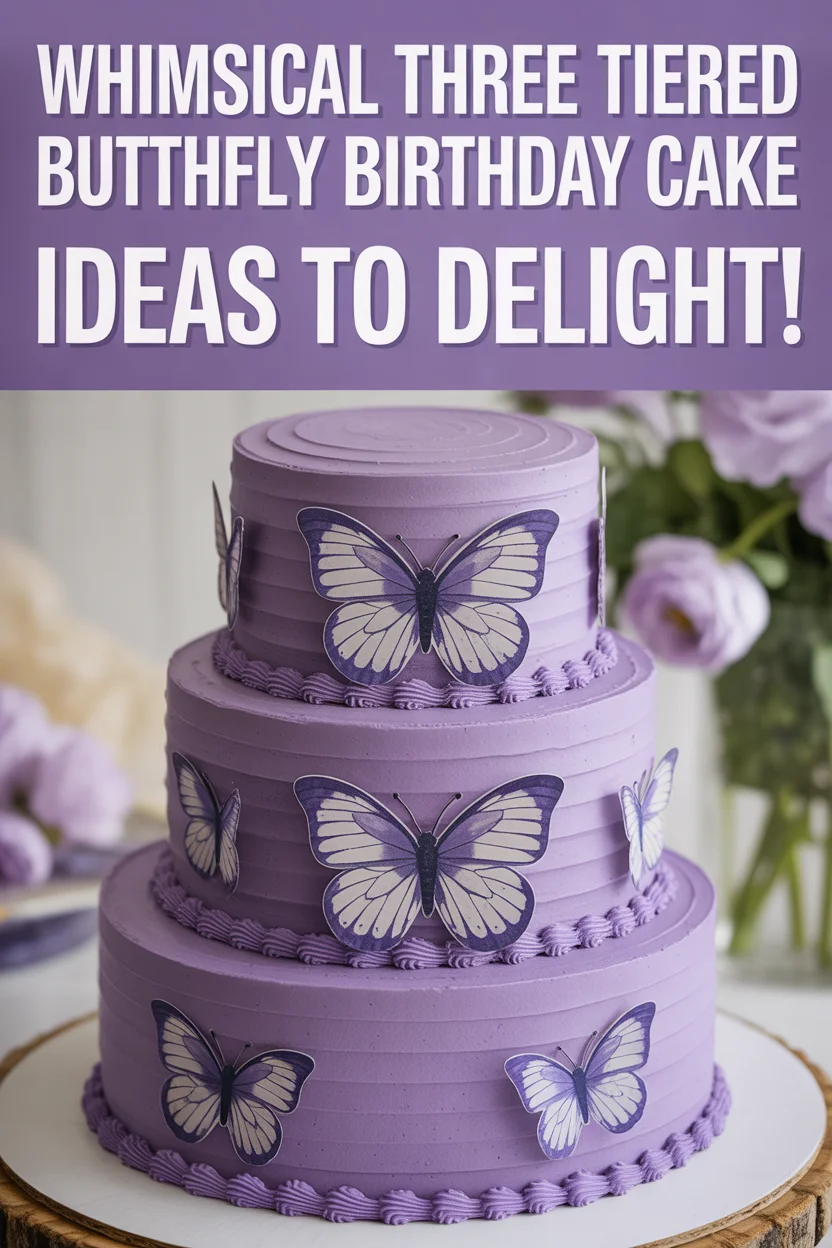
Three Tiered Butterfly Birthday Cake. If you’ve ever seen one on Pinterest, you know what I mean it honestly feels like a five-star restaurant cake landed smack in the middle of your living room. But let’s be real baking a fancy showstopper like an ombre butterfly cake? That’s intimidating. Last year, I almost had a meltdown trying to get the colors right for my kid’s birthday. Wish I’d checked out these leo birthday cake ideas for inspiration first. Or even a simple neapolitan cake recipe would’ve saved me time. So here’s the lowdown on tackling a three tiered beauty at home without losing your mind.
Choosing the Right Flavors for Your Three Tier Ombre Butterfly Cake
Alright, real talk. The hardest part of this cake isn’t the decorating. Nope. Picking flavors is where I get totally stuck. Kids might want chocolate on every tier, but your grandma? She’ll demand classic vanilla. And me? I like things a bit out of left field (hello, pumpkin spice cake for a summer birthday…).
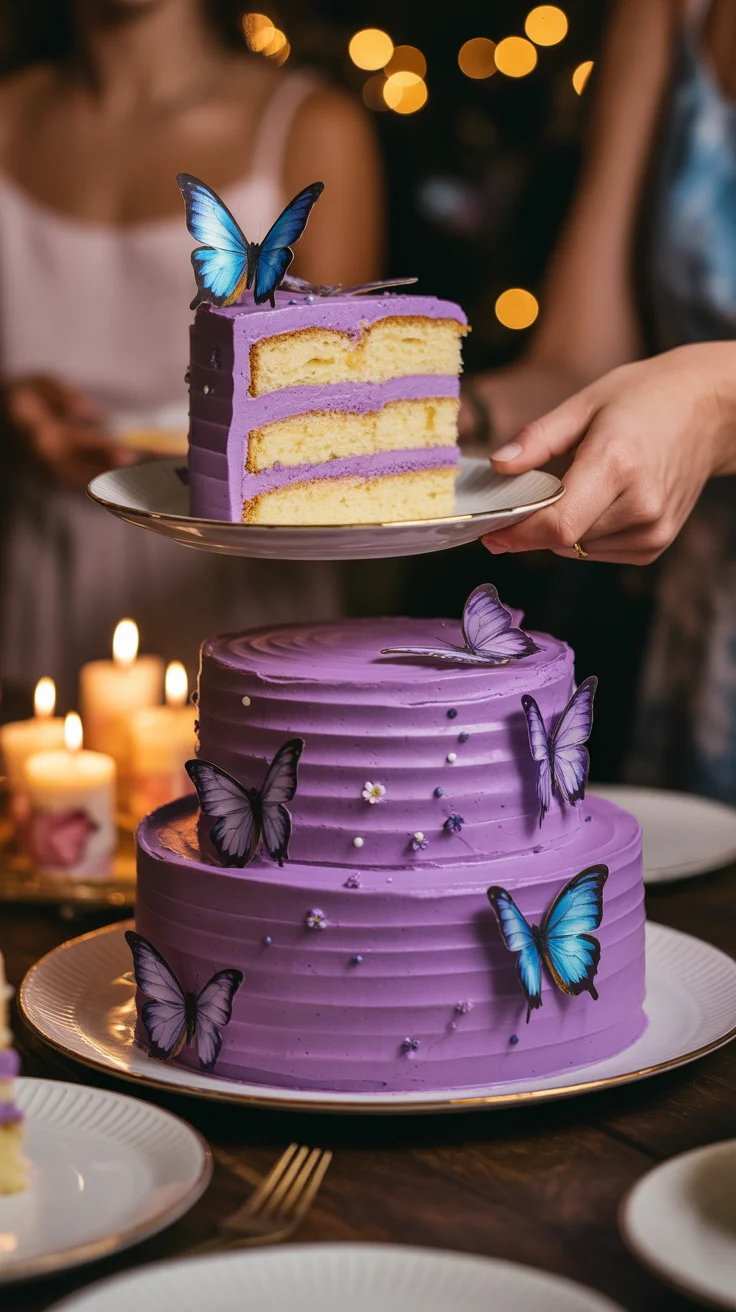
If you want the ombre effect to really show, keep your sponge light. Vanilla or strawberry works great because you can tint them easily. But hey, no rules against throwing a chocolate layer in there. Actually, a neapolitan cake recipe is a literal cheat code for ombre looks and taste combos. Bottom line: stick with what your family will eat, but don’t be afraid of color. Add freeze-dried fruit powder or flavored extracts for more punch, if you want. And seriously, avoid fillings that are too wet, or your tiers will try to escape the party.
My daughter said it was “the prettiest cake ever, and it tasted even better than it looked!” Never thought I’d hear that from a nine-year-old!
Essential Tools and Ingredients for Cake Decorating
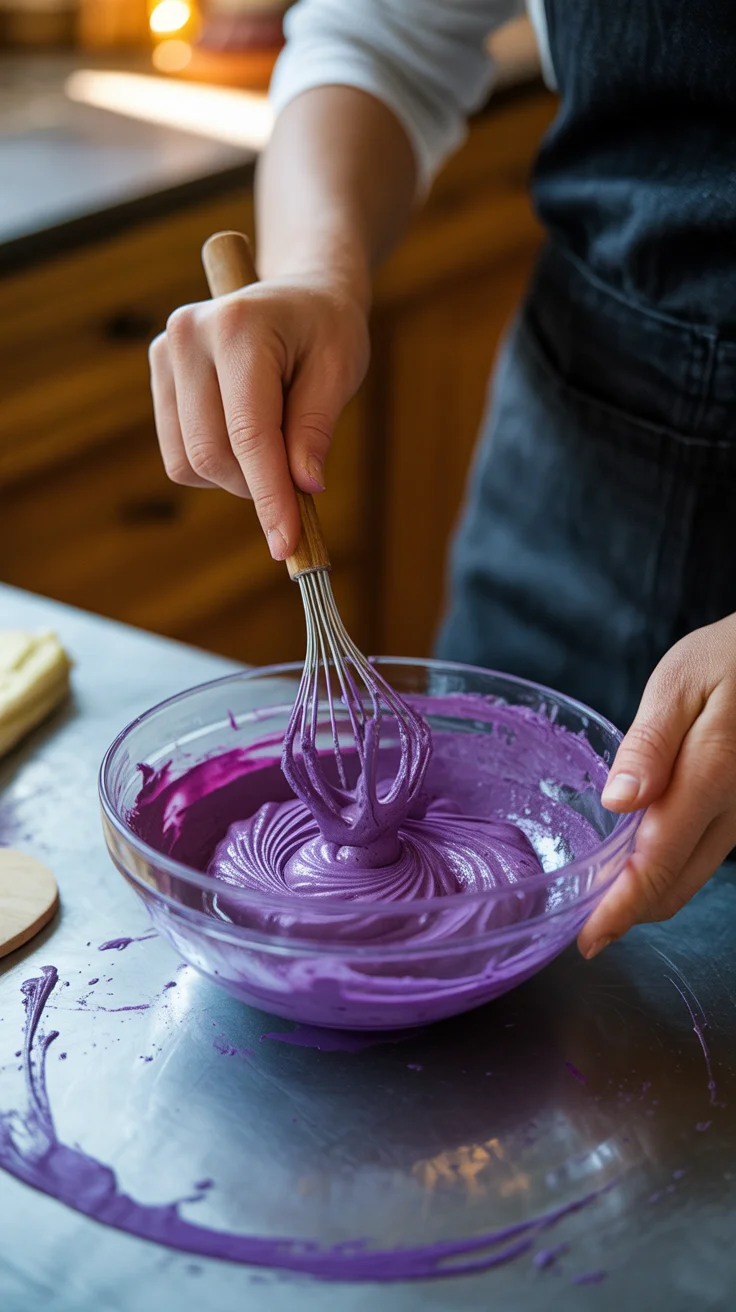
Skimp on tools, and you’ll regret it. I know I did the first time. You gotta have a good cake turntable (the plastic kind works fine). Offset spatula and bench scraper? Yes, both. Without them? Total mess. Piping bags are your pals for those buttercream ruffles. Don’t get me started on food gel colors you’ll need those for the ombre magic.
Ingredients-wise, don’t fuss about fancy stuff unless you really want to. Your basic grocery-store cake mix can work in a pinch. But! Use real butter in your buttercream. It just tastes right. Grab some cornstarch if you’re fiddling with fondant butterflies (makes them less sticky). And if you want your butterflies to pop, edible shimmer spray is a game-changer.
Funny enough, my first ombre cake used food coloring from a leftover Easter kit. It mostly worked, except the blue layer sort of… vanished. Learn from me. Splurge on real gel color.
| Aspect | Details |
|---|---|
| Flavor Ideas | Vanilla, Strawberry, Chocolate, Pumpkin Spice, or Neapolitan |
| Essential Tools | Cake Turntable, Offset Spatula, Piping Bags, Bench Scraper, Dowels |
| Ombre Layering Steps | Separate batter, color lightly to dark, pour into three pans |
| Common Mistakes | Skipping dowels, stacking warm cakes, runny frosting |
Step-by-Step Guide to Making an Ombre Effect
Getting this ombre look is easier (well, sorta) than people think. Separate your batter into three bowls. Add a little gel food color to one bowl, a bit more to the next, and a lot to the last. Mix gently, or the colors start looking weird. Pour into three pans and bake until a skewer poked in the middle comes out clean.
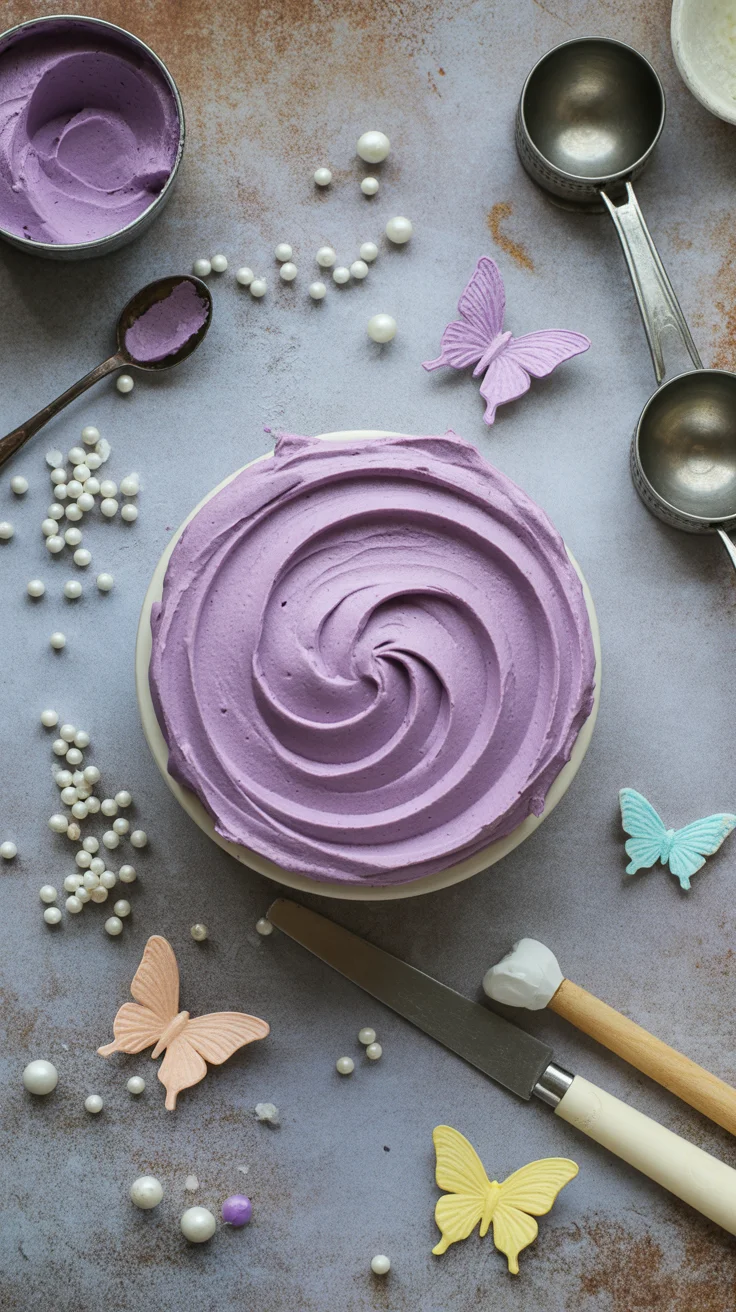
Cool those cakes all the way before stacking. Frost each tier with a similar ombre buttercream gradient it’ll look awesome together. Pipe the colors from lightest at the bottom, getting darker as you work up. Don’t fuss if it looks a bit wonky… the butterflies will fix it, trust me.
My own attempt? The middle tier went a little sideways and looked like a UFO. Still tasted dreamy, thanks to that crazy-fluffy pumpkin spice cake underneath.
Tips for Creating Butterflies with Fondant or Icing
Alright, so here’s the part that’s both my favorite and my downfall. Making fondant butterflies. If you’ve never played with fondant, expect chaos but also fun. Roll it out thin, cut butterfly shapes with a cookie cutter (or freehand if you’re brave). Fold the “wings” slightly so they dry with a little lift. For extra sparkle, dust with edible pearl powder.
Now for icing butterflies: Use stiff royal icing, pipe outlines on parchment, then fill. Once they dry, peel off gently. Use a little icing to “glue” these beauties to your cake, fluttery-side up.
Biggest tip: make extra. Because roughly half will shatter, or someone will, uh, eat them before you decorate. True story at my house.
Common Mistakes to Avoid When Making Tiered Cakes
Can we have a moment for the disasters? Because stacking tiered cakes is just nerve-wracking. I’ve been there where the whole thing looks like it might keel over. Here’s what I’ve learned, painfully:
- Never skip dowels. Wooden sticks or plastic straws are fine, but you’ve gotta have that support.
- Don’t stack warm cakes. They need to be cold or they’ll squish each other.
- Buttercream needs to be a little stiff. Runny frosting will give you a cake landslide.
- Crumb coat matters. That’s just a thin layer of icing that helps everything stick.
Definitely let your masterpiece chill in the fridge before showing it off. Scary scooping it up when it’s soft. Do a test walk with the platter if traveling, too.
Common Questions
Can I use boxed cake mix for the layers?
Absolutely. No judgment here. Just doctor it with a little extra vanilla or sour cream.
How far in advance can I make the butterflies?
You can make fondant or royal icing butterflies up to a week ahead. Just keep them in a cool, dry place.
What’s the easiest way to get even ombre colors?
Start light and add color bit by bit. You can always make it darker, not lighter!
How should I store the finished cake?
Pop it in the fridge if you aren’t serving right away, but let it come to room temp before slicing.
Do fondant butterflies need to dry before decorating?
Yes, at least 24 hours for them to be sturdy.
Ready to Spring into Action? Why Not Try It!
So, there you have it. Making a Three Tiered Butterfly Birthday Cake at home is totally doable even if you’re messy, like me. Pick flavors that make you grin, try out a simple pumpkin spice cake if you’re feeling bold, and let yourself enjoy the magic of making something over-the-top. For more dreamy looks, check out this handy list of 3 Tier Butterfly Cake inspiration photos and see what creative spins folks come up with. Wedding bakeries have nothing on you, especially if you peek at the 260 Best three tier cake ideas in 2025. Let your imagination go wild or go super sweet with a Dreamy Butterflies Cake and remember, your homemade version is already special, just by you trying!
Three Tiered Butterfly Birthday Cake
Ingredients
- 2 boxes of cake mix vanilla, strawberry, chocolate, or pumpkin spice
- Real butter for buttercream
- Gel food colors various shades
- Edible shimmer spray
- Cornstarch for fondant butterflies
- Piping bags
- Buttercream frosting
Instructions
- Prepare cake batter according to package instructions.
- Divide the batter into three bowls and add varying amounts of gel food color to each.
- Pour the colored batters into three separate cake pans and bake until a skewer comes out clean.
- Cool the cakes completely before stacking.
- Frost each tier with a gradient ombre buttercream from lightest to darkest.
- Make fondant butterflies or pipe icing butterflies as decorations.
- Stack tiers securely with dowels for support and refrigerate before serving.