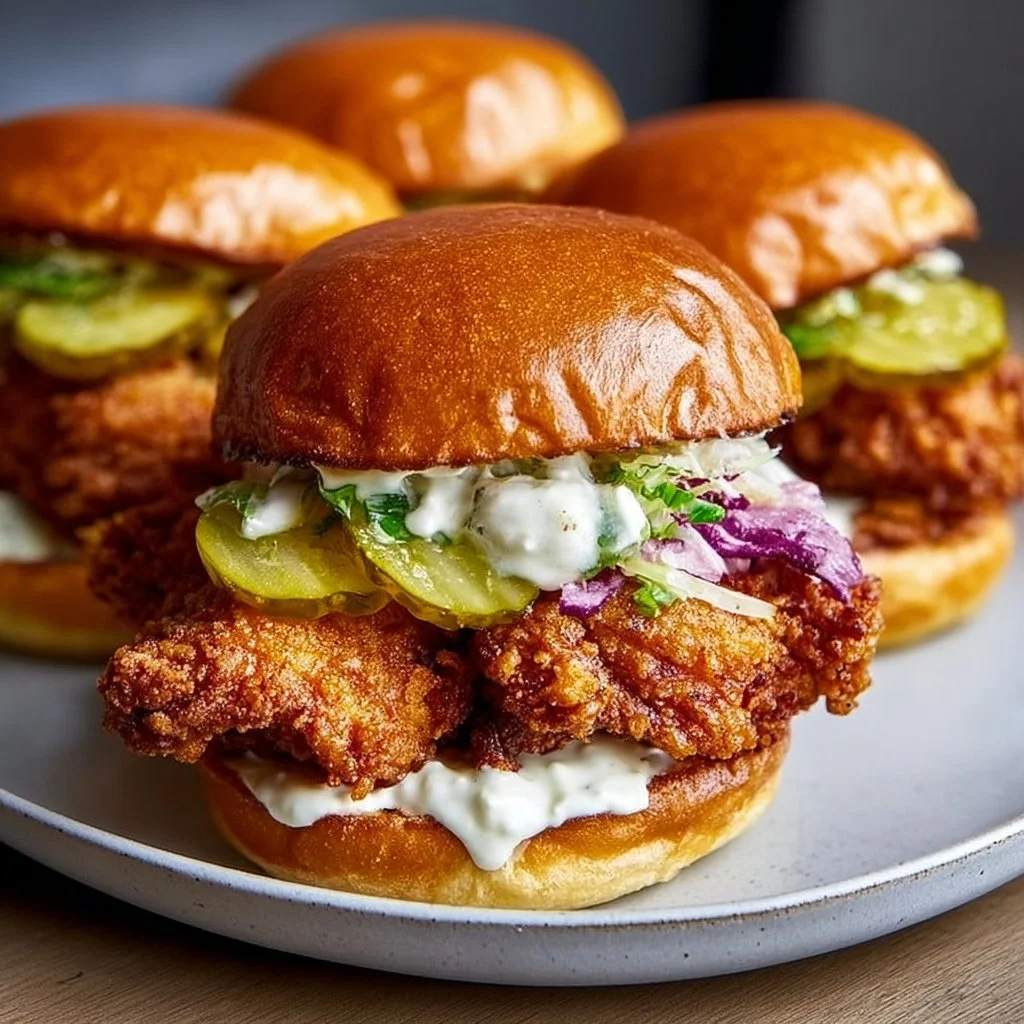
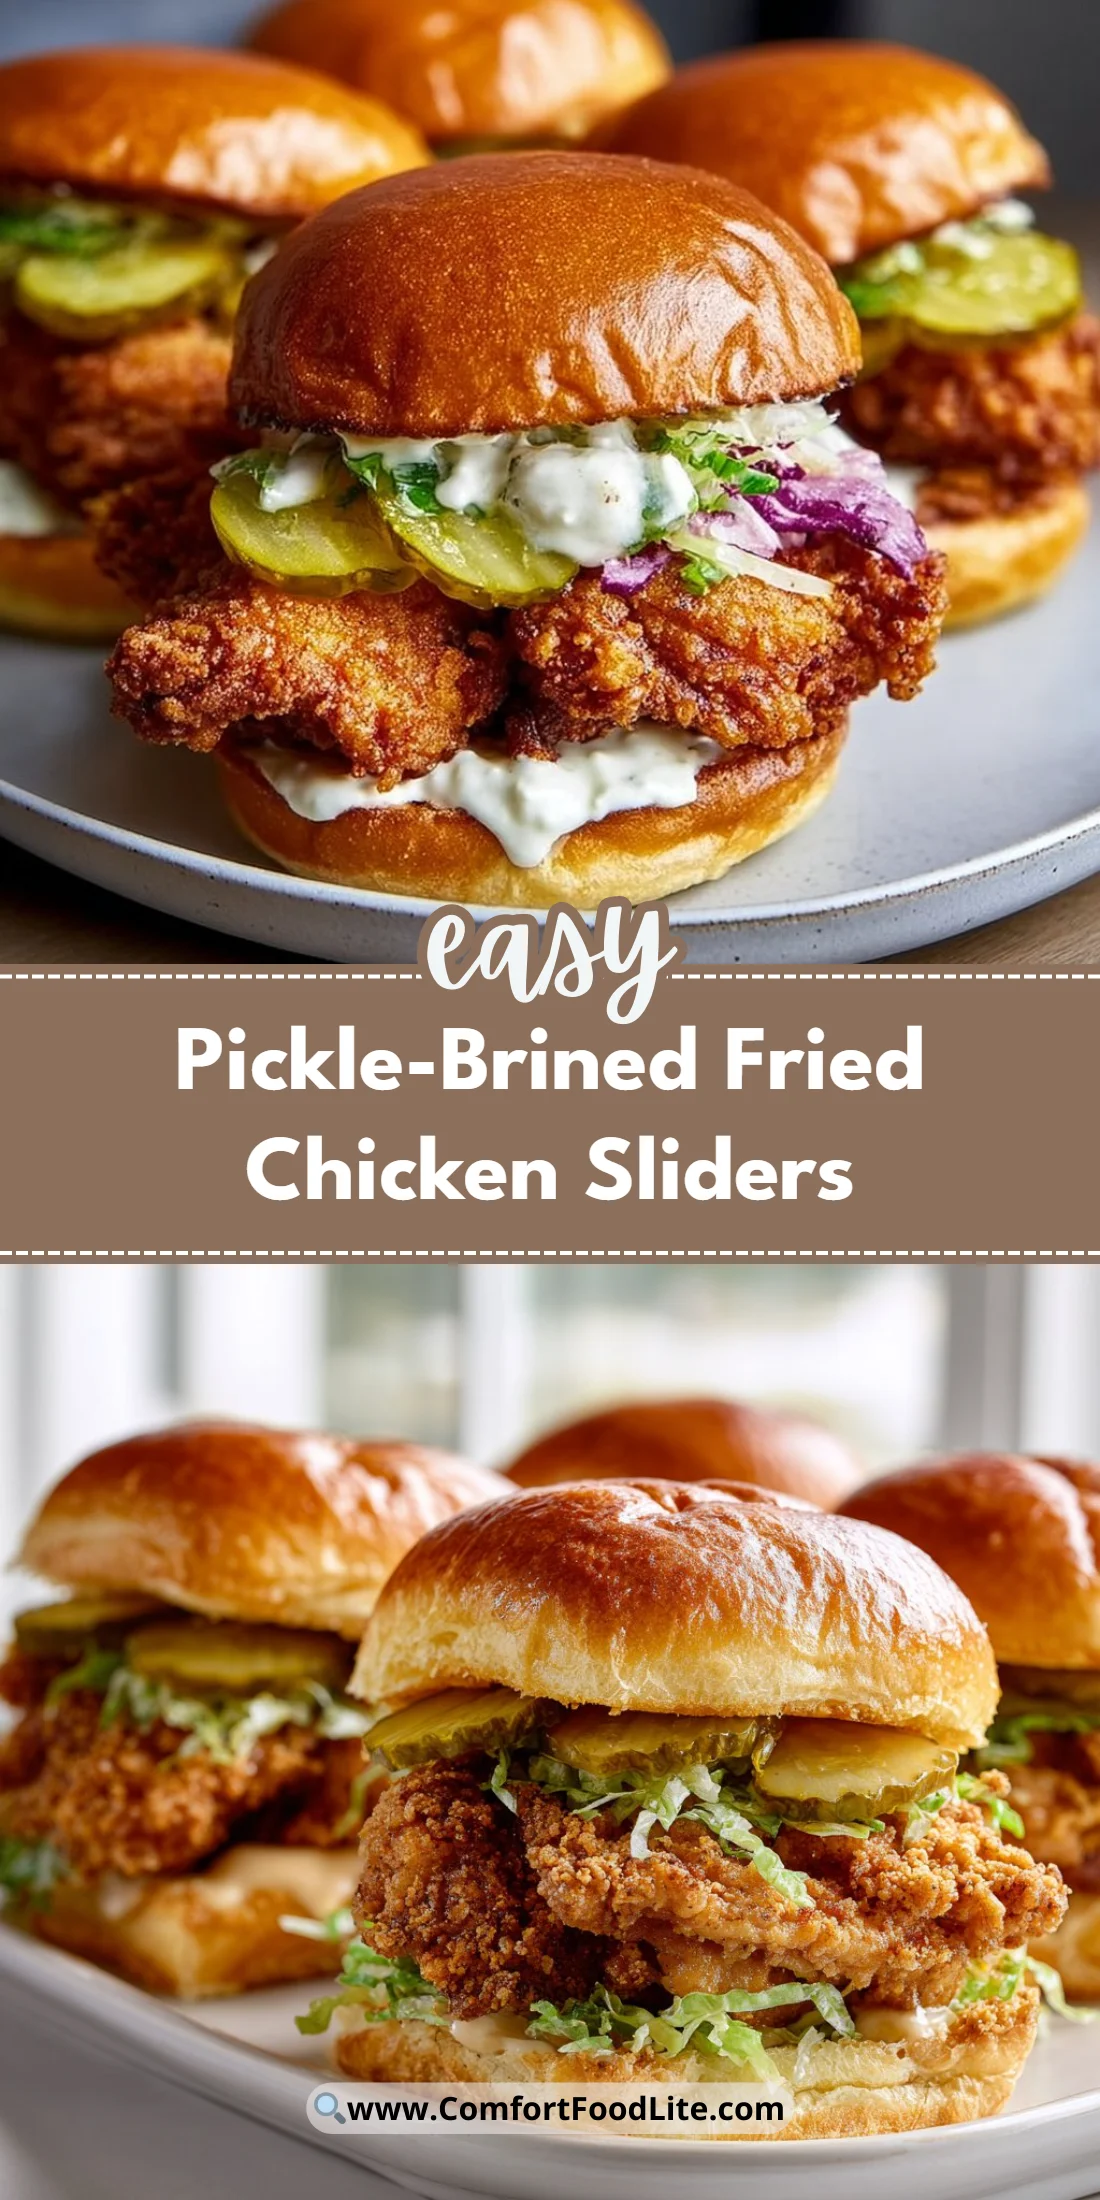
A tangy, crunchy slider that sings with briny depth—these Pickle-Brined Fried Chicken Sliders are the shortcut to a restaurant-level bite at home.
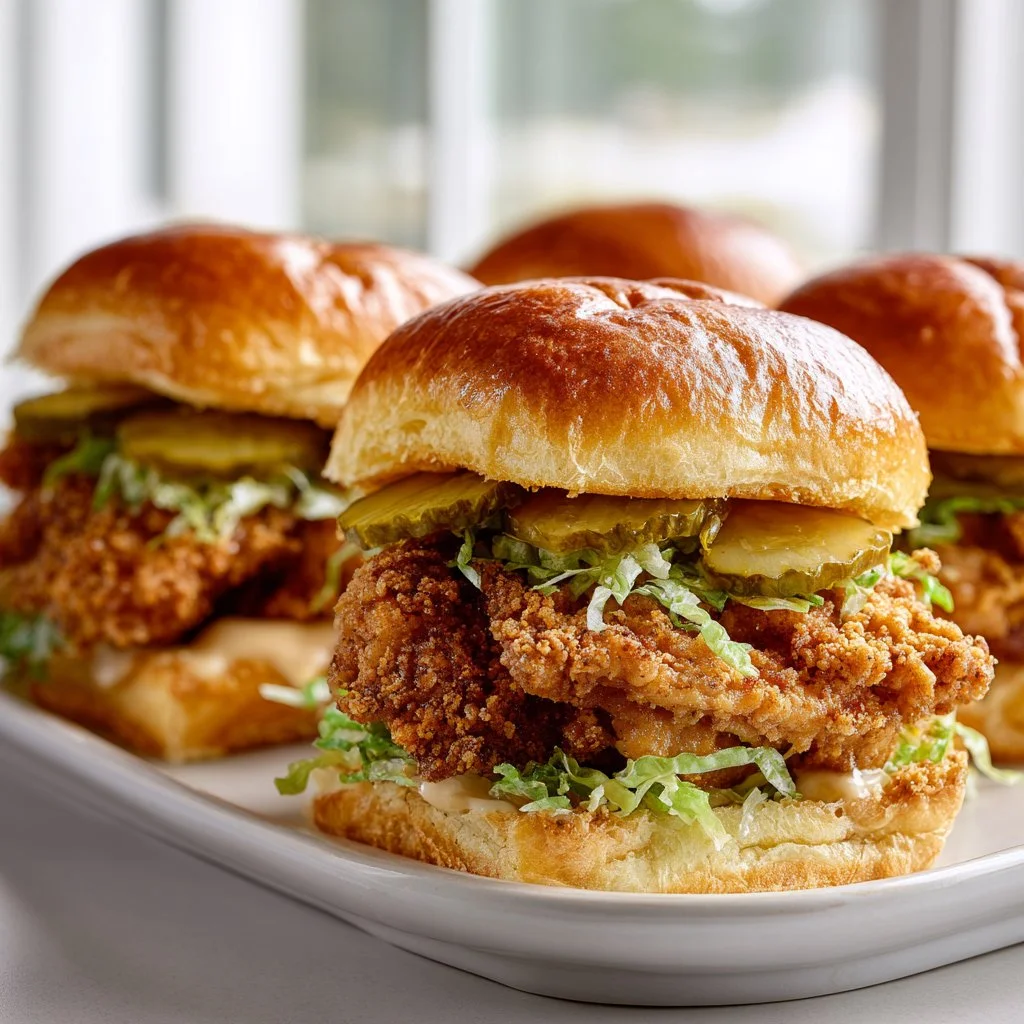
They’re small, shareable, and perfect for weeknights or game-day spreads.
Marinating in pickle brine gives the chicken a zip that salt alone can’t match.
Think juicy interior, crackly golden crust, and a bright pickle finish that cuts the richness.
These sliders are endlessly adaptable and fast to assemble once the chicken is brined.
If you love a screwy twist on a classic, this recipe will be your new go-to — it riffs on what makes classic fried chicken sliders great while adding an unforgettable pickle punch.
For a comparison on slider styles, see this take on classic fried chicken sliders that inspired the size and presentation.
Why You’ll Love This Pickle-Brined Fried Chicken Sliders
- Big pickle flavor without soggy bread.
- Juicy interior from brining.
- Extra-crisp crust thanks to cornstarch in the dredge.
- Easy to scale for parties or meal prep.
- Fast fry time keeps the meat tender.
- Versatile toppings for every taste.
The overall taste is bright and savory with a contrast of textures: the tang from the brine penetrates the meat, the seasoned dredge becomes a crunchy shell, and soft slider buns cradle every bite. The result is a compact sandwich that tastes far more complex than its ingredient list suggests.
"Five stars — the brine makes the chicken electric. Crispy outside, juicy inside, and the sliders disappeared before I could take a photo." — A happy reader
Key Ingredients for Pickle-Brined Fried Chicken Sliders
Pick the right few things and the whole recipe steps up. Below are the most important ingredients and why they matter.
Chicken thighs or breasts
Chicken choice matters for juiciness and cooking speed. Thighs are more forgiving and stay moist; breasts must be pounded thin or sliced to slider-appropriate pieces. If you substitute thighs for breasts, expect a richer flavor and slightly more forgiving cooking time.
Pickle brine
This is the secret flavoring and tenderizer. Use a full-strength commercial pickle juice or homemade brine with vinegar, salt, and spices. If you dilute the brine too much, you’ll lose the pickle tang and tenderizing effect — but you can add a few tablespoons of vinegar if you need to stretch it.
Flour + Cornstarch
A mix of all-purpose flour and cornstarch gives crispness and structure. The cornstarch makes the crust shatter-crisp while the flour adds body and browning. Omitting cornstarch will still work, but the crust will be softer and less crackly.
Bread crumbs
Breadcrumbs create an even outer texture and catch seasoning. Use panko for the airiest, crispiest coat. Swap in finely ground crackers or crushed chips for a different crunch profile, but watch for added salt.
Full Ingredient List for Pickle-Brined Fried Chicken Sliders
- Chicken thighs or breasts
- Pickle brine (enough to cover the chicken)
- Flour
- Cornstarch
- Eggs (beaten)
- Bread crumbs (panko recommended)
- Salt
- Pepper
- Garlic powder
- Onion powder
- Crispy slider buns
- Condiments (mayonnaise, lettuce, extra pickles, mustard, hot sauce)
Step-by-Step Instructions for Pickle-Brined Fried Chicken Sliders
Step 1: Marinate the chicken in pickle brine for at least 4 hours, preferably overnight
Place chicken pieces in a non-reactive container and fully submerge in pickle brine. Refrigerate for a minimum of 4 hours; overnight gives the best flavor and tenderness.
Pro Tip: The chicken should look slightly paler and smell pleasantly vinegary but not sour.
Step 2: Prepare the dry dredge — combine flour, cornstarch, salt, pepper, garlic powder, and onion powder
Use a wide bowl so each piece can be coated easily. Whisk to break up lumps and ensure even seasoning throughout the flour mixture.
Pro Tip: The mixture should be pale and uniform with no clumps; it should cling slightly when you press a pinch between fingers.
Step 3: Dredge marinated chicken in the flour mixture, then dip in beaten eggs, and coat with breadcrumbs
Work one piece at a time: flour, shake off excess, dunk in egg, then press into breadcrumbs until fully coated. For extra crunch, double-dredge by repeating the flour-egg-breadcrumb cycle.
Pro Tip: The breaded chicken should feel slightly tacky and look evenly coated with no bare spots.
Step 4: Heat oil in a deep fryer or large skillet to 350°F (175°C)
Use a neutral oil with a high smoke point like peanut or canola. Keep a candy thermometer handy so you maintain consistent frying temperature.
Pro Tip: Small bubbles should form steadily around a piece of breadcrumb when you test the oil; it should sizzle but not smoke.
Step 5: Fry chicken pieces until golden brown and cooked through, about 5-7 minutes per side
Fry in batches without crowding the pan to keep oil temperature steady. Flip only once when the first side is deeply golden. Use an instant-read thermometer; internal temp should reach 165°F (74°C).
Pro Tip: The crust should be deep golden, not pale; when tapped lightly it should sound crisp and spring back.
Step 6: Drain on paper towels
Transfer fried chicken to a wire rack over a sheet pan or paper towels to drain briefly. Resting for 2–3 minutes firms the crust and keeps the interior juicy.
Pro Tip: The chicken should release a slight steam but remain crunchy — too long on towels makes the bottom steam and soggy.
Step 7: Assemble sliders by placing fried chicken on slider buns and adding your favorite condiments
Toast buns lightly for texture contrast and add mayonnaise, lettuce, and extra pickle slices. Build simply so the pickle-brined flavor remains central.
Pro Tip: The finished slider should sit neatly in your hand; the bun should be just soft enough to compress without crushing the chicken.
Step 8: Serve immediately and enjoy!
Serve hot for best texture. Offer napkins — these are deliciously messy.
Pro Tip: A final squeeze of lemon or a drizzle of hot sauce brightens each bite and adds a glossy finish.
Expert Tips for Pickle-Brined Fried Chicken Sliders
- Keep the brine cold and refrigerated while marinating to prevent bacteria growth and ensure even penetration.
- Maintain oil at 350°F (175°C) for the ideal Maillard reaction; cooler oil leads to greasy crusts and longer cooking.
- Use a thermometer in the thickest part of the meat to confirm 165°F (74°C); visual cues can be misleading.
- If the crust is gummy, the oil is likely too cool or the breading was wet; pat chicken dry before dredging for a crisper shell.
- Use a wire rack to drain fried chicken instead of paper towels to avoid steaming the bottom.
- For uniform cook times, cut breasts into even, slider-sized pieces or use boneless thighs for consistency.
- Choose a neutral-flavored oil with a smoke point above 375°F for safety and clean flavor.
- Avoid overcrowding the pan; crowding drops oil temp and makes the crust pale and oily.
For an alternative crunch and seasoning approach, study Korean techniques in Korean fried chicken techniques that emphasize double-frying and ultra-crisp coatings.
Storage & Freezing for Pickle-Brined Fried Chicken Sliders
Fridge storage: Store fried chicken pieces in an airtight container for up to 3 days. Keep buns and condiments separate to preserve bread texture.
Freezer storage: Freeze cooled, individually wrapped chicken pieces on a tray until solid, then transfer to a freezer bag for up to 3 months. Use vacuum sealing if possible.
Thawing: Thaw overnight in the refrigerator for best texture. Avoid room-temperature thawing to prevent bacterial growth.
Reheating: Reheat frozen or refrigerated chicken in a 375°F oven for 10–15 minutes on a wire rack to restore crispness. A 350°F air fryer for 4–6 minutes also works well.
Variations & Substitutions for Pickle-Brined Fried Chicken Sliders
Pickle-Brined Nashville Hot Sliders
After frying, brush the chicken with a spiced hot oil mix (paprika, cayenne, brown sugar, melted butter). The result is an intense, spicy-sweet glaze that clings to the crisp crust for a Nashville-style kick.
Pickle-Brined Buttermilk & Herb Sliders
Swap some of the pickle brine for buttermilk in the marinade and add chopped fresh herbs to the dredge. Expect a creamier, tangier interior with herbal brightness in every bite.
Pickle-Brined Air-Fryer Sliders
Use the air-fryer fried chicken method to reduce oil and still get crisp results by spraying oil and cooking at high heat. This version is lighter and cooks faster with a similar crunchy texture.
Pickle-Brined Veggie & Chicken Combo Sliders
Top the fried chicken with a quick slaw or add a fried portobello slice for a hybrid texture. For a speedy side, pair with the quick air-fryer chicken and veggies, which balances this slider with roasted vegetables.
Frequently Asked Questions About Pickle-Brined Fried Chicken Sliders
What does pickle brine do to chicken?
Pickle brine performs two jobs: flavor infusion and tenderization. The salt in the brine partially dissolves muscle proteins, letting the meat retain more moisture when cooked. Vinegar and spices add tang and complexity that plain salt can’t replicate. For best results, marinate for at least four hours; overnight is ideal.
Can I use store-bought pickle juice for brining?
Yes, store-bought pickle juice is a perfectly fine shortcut and saves prep time. Choose a juice without excessive sugar if you want pure savory tang. If you’re concerned about strength, dilute 3:1 juice to water; otherwise use it full strength for maximum flavor.
How do I keep the crust from falling off?
Wet breading or cool oil are the typical culprits. Pat the chicken dry before dredging, set aside for a minute to let the flour adhere, and heat the oil to 350°F before frying. Press breadcrumbs firmly into the egg coating and avoid flipping excessively while frying.
Can I make these ahead for a party?
You can brine the chicken a day ahead and par-cook or fully fry an hour before serving. Reheat in a 375°F oven or air fryer to restore crispness right before assembly. Keep buns and condiments separate until guests arrive.
Are there healthier ways to make pickle-brined fried chicken sliders?
Yes—air frying or baking with an oiled breadcrumb coating reduces oil absorption while keeping crunch. Use whole-grain buns or lettuce wraps for lower carbs, and swap mayonnaise for a yogurt-based sauce for fewer calories.
Final Thoughts on Pickle-Brined Fried Chicken Sliders
These Pickle-Brined Fried Chicken Sliders are a small package with bold flavor, perfect for parties or a weeknight treat.
If you tried the recipe, please leave a star rating in the recipe card below and pin it to Pinterest so others can find this tangy, crunchy slider twist.

Pickle-Brined Fried Chicken Sliders
Ingredients
For the Chicken
- 1 pound Chicken thighs or breasts Thighs are juicier; use breasts pounded thin for sliders.
- 1 cup Pickle brine Use full-strength commercial or homemade brine.
For the Dredge
- 1 cup All-purpose flour Provides body and helps browning.
- 1/2 cup Cornstarch Creates a crispy crust.
- 2 large Eggs Beaten for dipping.
- 1 cup Panko breadcrumbs Best for a crispy coating.
- 1 teaspoon Salt
- 1 teaspoon Pepper
- 1 teaspoon Garlic powder
- 1 teaspoon Onion powder
For Assembly
- 8 pieces Crispy slider buns Toast for best texture.
- Condiments (mayonnaise, lettuce, extra pickles, mustard, hot sauce) Choose condiments based on preference.
Instructions
Marinating
- Marinate the chicken in pickle brine for at least 4 hours, preferably overnight.
Prepare the Dredge
- Combine flour, cornstarch, salt, pepper, garlic powder, and onion powder in a wide bowl.
Dredging the Chicken
- Dredge the marinated chicken in the flour mixture, dip in beaten eggs, then coat with breadcrumbs.
Frying
- Heat oil in a deep fryer or skillet to 350°F (175°C). Fry chicken pieces until golden brown and cooked through, about 5-7 minutes per side.
- Drain on paper towels.
Assembly
- Assemble sliders by placing fried chicken on buns and adding desired condiments.
Serving
- Serve immediately and enjoy hot.