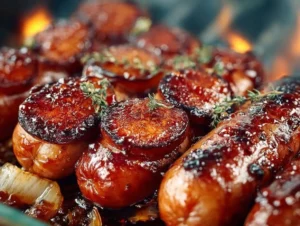
The first time I made these mustard hasselback kielbasa bites, I expected a simple appetizer and got a crowd-pleasing star instead.
They take five pantry ingredients and turn them into something crisp, tangy, and oddly elegant.
If you like bite-sized snacks that look fancy but are stupidly easy, this is your new go-to.
For another hasselback-style snack idea, try my take on loaded potato bites for a different kind of party hit: crispy loaded hasselback potato bites.
Why You’ll Love This Recipe
- Ready in about 25 minutes from oven to plate.
- Uses one pound of kielbasa — no casing wrestling or complicated prep.
- The mustard glaze seeps into the hasselback cuts for flavor pockets.
- Crispy edges and juicy center make every bite texturally interesting.
- Extremely adaptable for snacks, game day spreads, or quick dinners.
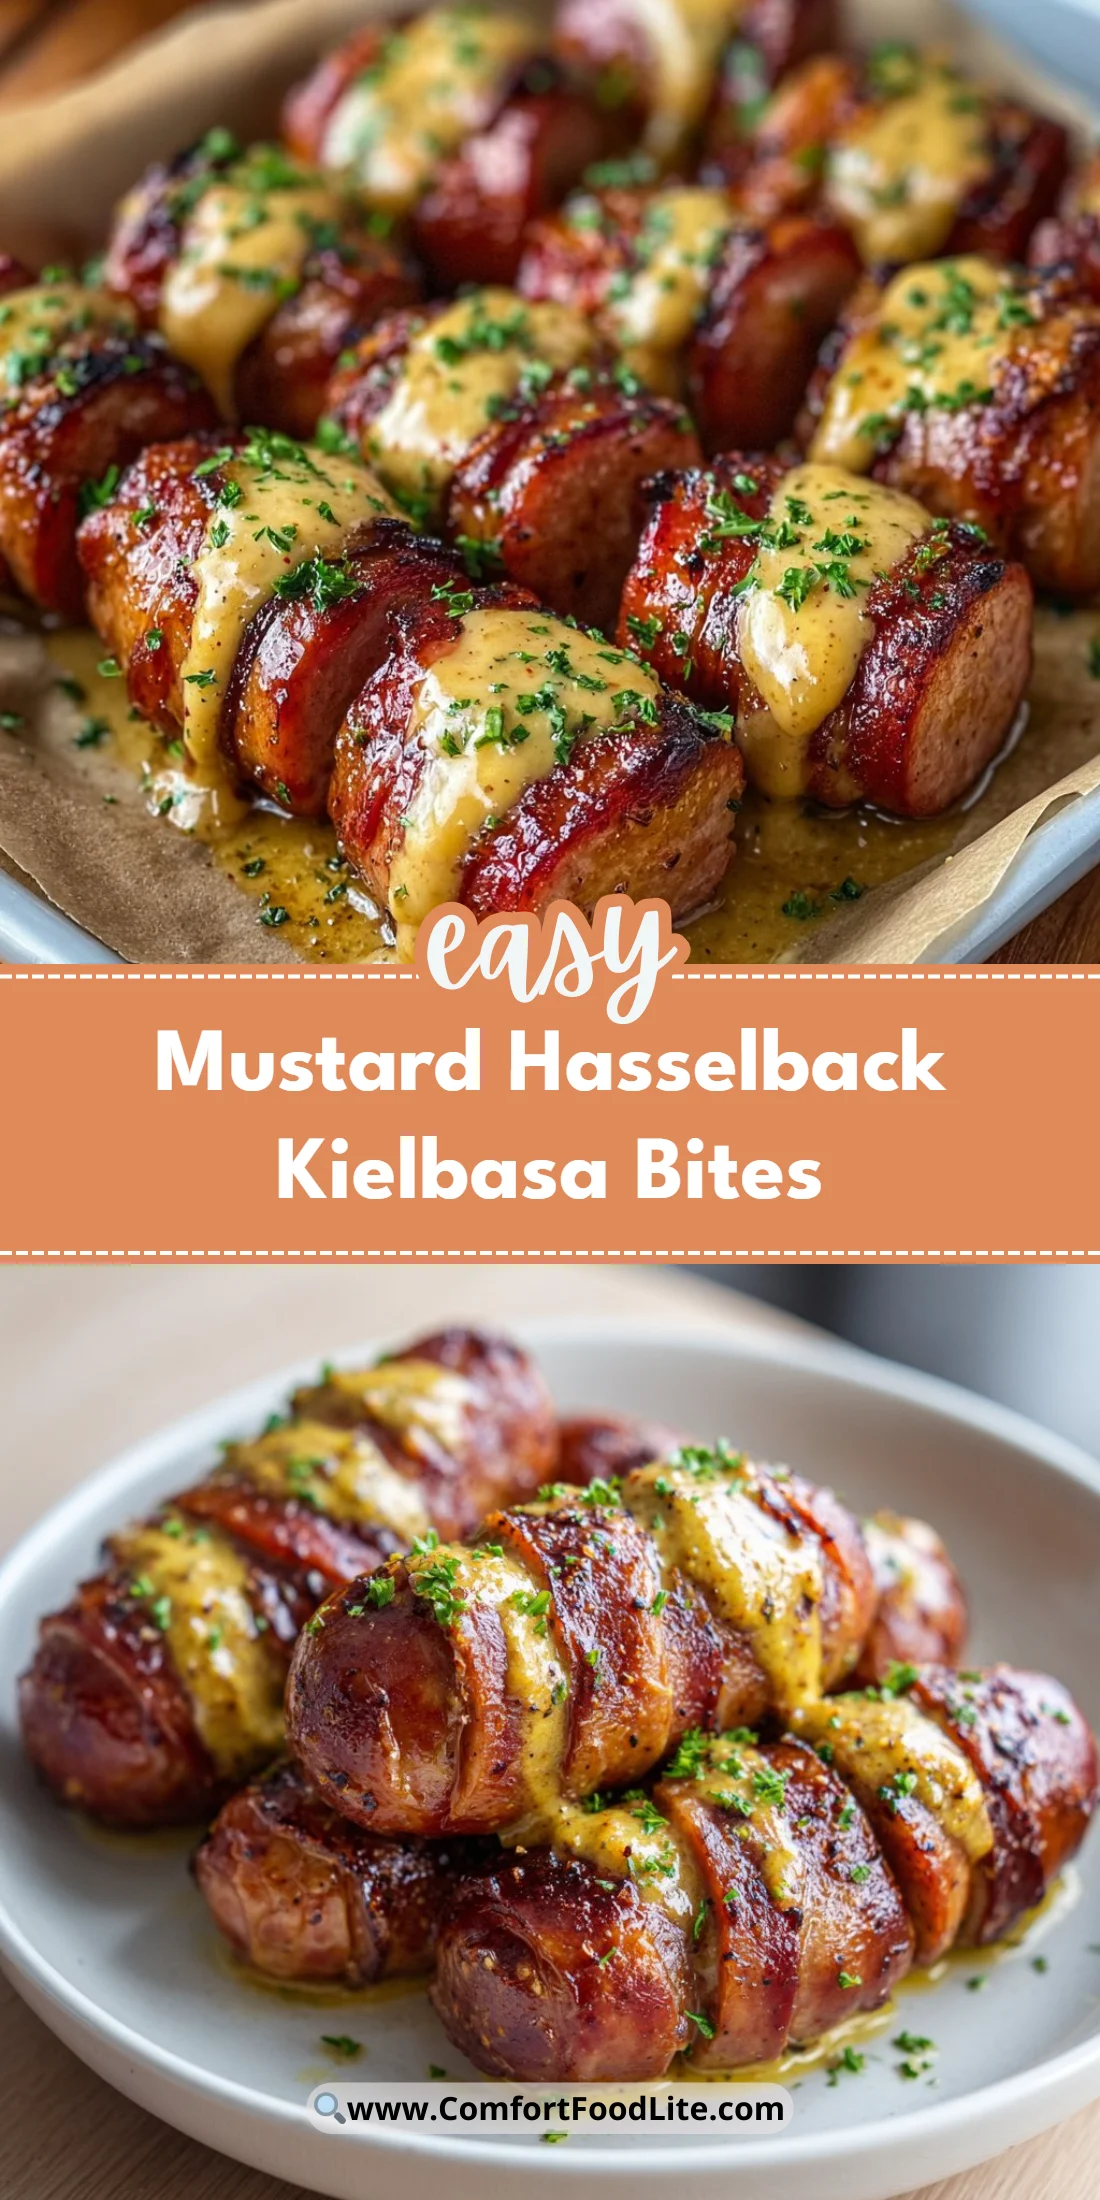
These bites balance savory smoked kielbasa with a bright mustard glaze that carmelizes slightly during baking. The hasselback cuts create thin, crisp edges while keeping each slice connected to the whole sausage so you can serve them as pull-apart pieces or slice after baking. The olive oil helps the glaze crisp rather than burn, and the garlic/onion powders add background umami without overpowering the mustard.
"Made these for a movie night and they disappeared in ten minutes. Simple, tangy, and perfectly crispy — five stars!" — Megan R., reader
Key Ingredients
Dijon or yellow mustard (1/4 cup)
Mustard is the flavor backbone here. Dijon gives a sharper, winey tang while yellow mustard offers a mellow, classic bite. If you want more complexity, use a Dijon with a smooth texture; if you want bright color and milder heat, go yellow.
Kielbasa (1 pound)
Choose a quality smoked kielbasa with natural casing if possible; the smoke flavor is crucial. A Polish-style kielbasa with garlic gives more depth, while a leaner, milder variety can be used if you prefer less smokiness. Slice with a sharp knife for even hasselback cuts.
Olive oil (1 tablespoon)
Olive oil thins the mustard so it can brush into the cuts, and it promotes even browning. Use a light-flavored extra virgin or regular olive oil rather than a strong peppery one to avoid competing flavors.
Garlic powder & onion powder (1 tsp each)
These powdered aromatics dissolve into the mustard, creating savory layers without changing texture. They’re more reliable than fresh garlic for a quick glaze because they won’t burn in the oven.
Full ingredient list:
- 1 pound kielbasa
- 1/4 cup mustard (Dijon or yellow)
- 1 tablespoon olive oil
- 1 teaspoon garlic powder
- 1 teaspoon onion powder
- Salt and pepper to taste
- Chopped parsley for garnish (optional)
Step-by-Step Instructions
Step 1: Preheat and prep
Preheat your oven to 400°F (200°C).
Line a baking sheet with foil or parchment for easier cleanup.
Set the kielbasa on a cutting board so you can work steadily.
Pro Tip: Use a wooden spoon or chopsticks on either side of the sausage to act as a cutting stop so you don’t slice all the way through.
You’ll know it’s ready when the oven reaches 400°F and your sheet is lined and waiting — the process moves quickly after this.
Step 2: Make hasselback cuts
Place the kielbasa flat and make 1/8 to 1/4-inch spaced cuts lengthwise, stopping before you reach the bottom.
Keep the slices connected so the sausage holds together and bakes as one piece.
Pro Tip: A very sharp chef’s knife makes clean, thin cuts. If you want uniform slices, chill the kielbasa in the fridge for 10-15 minutes first.
Visual cue: The sausage should fan slightly but remain intact when laid flat — that’s the hasselback look.
Step 3: Mix the mustard glaze
In a small bowl, whisk together 1/4 cup mustard, 1 tablespoon olive oil, 1 teaspoon garlic powder, 1 teaspoon onion powder, and salt and pepper to taste.
Mix until smooth so it will brush easily into the cuts.
Pro Tip: If your mustard is very thick, add a teaspoon of warm water to thin it slightly so it penetrates the slits.
You’ll know the glaze is ready when it has a glossy sheen and brushes smoothly without clumping.
Step 4: Brush into the cuts
Use a pastry brush or small spatula to work the mustard glaze into each cut and over the top of the kielbasa.
Make sure the glaze gets between slices so each bite has flavor pockets.
Pro Tip: Tilt the sausage and let excess glaze pool slightly; then brush it back over the top to create a thin, even coat.
Visual cue: The cuts should look glossy and slightly darker where the glaze settled.
Step 5: Bake until crisped
Place the kielbasa on the prepared baking sheet and bake at 400°F for 20–25 minutes.
Bake until the edges become golden and slightly crispy while the inside is heated through.
Pro Tip: Rotate the pan halfway through baking for even browning, and if you like extra crisp, finish with a 2-minute broil watching closely.
You’ll know it’s done when the edges are caramelized and the glaze has deepened in color without burning.
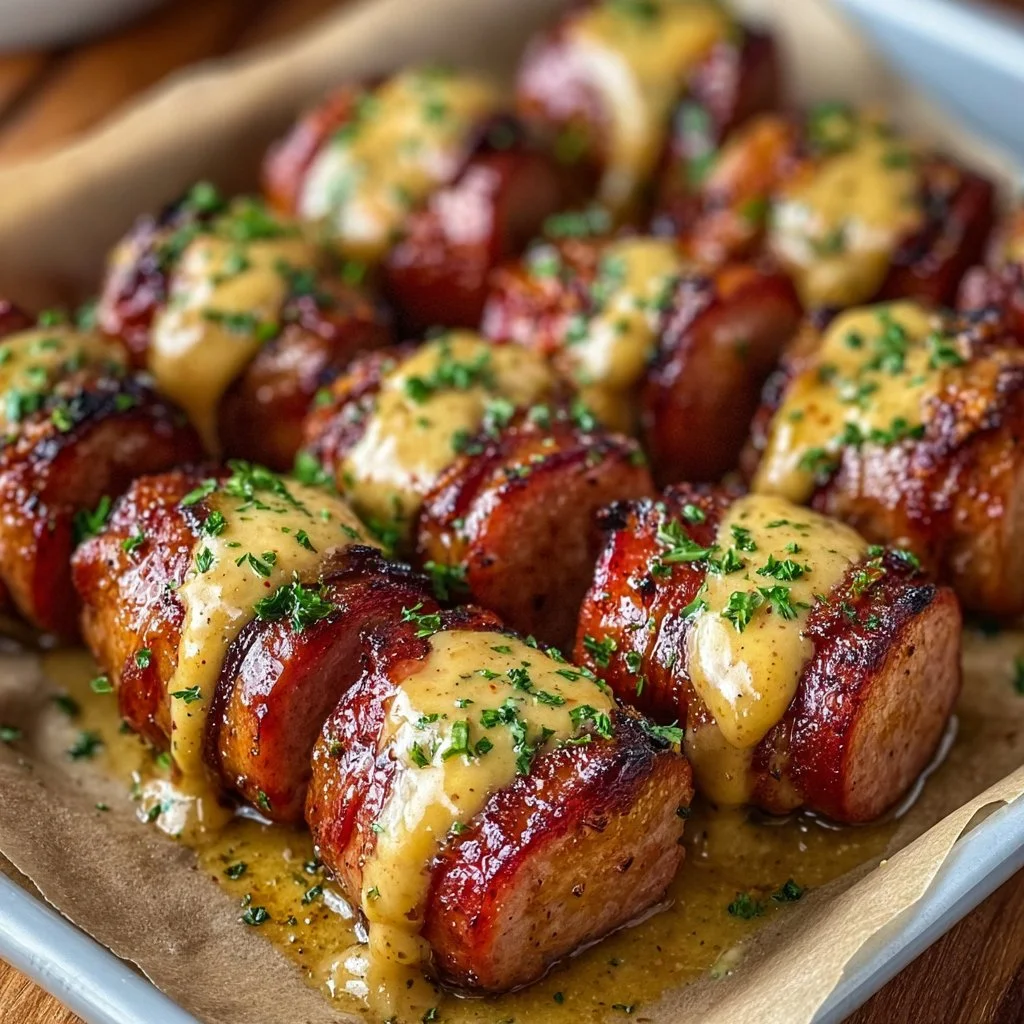
Step 6: Garnish and serve
Remove the kielbasa from the oven and let it rest for 2–3 minutes.
Garnish with chopped parsley if desired and serve warm.
Pro Tip: Serve with toothpicks for an appetizer or slice into 1/2-inch pieces for individual bites.
You’ll know it’s perfect if the slices pull apart cleanly and the centers are hot but not dried out.
Expert Tips for Success
- Use a sharp knife and slow, confident strokes for the hasselback cuts. A dull knife tears the casing and makes uneven slices.
- Chill the kielbasa for 10–15 minutes before cutting to firm it up; this helps you stop short of cutting through the bottom.
- For the best flavor contrast, use a good-quality smoked kielbasa; look for words like "applewood-smoked" or "hickory-smoked" on the label for a deeper smoky note.
- If you only have coarse-grain mustard, thin it with a splash of warm water or apple cider to prevent clumping and ensure it seeps into the slits.
- To avoid soggy ends, place the kielbasa on a wire rack set over the baking sheet so hot air circulates around the sausage.
- If the top is browning too quickly, tent loosely with foil and finish baking; if it isn’t browning enough, broil for 1–2 minutes while watching closely.
- Make a double batch of glaze and reserve half for serving; drizzling an extra teaspoon of fresh glaze right before serving brightens the flavor.
- For a crisped, lacquered finish, brush with a thin layer of honey or maple syrup in the final 5 minutes — it caramelizes beautifully.
- Use a thermometer to check internal temperature if reheating from cold; aim for 145–160°F for safe, juicy slices without overcooking.
- Pair with mustard-based dipping sauces, sauerkraut, or a quick apple slaw to play up the smoky-sweet contrast.
For a fun dessert contrast on the same party table, try these easy no-bake brownie bites: 3-ingredient easy no-bake brownie bites.
Storage & Freezing
Fridge storage: Let the kielbasa cool to room temperature, then transfer to an airtight container.
Store in the refrigerator for up to 3–4 days.
Reheating from fridge: Reheat on a baking sheet at 350°F for 8–10 minutes, or microwave in 30-second bursts until heated through.
For best texture, reheat in the oven so the edges crisp back up.
Freezer storage: Slice the kielbasa into bite-sized pieces after baking and place in a single layer on a sheet to freeze until firm.
Transfer to a freezer-safe bag or container and keep up to 2 months.
Reheating from frozen: Reheat directly from frozen on a baking sheet at 375°F for 12–15 minutes, flipping once.
You can also thaw overnight in the fridge and reheat using the fridge method above.
Make-ahead tips: You can pre-slice the kielbasa and make the glaze up to 24 hours ahead.
Brush and bake just before serving for the freshest texture.
Variations & Substitutions
Maple or honey glaze: Swap half the mustard for maple syrup or honey for a sweet-smoky contrast.
This adds caramelization and pairs well with smoked kielbasa.
BBQ twist: Replace mustard with a tangy BBQ sauce mixed with a little mustard and olive oil.
This creates a sticky, barbecue-style bite that’s great for game day.
Cheesy finish: Sprinkle shredded sharp cheddar or Gruyère into the cuts for melty pockets.
Place back in the oven for 2–3 minutes to melt the cheese.
Vegetarian option: Use a plant-based smoked sausage in place of kielbasa.
Follow the same hasselback technique and adjust cook time to manufacturer recommendations.
For another flavor-forward bite idea with sauce and fruit pairings, check out this cranberry brie appetizer: baked cranberry brie bites.
Frequently Asked Questions
Q: Can I use pre-cooked kielbasa, or must it be raw?
A: Most store-bought kielbasa is fully cooked and only needs to be heated through. This recipe assumes pre-cooked sausage; you’re simply focusing on crisping and glazing. If you use raw sausage, cook it fully to a safe temperature first and then proceed with hasselback glazing.
Q: How thin should the hasselback cuts be?
A: Aim for about 1/8 to 1/4 inch between cuts. Thinner cuts create more crisp edges but can be fragile. Thicker cuts give chunkier bites and hold up better if you intend to slice after baking.
Q: Can I make these on the grill instead of the oven?
A: Yes. Grill on medium indirect heat with the sausage on a foil packet to avoid flare-ups from the glaze. Close the lid and grill for about 8–12 minutes, turning once, until warmed and slightly charred.
Q: What dipping sauces pair best with mustard-hasselback kielbasa bites?
A: Try a honey-mustard dip, creamy horseradish sauce, or a simple grainy mustard with a splash of apple cider vinegar. Pickles or a quick apple slaw also cut through the richness.
Q: How do I prevent the mustard from burning while still getting crisp edges?
A: Thin the mustard with oil or a little warm water so it spreads thin and caramelizes instead of burning. Bake at 400°F and watch the last few minutes; tent with foil if it begins to scorch.
Final Thoughts
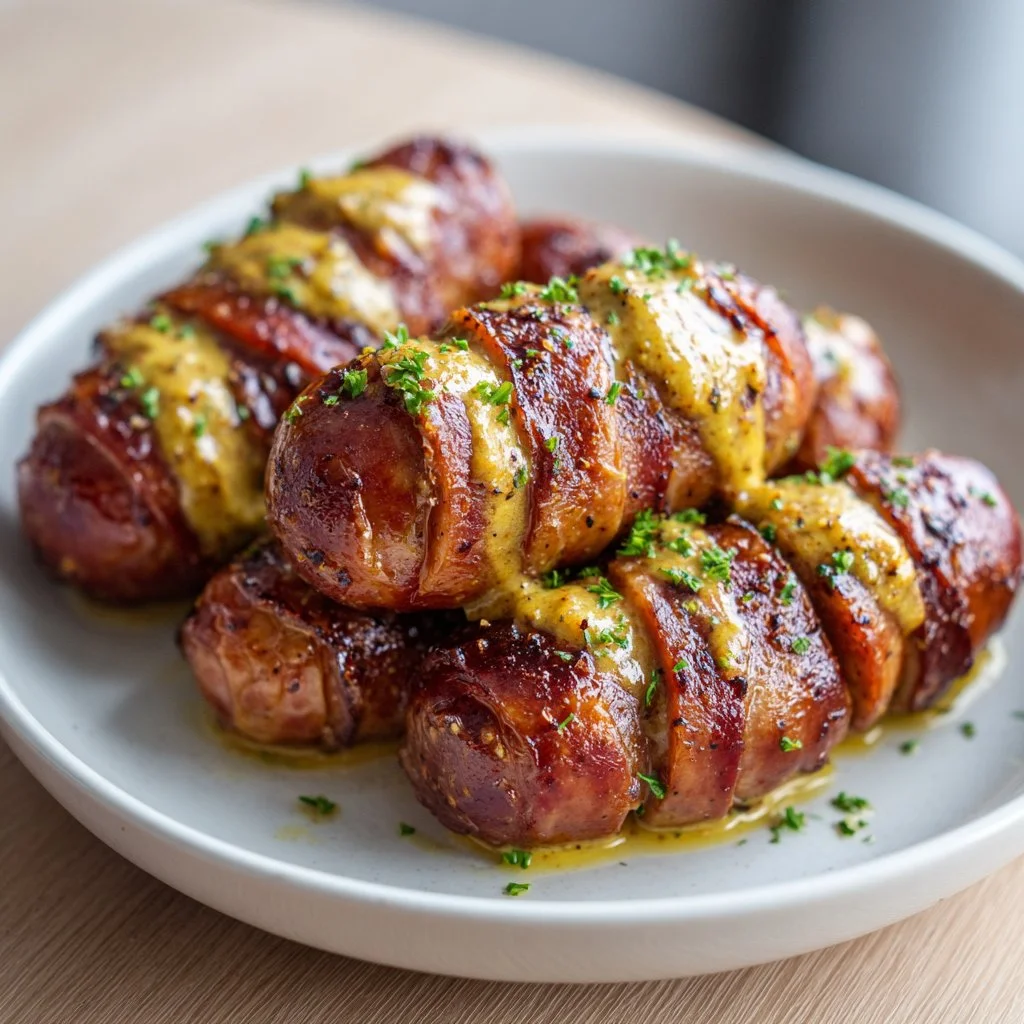
These mustard hasselback kielbasa bites are effortless party food — crisped edges, tender centers, and pockets of tangy mustard in every slice.
If this recipe earned your love, please leave a star rating in the recipe card below or pin this to your party board on Pinterest.
For extra inspiration and alternate flavor takes, check these related recipes: Mustard Hasselback Kielbasa Bites – I Am Homesteader, a smoky-sweet spin at Maple BBQ Hasselback Kielbasa Bites – I Am Homesteader, and a simple quick-version guide here: Easy Mustard Hasselback Kielbasa Bites – Pudge Factor.

Mustard Hasselback Kielbasa Bites
Ingredients
Main Ingredients
- 1 pound kielbasa Choose a quality smoked kielbasa with natural casing.
- 1/4 cup Dijon or yellow mustard Dijon provides a sharper flavor; yellow is milder.
- 1 tablespoon olive oil Use light-flavored oil for even browning.
Aromatics
- 1 teaspoon garlic powder Powdered garlic provides reliable flavor without burning.
- 1 teaspoon onion powder Enhances the savory flavor of the glaze.
Seasonings
- Salt and pepper to taste To enhance flavor.
Garnish
- Chopped parsley Optional for garnish.
Instructions
Preparation
- Preheat your oven to 400°F (200°C). Line a baking sheet with foil or parchment for easier cleanup.
- Set the kielbasa on a cutting board. Use a wooden spoon or chopsticks on either side of the sausage to stop cuts from going all the way through.
Making Hasselback Cuts
- Make 1/8 to 1/4-inch spaced cuts lengthwise in the kielbasa, stopping before reaching the bottom to keep it intact.
Mixing the Mustard Glaze
- In a small bowl, whisk together the mustard, olive oil, garlic powder, onion powder, and salt and pepper to taste until smooth.
Brushing the Glaze
- Use a pastry brush to work the mustard glaze into each cut and over the top of the kielbasa.
Baking
- Place the kielbasa on the prepared baking sheet and bake at 400°F for 20–25 minutes until edges are golden and crispy.
Serving
- Remove from the oven, let rest for 2–3 minutes, garnish with parsley if desired, and serve warm.