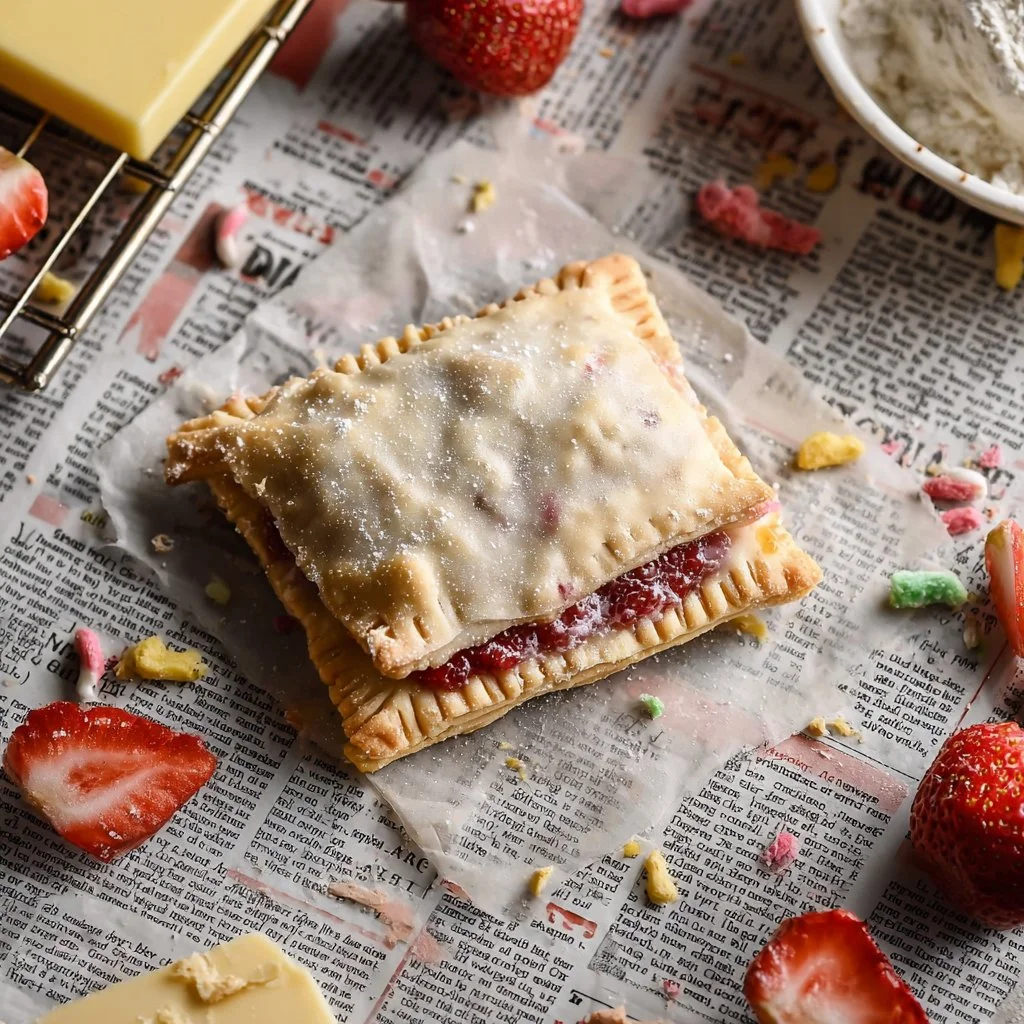
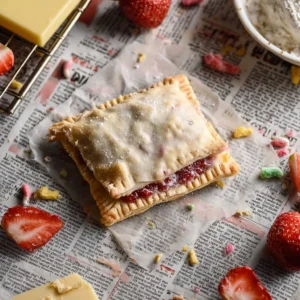
The first time I made these, my kitchen smelled like strawberry jam and butter all at once.
They crisped at the edges and had a flaky, buttery bite that swallowed the jam like the best childhood memory.
If you are looking for a scratch-made Pop-Tart that beats store-bought hands down, this is it.
It’s approachable, uses pantry basics, and the strawberry filling is bright and fresh — not cloying.
I also love pairing them with other homemade weekend projects for a baking day, like my take on sourdough pop tarts for variety.
Why You’ll Love This Recipe
- Scratch pastry that actually fl akes like a bakery tart.
- Real strawberry filling — no mystery syrups or weird stabilizers.
- Quick assembly once the dough is chilled.
- Customizable glaze and sprinkles for party-ready pop-tarts.
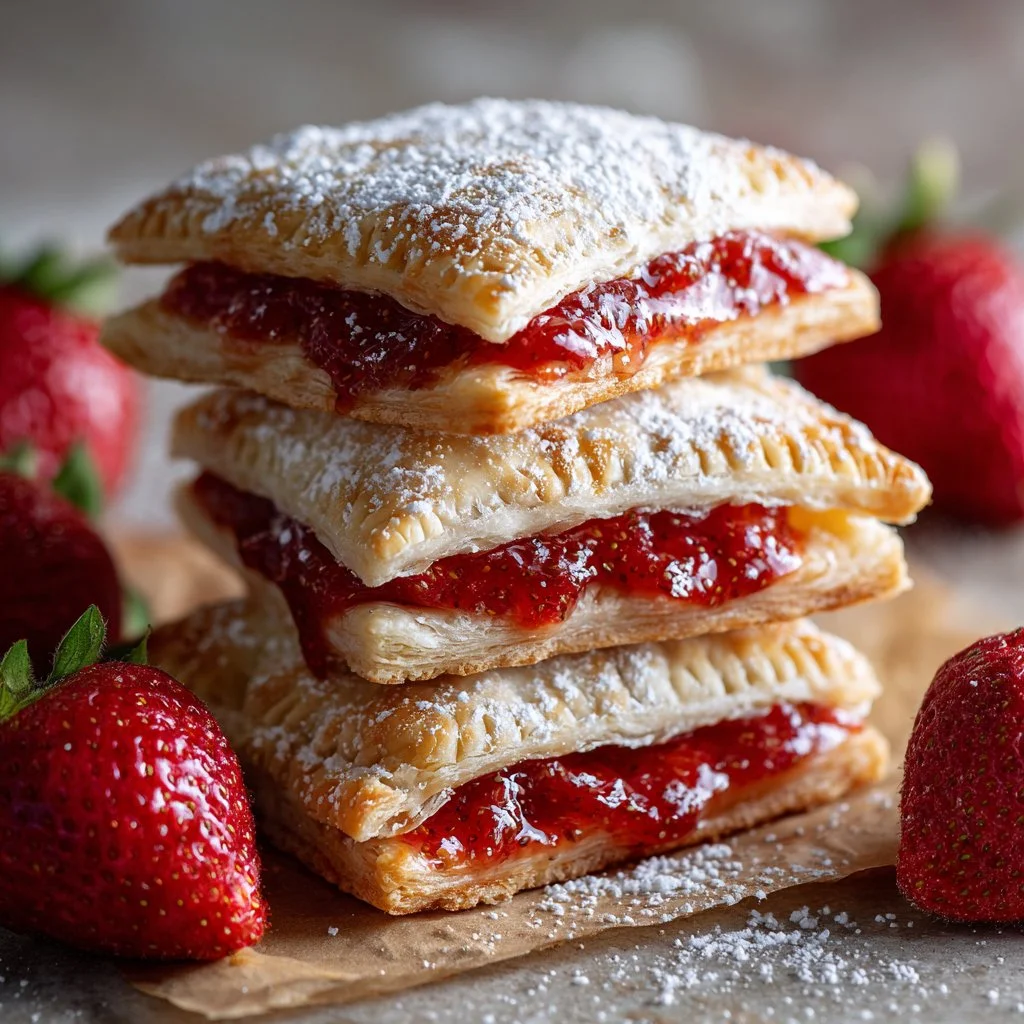
The pastry bakes thin and flaky, with layers from cold butter distributed in small pea-sized pieces.
The filling reduces to a jammy ribbon that sets but still spreads when you bite into it.
Together they create a pop tart that’s tender in the center and lightly crisped on the edges.
"Made these for a sleepover and the kids declared them the best homemade pastries ever. Perfect balance of buttery crust and bright strawberry." — 5 stars, reader
Key Ingredients
Butter — Use unsalted, very cold butter cut into small cubes.
Cold, high-fat butter creates steam pockets as it bakes, giving the crust the flaky lift you want. If you can, choose a European-style butter (higher fat) for extra flavor.
All-purpose flour — This is the structure for the dough.
AP flour gives the right balance of tenderness and strength; bread flours will be too chewy and pastry flours too fragile. Measure by spooning into the cup and leveling or use a scale for best results.
Strawberries — Fresh or frozen both work, but choose ripe berries.
Ripe strawberries give the filling natural sweetness and aroma; frozen berries are fine if thawed and drained. Large, flavorful berries (not watery supermarket ones) make a denser, more intensely flavored jam.
Honey & Lemon — Honey rounds the flavor and helps with set; lemon brightens.
A little honey mellows the strawberry edge without making the jam overly sweet, and lemon juice balances the sweetness while aiding pectin-like thickening during the reduction.
Full ingredient list:
- 2 1/2 cups all-purpose flour*
- 4 teaspoons sugar
- 2 teaspoons kosher salt
- 1 cup unsalted butter (2 sticks), chilled and cubed
- 1/2 cup cold water
- 16 oz (~450g) strawberries (fresh or frozen – thaw if frozen)
- 3 tablespoons honey
- 2 teaspoons lemon juice
- 1 egg yolk
- 1/2–1 cup powdered sugar
- 1–2 tablespoons milk
Step-by-Step Instructions
Step 1: Make the dough
In a food processor pulse the flour, kosher salt, and sugar just to combine.
Add the chilled cubed butter and pulse a few times until the butter pieces are about the size of peas.
Stream in the cold water while pulsing until the dough just comes together; don’t overwork it.
Pro tip: You’ll know the dough is ready when it forms large, shaggy crumbs that cling together when pressed.
Work quickly and keep everything cold — warm butter will ruin flakiness.
Step 2: Chill and shape the dough
Move the dough to a lightly floured surface and gently bring it together into a ball.
Shape it into a rectangle about 1/2" thick, wrap tightly in plastic, and refrigerate for 2 hours.
This rest firms up the butter and relaxes the gluten for easy rolling.
Pro tip: If the dough softens while shaping, return it to the fridge for 20–30 minutes.
Chilled dough rolls thinner and more evenly.
Step 3: Make the strawberry filling
While the dough chills, blend the strawberries with honey and lemon until smooth.
Strain the puree through a fine-mesh sieve into a saucepan to remove seeds.
Cook the mixture over medium heat for 20–25 minutes, stirring occasionally, until reduced and jammy — you should be able to scrape the pan and have the jam take a second to flow back together.
Pro tip: Test the jam by putting a spoonful on a plate; when it wrinkles as you push it, it’s ready.
Cool completely before filling to prevent soggy dough.
Step 4: Roll and cut
Preheat the oven to 300˚F and line a sheet pan with parchment paper.
Divide dough in half and roll each into a roughly 14 x 14" square on a well-floured surface.
Aim for about 1/8" thickness; you should just barely see the lines of your work surface through the dough.
Pro tip: Keep flour under the dough and on the rolling pin to prevent sticking, but avoid adding too much or the surface will dry out.
Use a ruler to cut roughly 3.5 x 4.75" rectangles for neat, uniform tarts.
Step 5: Assemble the pop tarts
Place one rectangle as the bottom, spoon about 1 tablespoon of cooled filling into the center and spread it thin, leaving about 1/3" clear around the edge.
Brush the edge of the bottom with beaten egg yolk, dock the top pieces with a fork or skewer, place the top over the filling, press lightly, then crimp the edges to seal.
Pro tip: Don’t overfill — a thin layer spreads nicely and prevents explosive filling leaks.
Crimp firmly and press out air pockets to avoid steam bubbles during baking.
Step 6: Bake and glaze
Bake the pop tarts for 30–35 minutes until the tops are very lightly browned and the bottoms have slight color.
Let them cool on the pan for a few minutes, then transfer to a rack to cool completely.
Whisk powdered sugar with milk until a thick glaze forms, then spread about 1 tablespoon over each tart and finish with sprinkles.
Pro tip: If your oven runs hot, check at 25 minutes — you want color, not deep brown.
Cool fully before glazing to keep the icing from melting into the pastry.
Expert Tips for Success
- Keep everything cold. Chill the butter, and the dough, and chill the baking sheet briefly if your kitchen is warm. Cold butter = flaky layers.
- Use a food processor for speed, but pulse — don’t puree. Over-processing yields a dense dough rather than flaky crumbs.
- Test the jam set visually. The spoon test (wrinkle on spoon or plate) beats timing alone because stovetops vary.
- Roll to exactly 1/8" for the classic thin Pop-Tart silhouette; thicker dough yields a biscuit-like chew rather than a flake.
- Egg wash only the filling edge, not the tops, if you want a paler finish; a full egg wash will create a glossy, deeper golden top.
- Freeze the filling in small portions if you plan to assemble later — it thaws quickly and still cooks down into jam.
- When docking tops, don’t overdo it: evenly spaced small holes allow steam to escape and keep the tops from ballooning.
- Use parchment or silicone mats for even baking and easy transfer; a hot pan can over-brown bottoms so rotate the pan halfway if needed.
- For a cleaner cut, chill the rolled dough briefly after first rolling, then cut; this reduces drag and gives neater edges.
- If a tart leaks while baking, patch with a small piece of dough pre-baked on the side and re-glaze after cooling.
Storage & Freezing
Fridge: Store glazed Pop-Tarts in an airtight container for up to 4 days.
If unglazed, they keep slightly longer — up to 5 days — because the glaze can soften pastry texture.
Freezer: Place cooled, unglazed pop tarts in a single layer on a baking sheet and flash-freeze for 1–2 hours.
Then stack with parchment between layers in a freezer-safe bag for up to 3 months.
Reheating: To reheat from the fridge, warm in a 325˚F oven for 5–8 minutes to refresh crispness.
From frozen, bake at 350˚F for 12–15 minutes until warmed through, or thaw in the fridge overnight then warm briefly.
Pro tip: Glaze after reheating for the freshest look and texture; reheating will keep the pastry crisp while the fresh glaze stays glossy.
Variations & Substitutions
Berry mash-up: Swap half the strawberries for raspberries for a tangier jam.
Raspberries add tartness and a pleasant seed texture unless you strain them like the strawberries.
Chocolate-hazelnut: Replace the jam with a thin smear of chocolate-hazelnut spread and bake briefly.
Brush the edges with egg to seal and add a dusting of powdered sugar after baking.
Vegan option: Use a plant-based butter and substitute aquafaba (chickpea brine) for the egg wash.
Use maple syrup instead of honey to keep the filling vegan-friendly.
Gluten-free: Use a 1:1 gluten-free flour blend formulated for baking and reduce water slightly.
Chill the dough well; gluten-free doughs often need extra rest to hydrate and stabilize.
If you like sweet-salty combos, try a smear of salted caramel under the strawberry jam for a layered flavor hit similar to other snack tarts.
Frequently Asked Questions
Q: Can I use frozen strawberries for the filling?
A: Yes. Thaw and drain them first, then blend and strain. Frozen berries often release more water, so expect to cook the mixture a bit longer to reach a jammy thickness.
Q: Why did my crust turn out tough?
A: Overworking the dough or using warm butter causes gluten to develop and the butter to amalgamate too much. Chill the dough and pulse the butter into pea-sized bits to avoid toughness.
Q: How can I keep the bottom from burning?
A: Use a middle rack and a light-colored baking sheet or line with an extra sheet of parchment. Also check oven temperature accuracy with an oven thermometer — many ovens run hot.
Q: Can I make the dough ahead of time?
A: Absolutely. The dough can be wrapped and refrigerated for up to 48 hours or frozen for up to 1 month. Thaw in the fridge before rolling.
Q: What’s the best way to get neat, uniform rectangles?
A: Use a ruler and a bench scraper for straight edges. Chill the dough 10–15 minutes if it becomes too soft while cutting.
Final Thoughts
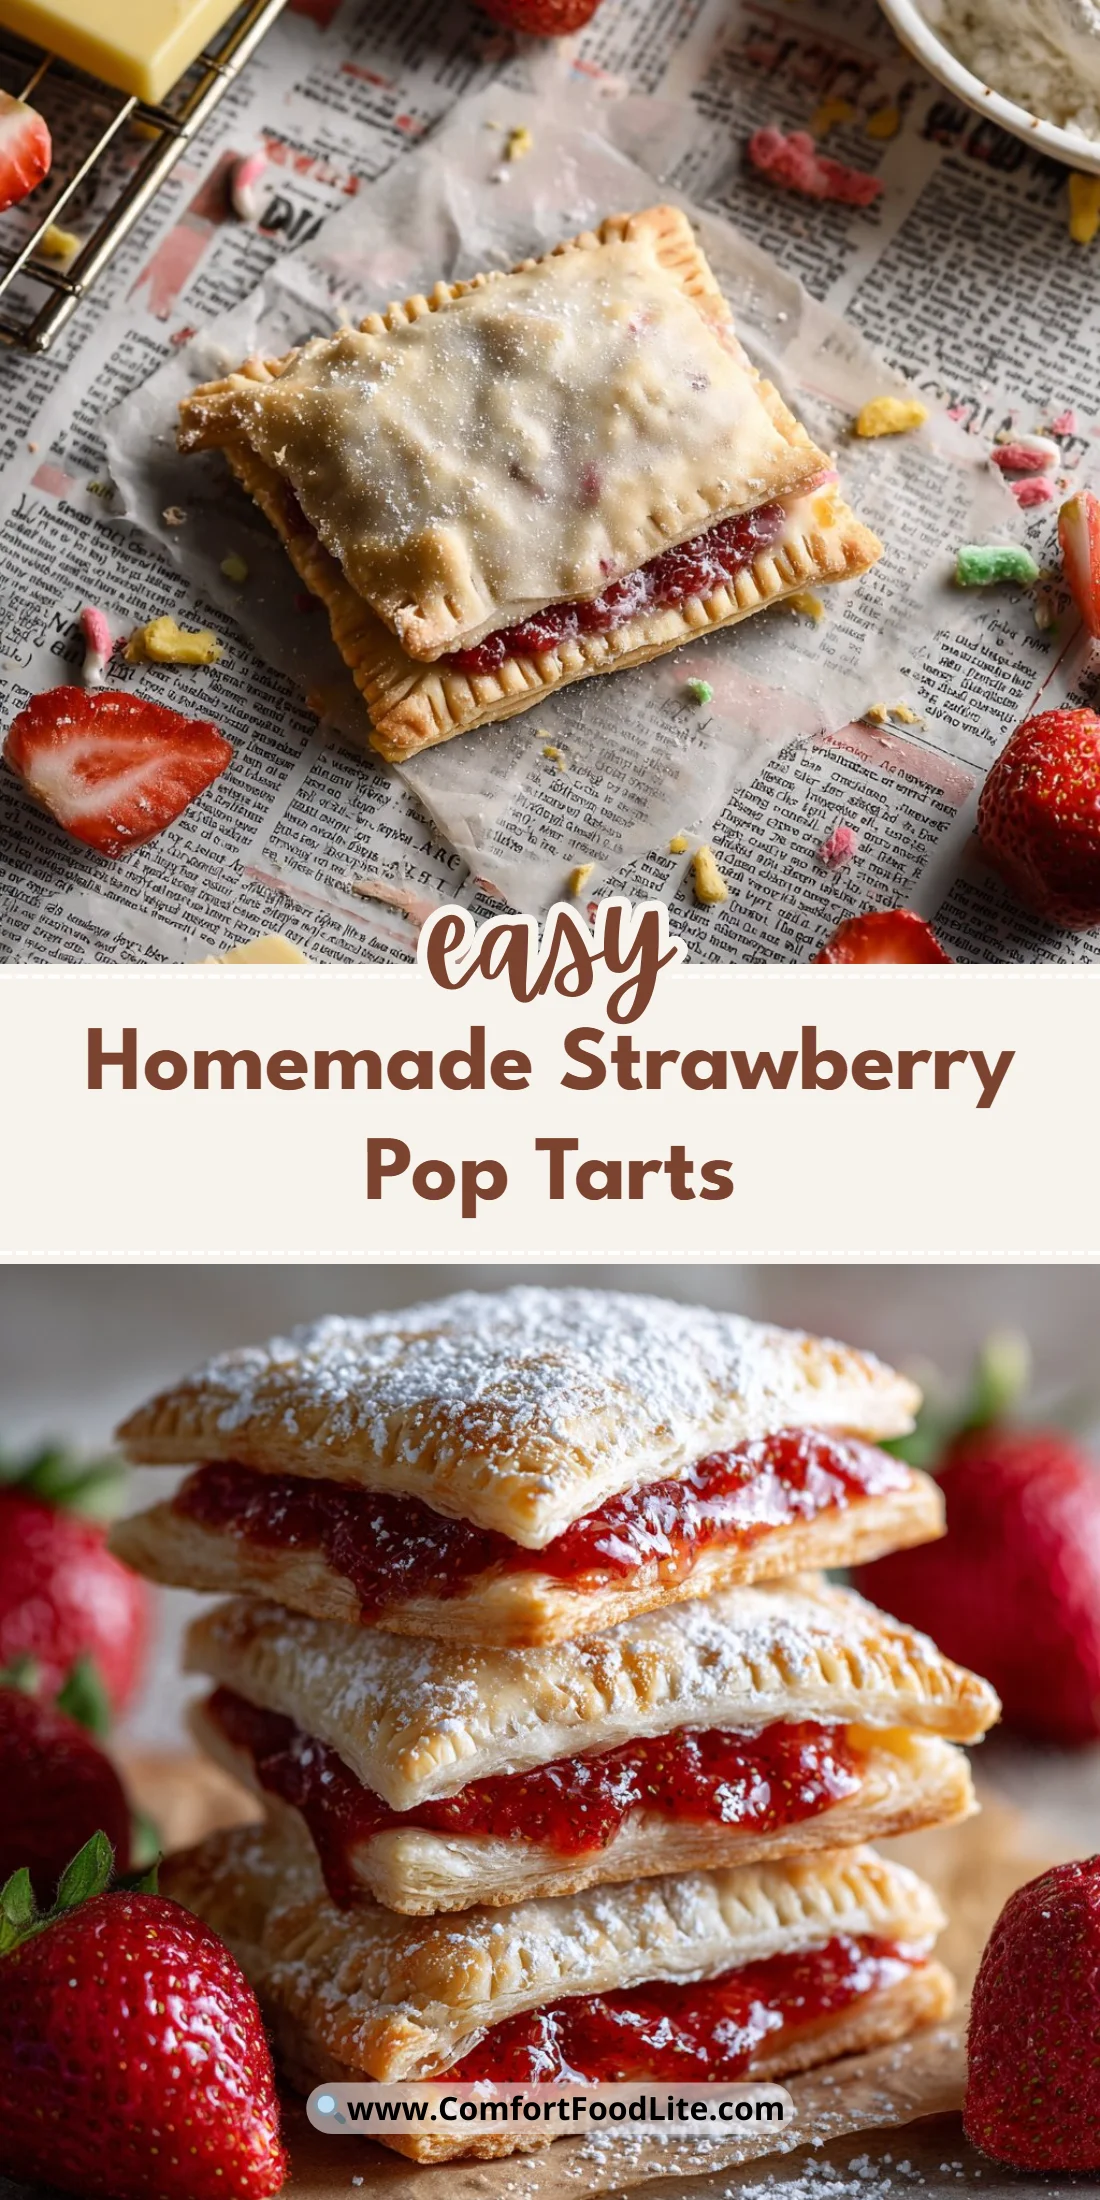
These homemade strawberry pop tarts are a weekend project that rewards patience with real flavor and texture.
Please leave a star rating in the recipe card below and pin this to Pinterest if you loved it.
Conclusion
If you want to compare techniques or inspiration, I found helpful variations in this detailed recipe from Homemade Strawberry Pop-Tarts – Sugar Spun Run that show alternate assembly tips.
For another small-batch, from-scratch take on strawberry pop tarts, see the version at Homemade Strawberry Pop Tarts – Completely Delicious.
Strawberry Pop Tarts
Ingredients
For the pastry
- 2.5 cups all-purpose flour Measure by spooning into the cup and leveling or use a scale for best results.
- 4 teaspoons sugar
- 2 teaspoons kosher salt
- 1 cup unsalted butter (2 sticks), chilled and cubed Use European-style butter for extra flavor.
- 1/2 cup cold water
For the filling
- 16 oz strawberries (fresh or frozen – thaw if frozen) Choose ripe berries for more flavor.
- 3 tablespoons honey Rounds the flavor and helps with set.
- 2 teaspoons lemon juice Brightens the flavor.
For assembly and glaze
- 1 egg yolk Used for brushing on the edges.
- 1/2-1 cup powdered sugar For the glaze.
- 1-2 tablespoons milk For the glaze.
Instructions
Make the dough
- In a food processor, pulse the flour, kosher salt, and sugar just to combine.
- Add the chilled cubed butter and pulse a few times until the butter pieces are about the size of peas.
- Stream in the cold water while pulsing until the dough just comes together; don’t overwork it.
- Work quickly and keep everything cold — warm butter will ruin flakiness.
Chill and shape the dough
- Move the dough to a lightly floured surface and gently bring it together into a ball.
- Shape it into a rectangle about 1/2" thick, wrap tightly in plastic, and refrigerate for 2 hours.
Make the strawberry filling
- Blend the strawberries with honey and lemon until smooth.
- Strain the puree through a fine-mesh sieve into a saucepan to remove seeds.
- Cook the mixture over medium heat for 20–25 minutes, stirring occasionally, until reduced and jammy.
Roll and cut
- Preheat the oven to 300˚F and line a sheet pan with parchment paper.
- Divide dough in half and roll each into a roughly 14 x 14" square on a well-floured surface.
- Cut into roughly 3.5 x 4.75" rectangles.
Assemble the pop tarts
- Place one rectangle as the bottom, spoon about 1 tablespoon of cooled filling into the center.
- Brush the edge of the bottom with beaten egg yolk, place the top over the filling, and crimp the edges to seal.
Bake and glaze
- Bake the pop tarts for 30–35 minutes until lightly browned.
- Cool on the rack, then glaze with whisked powdered sugar and milk.