The first time I made this cheeseburger bowl I browned a pound of beef and expected leftovers.
Instead, my family dug in, forkfuls vanishing faster than a drive-thru run.
This is the kind of recipe that tastes like a cheat meal but eats like a smart, high-protein dinner.
It’s fast, flexible, and easy to scale for lunches or meal prep.
You get burger flavor without the bun, and a balanced plate without overthinking.
If you like simple cooking that rewards you with big flavor, this one’s for you.
Why You’ll Love This Recipe
- High protein without the heaviness of fried patties.
- Fast weeknight assembly that doubles as next-day lunch.
- Flexible: grain choice, toppings, and cheeses make it customizable.
- Balanced nutrition: protein, whole grains (or rice), and fresh veggies in one bowl.
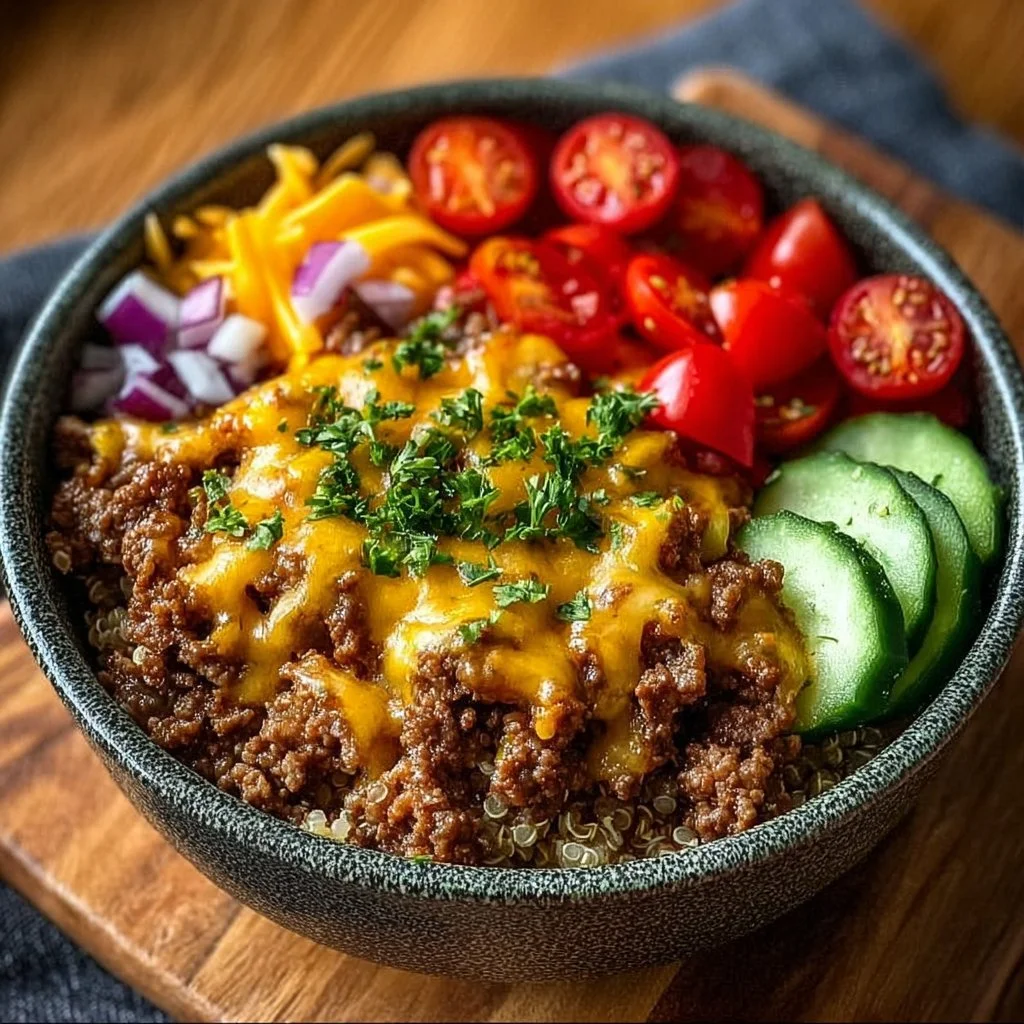
The texture is a satisfying contrast: warm, crumbly browned beef over chewy quinoa or soft brown rice, with bright, juicy pops from cherry tomatoes and the crisp freshness of diced cucumber.
The melted cheese ties the warm elements together while raw red onion adds a sharp finish that keeps each bite lively.
This bowl eats like the best parts of a cheeseburger without the greasy, dense bun.
“Five stars — I make this weekly. Easy, filling, and my kids love picking their own toppings.” — Reader Emily R.
Key Ingredients
Lean ground beef — This is the backbone.
Choose 90/10 or 93/7 for a good balance of flavor and lower fat.
Lean beef browns nicely without releasing too much liquid, which keeps the bowl from getting soggy.
Cooked quinoa or brown rice — The grain anchors the bowl and adds complex carbs.
Quinoa brings a slightly nutty texture and higher protein; brown rice gives a more familiar chew.
Use organic or brand-name packets if you want fast, consistent results (e.g., Lundberg for rice or TruRoots for quinoa).
Shredded cheese — Cheddar or a sharp blend melts and brings the cheeseburger nostalgia.
Use freshly shredded cheese if possible; pre-shredded often contains anti-caking agents that hinder melt.
A sharper cheese packs more flavor so you can use less and keep calories lower.
Cherry tomatoes — Small, sweet, and juicy, they cut through the richness of the beef.
Halved cherry tomatoes add bright acidity and bursts of freshness that transform the bowl from heavy to balanced.
Look for firm, glossy tomatoes without soft spots.
Full Ingredient List:
- 1 pound lean ground beef
- 1 cup cooked quinoa or brown rice
- 1 cup cherry tomatoes, halved
- 1 cup diced cucumbers
- 1/2 cup shredded cheese (cheddar or your choice)
- 1/4 cup diced red onion
- 1 tablespoon olive oil
- Salt and pepper to taste
- Optional toppings: pickles, avocado, or lettuce
Step-by-Step Instructions
Step 1: Heat the skillet and brown the beef
Warm a skillet over medium heat and add 1 tablespoon olive oil.
Add the pound of lean ground beef, breaking it into small pieces with a spatula.
Season with salt and pepper as it begins to sizzle.
Pro Tip: You’ll know it’s ready when the meat has lost its raw pink and develops browned edges and small caramelized bits on the pan.
Those browned bits add flavor — don’t rush the color change.
Step 2: Prepare the grains
While the beef cooks, prepare 1 cup quinoa or brown rice according to the package.
If using quinoa, rinse it first to reduce bitterness; use a 2:1 water-to-quinoa ratio for stovetop.
If you’re short on time, quick-cook rice packets work fine.
Pro Tip: Fluff the grains with a fork and spread them on a tray for quick cooling if prepping bowls for lunch later.
Step 3: Build the base
Spoon a serving of the cooked quinoa or brown rice into a bowl.
Use about 1 cup cooked grains per bowl as the foundation.
Press lightly to create a stable bed for the beef.
Pro Tip: Warm the serving bowls briefly in the microwave for 15–20 seconds to keep everything cozy.
Step 4: Layer the cooked beef
Top the grain base with a generous portion of the browned ground beef.
Distribute evenly so every forkful gets protein.
If desired, break the beef into smaller crumbles for easier eating.
Pro Tip: If the beef released a lot of liquid, drain the skillet briefly on paper towels to avoid a soggy bowl.
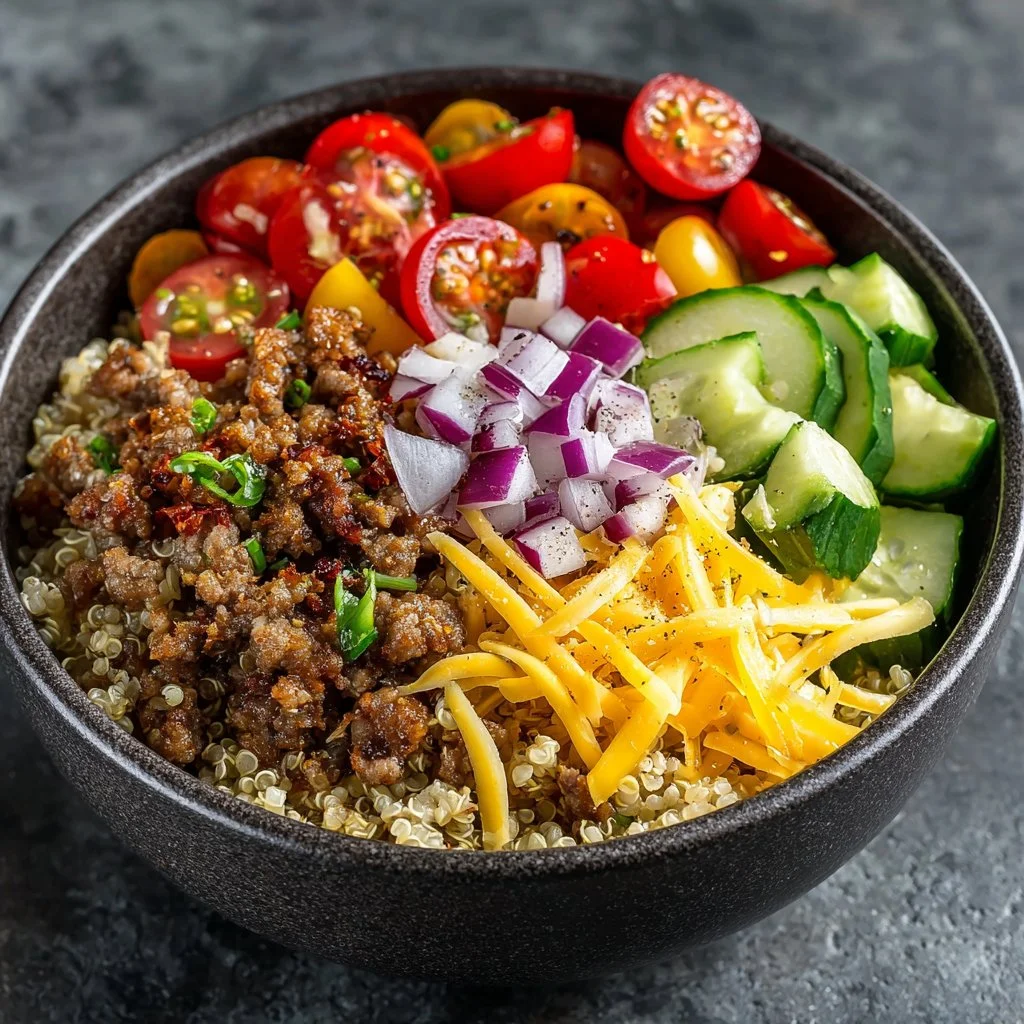
Step 5: Add fresh veggies and cheese
Scatter halved cherry tomatoes, diced cucumbers, and 1/4 cup diced red onion over the beef.
Finish with 1/2 cup shredded cheese so it melts over the warm beef and grains.
Add optional toppings like pickles, avocado slices, or shredded lettuce.
Pro Tip: For a glossy melt, place the assembled bowl under a broiler for 30 seconds—watch closely so the cheese doesn’t brown too much.
Step 6: Serve and enjoy
Serve immediately while the beef is warm and the cheese is melty.
Let diners add any final toppings like a squirt of mustard or a drizzle of olive oil.
Enjoy your nutritious cheeseburger bowl right away.
Pro Tip: This dish is designed to be mixed at the table — encourage guests to stir everything together so the flavors marry.
Expert Tips for Success
-
Temperature control for browning: Use medium to medium-high heat for the beef. If the pan is too hot, the outside will char before the interior cooks; too cool and the beef simmers and releases water. Aim for steady sizzle and adjust heat as needed.
-
Salt early and taste later: Season the beef lightly as it cooks, then adjust at the end. Proteins absorb salt as they cook; finishing with a final seasoning round lets you avoid over-salting.
-
Drain or not to drain: With lean ground beef you often don’t need to drain, but if you see pools of fat, spoon them out. Excess moisture dilutes flavor and can make grains soggy. For fattier blends, drain on paper towels or tilt the pan and spoon out fat.
-
Grain texture matters: Fluffy, separate grains are ideal. Overcooked rice gets mushy and competes with the fresh veggies. Rinse quinoa before cooking and watch rice water levels closely so you get distinct grains.
-
Cheese technique: Freshly shredded cheddar melts better than pre-shredded. If you want a really gooey finish, grate a small amount of mozzarella into the cheddar blend. Add cheese while the beef is very hot so it melts evenly.
-
Prep ahead: Cook the grains and brown the beef up to 3 days ahead. Store separately in airtight containers and assemble just before serving. This keeps textures bright and prevents sogginess.
-
Visual cues when cooking beef: Look for small browned bits (fond) and reduced juices in the pan. If the liquid is evaporating and you have a golden film, you’re hitting ideal caramelization.
-
Equipment tip: A stainless steel or cast-iron skillet gives better browning than nonstick. If you use nonstick, you may not get the same fond but will still have an easy cleanup.
Storage & Freezing
Fridge storage — Cool components quickly and store separately.
Place cooked beef in one airtight container and grains in another; veggies and cheese should stay fresh in a third container.
Stored this way, components last 3–4 days in the refrigerator.
Reheat for best texture — Reheat beef and grains together in a skillet over medium heat with a splash of water or broth to loosen them.
Add cheese at the end so it melts fresh.
Avoid microwaving veggies; add raw toppings after reheating to preserve crunch.
Freezing — Freeze only the cooked beef and grains, not the fresh veggies or cheese.
Cool them completely, portion into freezer-safe bags or containers, and remove excess air.
They keep 2–3 months in the freezer.
Thawing & reheating frozen portions — Thaw overnight in the fridge.
Reheat in a skillet to recover texture — microwaving straight from frozen makes textures gummy.
Once warmed, assemble with fresh tomatoes, cucumbers, and onion to restore the bright contrast.
Variations & Substitutions
Swap the grain — Use cauliflower rice for a lower-carb bowl.
Cauliflower rice works well if lightly sautéed and drained before adding beef.
You’ll get the cheeseburger flavors with fewer carbs.
Change the protein — Substitute ground turkey or chicken for leaner protein.
You may need a touch more seasoning because poultry is milder; add smoked paprika or Worcestershire for depth.
For a plant-based option, use crumbled tempeh or seasoned textured vegetable protein (TVP).
Sauce and seasoning variations — Mix diced pickles into the bowl for that classic burger tang.
Stir a tablespoon of mustard or a dollop of Greek yogurt mixed with ketchup for a faux “special sauce.”
A pinch of smoked paprika or a dash of hot sauce can add complexity.
Cheese swaps — Use pepper jack for heat or feta for a tangy Mediterranean twist.
If you want melty and mild, fontina or Monterey jack work beautifully.
For dairy-free, try a meltable vegan cheese or a sprinkle of nutritional yeast.
Frequently Asked Questions
Q: Can I make this recipe vegetarian?
A: Yes. Replace ground beef with seasoned lentils, crumbled tempeh, or a plant-based ground "beef" product.
Sauté with the same seasoning and follow the same assembly steps.
Use extra-virgin olive oil to add mouthfeel.
Q: How many servings does this recipe make?
A: One pound of beef with 1 cup cooked grains usually makes 3–4 hearty bowls.
For meal prep portions, plan on 3 servings for larger appetites and 4 for moderate portions.
Adjust grains to stretch servings if needed.
Q: Is quinoa better than brown rice for this dish?
A: Quinoa adds protein and a nuttier texture, which boosts the dish’s overall protein count.
Brown rice is heartier and more familiar to some palates.
Either works; choose based on your nutrition goals and texture preference.
Q: Can I use frozen vegetables?
A: Frozen veggies like peas or corn can be used but should be thawed and drained first.
Fresh cucumbers and cherry tomatoes provide a crisp contrast that frozen options don’t replicate.
If you use frozen, add them at the end to avoid a watery bowl.
Q: How do I prevent the bowl from becoming soggy when meal-prepping?
A: Store components separately: grains, cooked beef, and fresh toppings in separate airtight containers.
Assemble only when ready to eat.
If you must assemble ahead, place a paper towel between warm and cold layers to absorb moisture.
Final Thoughts
This high-protein cheeseburger bowl gives you the comfort of a burger with the balance of a bowl.
It’s easy to customize and forgiving for busy weeknights.
Please leave a star rating in the recipe card below and pin this to Pinterest if you loved it.
Conclusion
For inspiration on sauces and plated versions, check out this flavorful take on burger bowls at High Protein Burger Bowls with Sauce Recipe – The Protein Chef.
If you want a low-carb perspective and different topping ideas, see Cheeseburger Bowls (Easy Low Carb Meal) – Wholesome Made Easy.

Cheeseburger Bowl
Ingredients
Main Ingredients
- 1 pound lean ground beef Choose 90/10 or 93/7 for a good balance of flavor and lower fat.
- 1 cup cooked quinoa or brown rice Quinoa brings a nutty texture; brown rice gives a more familiar chew.
- 1 cup cherry tomatoes, halved Look for firm, glossy tomatoes without soft spots.
- 1 cup diced cucumbers Adds freshness to the bowl.
- 1/2 cup shredded cheese (cheddar or your choice) Freshly shredded cheese melts better than pre-shredded.
- 1/4 cup diced red onion Adds a sharp finish to enhance the flavors.
- 1 tablespoon olive oil For browning the beef.
- to taste salt and pepper For seasoning.
Optional Toppings
- pickles For classic burger tang.
- avocado For creamy texture.
- lettuce For crunch.
Instructions
Preparation
- Warm a skillet over medium heat and add 1 tablespoon olive oil.
- Add the lean ground beef, breaking it into small pieces with a spatula. Season with salt and pepper as it begins to sizzle.
- While the beef cooks, prepare quinoa or brown rice according to package instructions.
- Spoon a serving of the cooked quinoa or brown rice into a bowl to create the base for the cheeseburger bowl.
- Top the grain base with a generous portion of the browned ground beef.
- Scatter halved cherry tomatoes, diced cucumbers, and diced red onion over the beef.
- Finish with shredded cheese topping.
- Serve immediately and let diners add optional toppings.