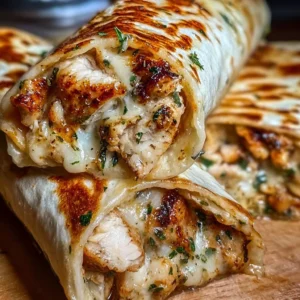
The first time I made these garlic chicken wraps, I intended to clear out dinner leftovers — and accidentally created a weeknight favorite.
They come together in under 10 minutes if your chicken is already cooked, and they stay creamy and satisfying bite after bite.
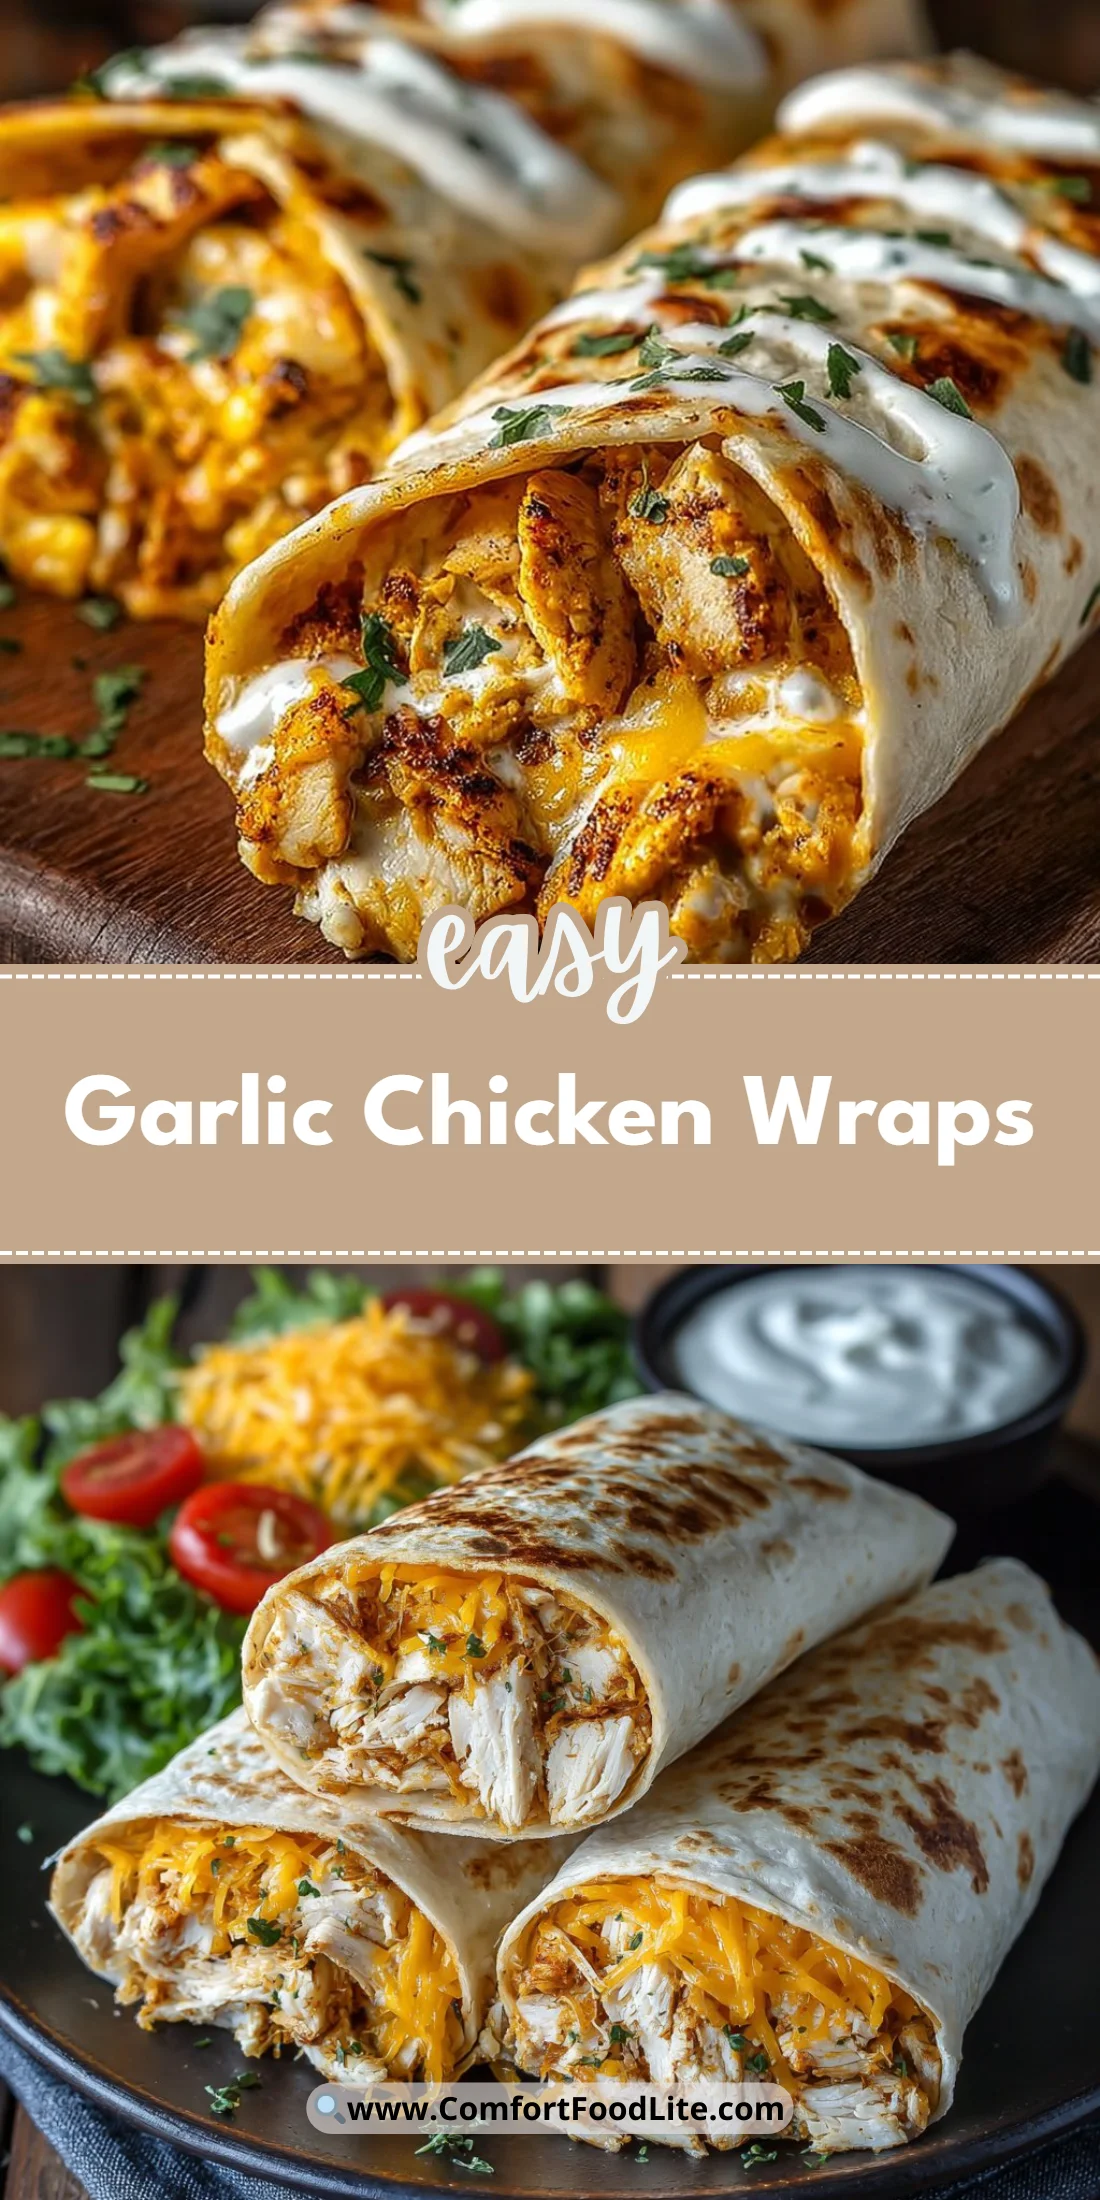
Simple ingredients, bold garlic flavor, and a melty cheese pull make them a real crowd-pleaser.
Why You’ll Love This Recipe
- Ready in minutes when you use leftover or rotisserie chicken.
- Ultra-customizable: swap sauces and cheeses to suit tastes.
- Cheesy, garlicky comfort without heavy cooking.
- Perfect for lunches, quick dinners, or packing for picnics.
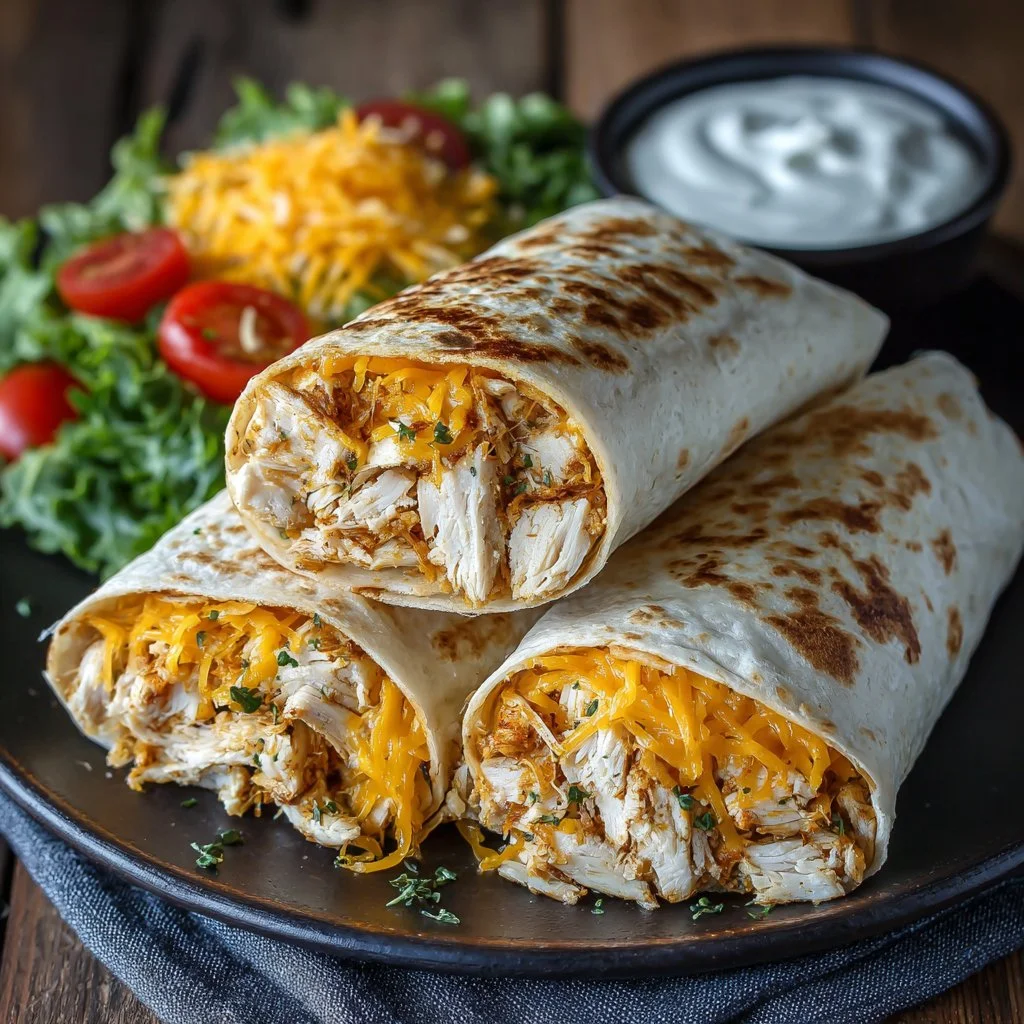
The texture is a pleasing contrast: warm, tender shredded chicken coated in creamy ranch and melted cheese, wrapped in a soft tortilla with a little crunch if you add lettuce or sliced tomatoes. The garlic gives a sharp aromatic lift that keeps the wrap from tasting one-note, while the cheese binds everything together so each bite is cohesive and comforting.
"Perfect weeknight hero — creamy, garlicky, and my kids asked for seconds. Five stars!" — reader review
Key Ingredients
Shredded chicken (2 chicken breasts, cooked and shredded)
Shredded chicken is the foundation here. Use leftover roasted chicken or a store-bought rotisserie to save time and add real flavor contrast from the browned skin. Shredding warm chicken with two forks gives better texture than slicing.
Shredded cheese (1 cup — cheddar or mozzarella)
Cheddar brings sharpness and salt that brightens the ranch; mozzarella gives stretch and a milder, creamier melt. For convenience, buy pre-shredded blends or shred a block yourself for better melting and fewer additives.
Garlic (2 cloves, minced)
Fresh garlic is non-negotiable for authentic garlic lift. Mince right before mixing to keep the volatile oils vibrant; if you want a milder background garlic, briefly sauté the minced garlic in a teaspoon of oil to tame the bite.
Tortillas (4 large)
Choose soft, pliable tortillas so the wrap holds without cracking. Flour tortillas are classic, but whole wheat or spinach tortillas add flavor and color. Warm them slightly before filling to prevent tearing.
Full ingredient list:
- 2 chicken breasts, cooked and shredded
- 1 cup shredded cheese (cheddar or mozzarella)
- 2 cloves garlic, minced
- 4 large tortillas
- 1/2 cup ranch dressing or your favorite sauce
- Salt and pepper to taste
- Optional: lettuce, tomatoes, or other veggies for filling
Step-by-Step Instructions
Step 1: Combine the filling
In a mixing bowl, toss the shredded chicken with the shredded cheese, minced garlic, and ranch dressing until everything is evenly coated.
Season with salt and pepper to taste, tasting a small spoonful to judge seasoning balance.
Pro Tip: Use a fork to fluff the chicken so the dressing and garlic distribute evenly. You’ll know it’s ready when the chicken strands are glossy and the cheese is slightly tacky.
Step 2: Prepare your tortillas
Lay out a large tortilla on a clean surface or cutting board. If your tortillas are cold or stiff, warm each one in a dry skillet for 10–15 seconds per side or microwave for 10 seconds wrapped in a damp paper towel.
Pro Tip: Warm tortillas are more flexible and less likely to split when you roll. They should be warm, not hot.
Step 3: Assemble the wraps
Spoon a quarter of the chicken mixture down the center of each tortilla in a line. Add any optional veggies like shredded lettuce or sliced tomatoes on top, keeping wetter items minimal to prevent sogginess.
Fold the bottom edge up over the filling, then fold both sides in and roll tightly to seal.
Pro Tip: Place wetter veggies like tomatoes near the center and add a layer of cheese or chicken underneath to act as a moisture barrier. You’ll know it’s tight enough when the wrap holds its shape without spilling.
Step 4: Slice and serve
Slice each rolled tortilla in half on the diagonal for a restaurant-style presentation. Serve immediately while the cheese is warm and melty, or wrap tightly in parchment for on-the-go meals.
Pro Tip: If packing for later, wrap in foil or parchment and slice just before eating to keep edges neat. The cheese sets slightly as it cools and the wrap slices cleaner.
Expert Tips for Success
- Use warm shredded chicken for better flavor integration. Cold chicken clamps up and resists coating. If starting from raw, poach breasts gently in simmering water or broth for 12–15 minutes until just cooked through, then shred while warm.
- Pick the right cheese. A sharper cheddar adds flavor punch and stands up to garlic and ranch, while low-moisture mozzarella gives milky stretch. For best melt, shred from a block rather than using pre-shredded bags which often contain anti-caking agents.
- Balance moisture to avoid soggy wraps. Ranch adds creaminess but also moisture; if your chicken is very juicy, reduce the ranch by a tablespoon or add a tablespoon of Greek yogurt instead for thicker binding.
- Mince garlic very fine and mix thoroughly. Large pieces of raw garlic can dominate; if you prefer a mellow garlic, cook the minced garlic in a teaspoon of butter for 30–45 seconds before adding.
- Toast the assembled wrap for texture. If you like a slightly crisp exterior, press the rolled wrap in a skillet over medium heat 1–2 minutes per side until golden. Use a little spray oil or a brush of olive oil to encourage browning.
- Keep fillings proportionate. Aim for roughly 3:1 ratio of filling to tortilla area so the wrap isn’t overstuffed and still rolls cleanly. If you like extra vegetables, use thin ribbons of lettuce or julienned carrots to maintain structure.
- Season as you go. Salt amplifies flavors — season the shredded chicken lightly before adding ranch and taste the mix. Pepper brings a subtle warmth that balances the creaminess.
- Use a rotisserie chicken for time savings. Removing skin and shredding the meat gives great texture and depth from roasted flavors without additional effort.
- Pack smart for lunches. Place any crunchy greens in a separate small container and add them just before eating to preserve crispness. Alternatively, line the tortilla with lettuce leaves before adding the chicken to shield the bread from moisture.
- Customize the sauce if serving for different palates. Swap ranch for chipotle mayo for heat, pesto for herbaceous notes, or tzatziki for bright cucumber tang.
Storage & Freezing
Fridge: Store assembled wraps for up to 24 hours in the refrigerator for best texture. Wrap each tightly in plastic wrap or parchment and place in an airtight container. The cheese will firm up slightly but will still be good cold or reheated.
Freezer: For longer storage, freeze un-toasted wraps for up to 2 months. Wrap each tightly in plastic wrap, then place in a freezer bag with air removed. Label with the date. Thaw overnight in the fridge before reheating.
Reheating: To reheat from chilled, unwrap and place in a skillet over low-medium heat for 2–3 minutes per side until warmed through and cheese softens. For frozen wraps, thaw overnight then reheat. You can also use a 350°F oven for 10–12 minutes for multiple wraps to warm evenly. Microwaving works in a pinch — 60–90 seconds covered, but expect a softer tortilla.
Variations & Substitutions
- Mexican-style: Swap ranch for a chipotle-lime mayo, add cilantro, black beans, and pepper jack cheese. Use a squeeze of lime for brightness.
- Mediterranean twist: Substitute tzatziki for ranch, add sliced cucumbers, red onion, and feta instead of cheddar for a tangy, fresh profile.
- Low-carb or keto: Use large romaine leaves or low-carb tortillas; increase cheese and add avocado slices for healthy fats.
- Vegan option: Replace chicken with shredded jackfruit or seasoned chickpeas, use vegan cheddar, and swap ranch for a vegan garlic-herb sauce.
- Spicy garlicky: Add hot sauce or minced pickled jalapeños into the mix and use a blend of sharp cheddar plus a little blue cheese crumbled for punch.
Frequently Asked Questions
Q: Can I use raw chicken in this recipe?
A: Yes, but cook it fully first. Poaching, baking, or using a rotisserie chicken are all fine. Poaching yields tender, moist meat that shreds easily. Bake breasts at 400°F for 18–22 minutes depending on size, then rest before shredding.
Q: How do I prevent the wrap from getting soggy?
A: Minimize wet ingredients against the tortilla. Spread dressing over the chicken rather than the tortilla and add juicy vegetables at the center. Consider a thin barrier like cheese or lettuce between wet fillings and the bread.
Q: Can I make these ahead for lunches?
A: Yes — assemble and wrap tightly, then refrigerate up to 24 hours. For best texture, add delicate greens right before eating. Toast briefly before packing if you prefer a warm, crisp exterior.
Q: What sauces work best if I don’t like ranch?
A: Greek yogurt mixed with lemon and herbs, chipotle mayo for heat, pesto for herb notes, or a simple garlic aioli all pair beautifully with shredded chicken and cheese.
Q: Is it safe to freeze assembled wraps?
A: You can freeze them, but moisture can slightly alter texture after thawing. Freeze tightly wrapped for up to 2 months and thaw overnight before reheating.
Final Thoughts
These garlic chicken wraps are proof that great weeknight food can be simple and flexible.
They’re easy to scale, forgiving, and endlessly customizable to what you have on hand.
Please leave a star rating in the recipe card below and pin this recipe to Pinterest if you made and loved it.
Conclusion
If you want more ideas for cheesy, garlicky wraps and inspiration, check this variation titled Cheesy Garlic Chicken Wraps that leans into extra cheese and bake techniques.
For a step-by-step version with slightly different seasoning, see this write-up called Recipe: Cheesy Garlic Chicken Wraps which has useful plating tips.
And for another take on the classic, visit the roundup Cheesy Chicken Wraps | Spicedblog for different filling combos and serving suggestions.
Garlic Chicken Wraps
Ingredients
Chicken Filling
- 2 pieces chicken breasts, cooked and shredded Use leftover roasted chicken or a store-bought rotisserie.
- 1 cup shredded cheese (cheddar or mozzarella) Cheddar adds sharpness; mozzarella adds creaminess.
- 2 cloves garlic, minced Fresh garlic is essential for authentic flavor.
- 1/2 cup ranch dressing or your favorite sauce Adjust according to your preference.
- Salt and pepper to taste Salt and pepper Season the filling according to taste.
Wraps
- 4 large tortillas Use soft tortillas for a pliable wrap; warm slightly before filling.
- Optional lettuce, tomatoes, or other veggies for filling Add minimal wet ingredients to prevent sogginess.
Instructions
Preparation
- In a mixing bowl, toss the shredded chicken with the shredded cheese, minced garlic, and ranch dressing until everything is evenly coated. Season with salt and pepper to taste.
- Fluff the chicken with a fork to ensure the dressing and garlic are distributed evenly.
Prepare Tortillas
- Warm each tortilla in a dry skillet for 10–15 seconds per side or in a microwave for 10 seconds wrapped in a damp paper towel.
Assembling Wraps
- Spoon a quarter of the chicken mixture down the center of each tortilla. Add any optional veggies on top.
- Fold the bottom edge up over the filling, then fold both sides in and roll tightly to seal.
Serving
- Slice each rolled tortilla in half on the diagonal and serve immediately while warm.