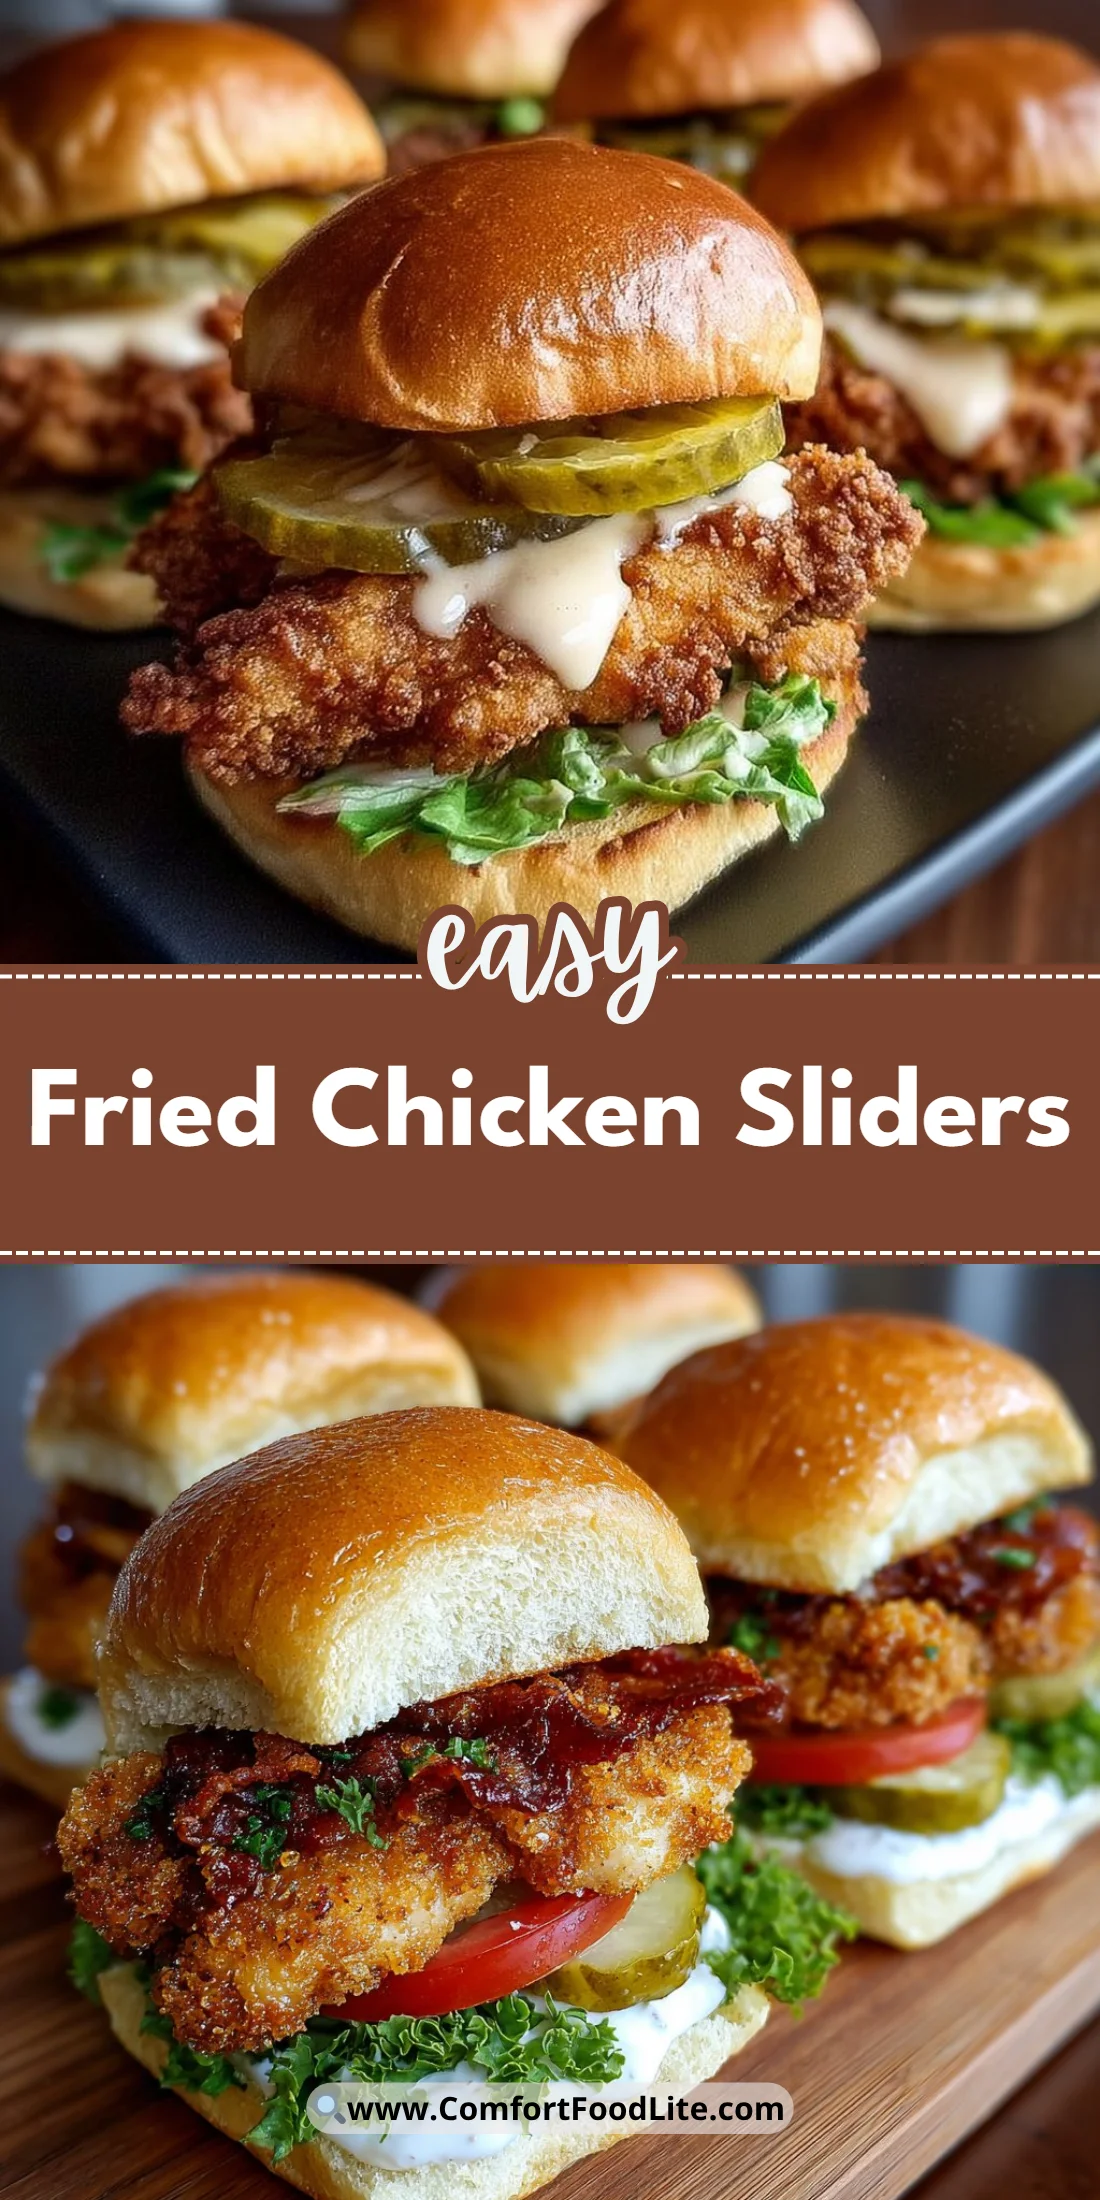
The first time I made these fried chicken sliders, my kitchen smelled like a diner and my family fought over the last bun.
They’re small, crunchy, and built for dunking — the perfect party food or quick weeknight upgrade.
This recipe is forgiving, fast, and scales easily from a batch for two to a tray for a crowd.
What makes these winners is simple: juicy, seasoned chicken, a crunchy exterior, and sliders that hold everything together without falling apart.
They’re exactly the kind of food that feels like comfort and celebration at once.
Why You’ll Love This Recipe
- Slider-sized portions are perfect for portion control and party trays.
- Buttermilk soak keeps the chicken tender and forgiving if you slightly overcook.
- Flavorful seasoned flour delivers crispiness that outlasts the first five minutes.
- Assembly is customizable — swap sauces and toppings to suit guests.
The texture is a delightful contrast: a thin, crackling crust gives way to a succulent interior that was soaked in buttermilk and protected by a double coating.
The taste is savory with a background tang from the buttermilk and a smoky warmth from the paprika.
Because pieces are small and evenly thick, every bite stays juicy and the breading cooks through without burning.
"Absolutely addictive — tender inside, impossibly crispy outside. Made these for a game night and they disappeared in minutes." — 5 stars, reader
Key Ingredients
Chicken breasts
Chicken breasts are your canvas.
They fry quickly and are easy to cut into uniform 2–3 inch pieces.
Choose fresh, evenly thick breasts; if yours have uneven thickness, pound or slice them to match so each slider cooks the same.
Buttermilk
Buttermilk tenderizes the meat and adds a mild tang that balances the fried crust.
It also helps the egg wash adhere to the flour.
If you don’t have cultured buttermilk, make a quick substitute with milk and a tablespoon of vinegar or lemon juice per cup and let it sit 5–10 minutes.
Flour (seasoned)
All-purpose flour is the foundation for the crisp crust.
Seasoning the flour with salt, pepper, garlic powder, and paprika ensures every bite is flavorful, not just the inside.
For an extra crisp, use a 50/50 mix of all-purpose and cornstarch.
Slider buns
Small, tender buns are critical — they need to hold the sandwich without overpowering the chicken.
If your buns are store-bought, toast them lightly in butter for texture and flavor.
Full Ingredient List:
- Chicken breasts
- Buttermilk
- Flour
- Eggs
- Breadcrumbs
- Salt
- Pepper
- Garlic powder
- Paprika
- Slider buns
- Lettuce
- Tomato
- Pickles
- Your favorite sauce
Step-by-Step Instructions
Step 1: Cut and size the chicken
Cut your chicken breasts into slider-sized pieces, roughly 2–3 inches across and evenly thick.
Aim for pieces about the size of the slider buns to keep proportions right.
If pieces are uneven, gently flatten them with a meat mallet to an even thickness for consistent cooking.
Pro Tip: You’ll know the pieces are even when they all lay flat and cook in the same amount of time in the pan.
Step 2: Season the dry mix
In a bowl, combine the flour with salt, pepper, garlic powder, and paprika and whisk until evenly mixed.
This seasoned flour is what gives the crust depth; don’t skimp on the salt.
If you like a little heat, add 1/2 teaspoon cayenne or hot paprika to the mix.
Pro Tip: Visual cue — the flour should look uniformly speckled with the spices, not clumpy.
Step 3: Make the wet bath
In another bowl, beat the eggs and whisk in the buttermilk until smooth.
The eggs help the flour adhere; the buttermilk tenderizes and flavors the chicken.
Mix until the color is even and there are no streaks of egg white.
Pro Tip: You’ll know it’s ready when the bowl holds a smooth, slightly thick liquid that coats a spoon evenly.
Step 4: Dredge and bread the pieces
Dip each chicken piece first in the egg-and-buttermilk mixture, then press it into the seasoned flour.
For a thicker crust, repeat: back into the wet, then back into the dry so you have a double coating.
If using breadcrumbs, press them onto the final coat for extra crunch.
Pro Tip: Visual cue — the chicken should be completely matte and evenly coated, with no wet spots peeking through.
Step 5: Heat the oil
Heat oil in a deep fryer or a large skillet to about 350°F (175°C).
Use a thermometer; the right oil temperature is the difference between greasy and crisp.
Choose a neutral oil with a high smoke point like peanut or canola.
Pro Tip: You’ll know the oil is ready when a small pinch of flour sizzles and floats gently without burning immediately.
Step 6: Fry the chicken pieces
Fry chicken pieces in batches until golden brown and cooked through, about 5–7 minutes per piece.
Don’t crowd the pan; overcrowding drops the oil temperature and makes the crust soggy.
Turn pieces midway so they brown evenly on all sides.
Pro Tip: Visual cue — a deep golden-brown color and an internal temperature of 165°F (74°C) mean the pieces are done.
Step 7: Drain and rest
Remove fried chicken to a rack or paper towels to drain.
Resting on a rack keeps the bottom crisp; paper towels can trap steam if the pieces are stacked.
Let them rest a minute so the juices settle; short rest keeps them juicier.
Pro Tip: You’ll know they’re ready to assemble when no excess oil slicks on the surface and the crust has firmed.
Step 8: Assemble the sliders
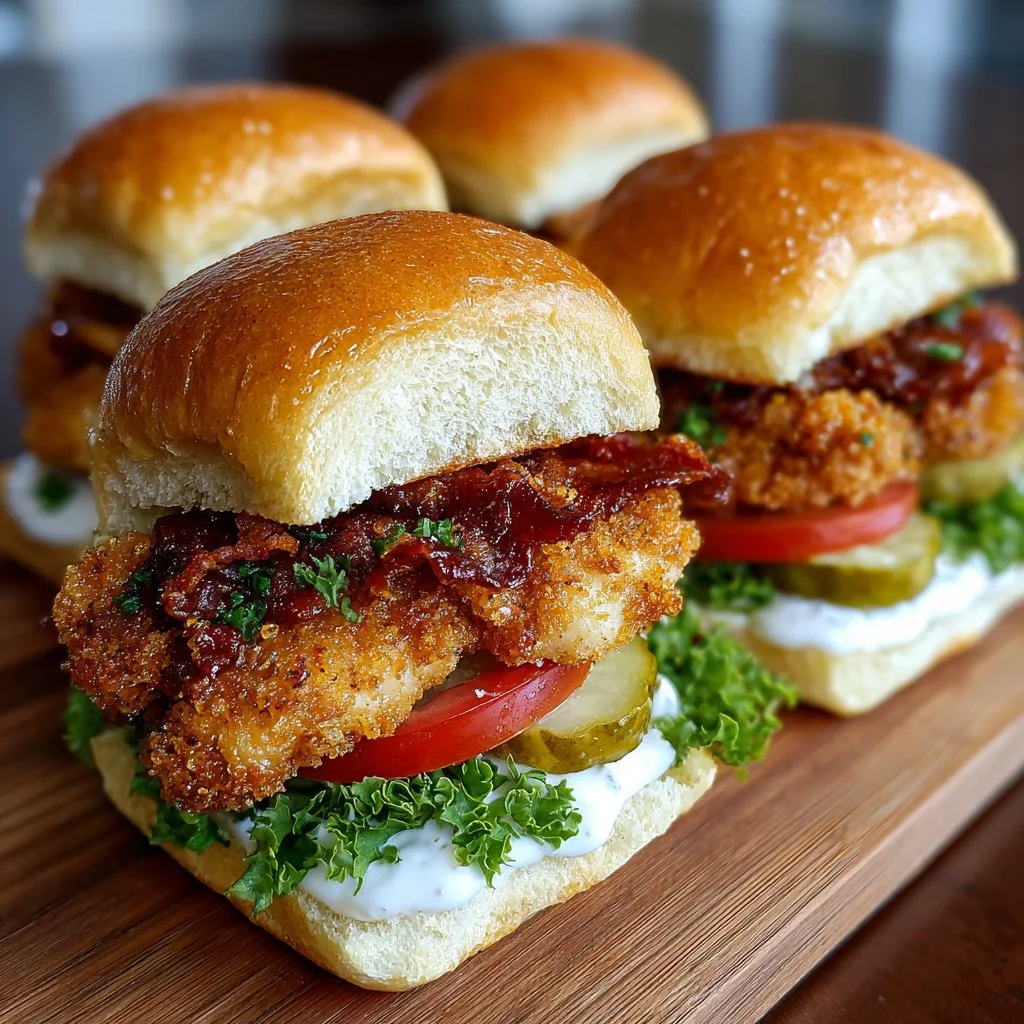
Assemble the sliders by placing the chicken on slider buns and topping with lettuce, tomato slices, pickles, and your favorite sauce.
Toast buns lightly first if you want extra texture and to prevent sogginess.
Serve hot with extra sauce on the side for dunking.
Pro Tip: Visual cue — the bun should compress slightly when you press and not collapse; this balance means the bun is toasted just right.
Expert Tips for Success
- Temperature matters: Keep oil steady at 350°F (175°C). Use an instant-read thermometer or deep-fry thermometer. Too hot burns the crust; too cool makes it greasy.
- Uniform pieces: Cut chicken into similar-sized portions. If one piece is thicker it will overcook another. A meat mallet solves uneven thickness quickly.
- Drying before breading: Pat chicken dry with paper towels before the egg bath. Excess surface moisture prevents adhesion of the breading.
- Double-coating technique: For an extra-crisp exterior, dip in wet, then dry, then wet, then dry again. Press the coating firmly so it adheres and doesn’t flake off while frying.
- Use a wire rack to drain: Laying fried pieces on a rack instead of paper towel keeps the entire crust crisp by letting air circulate.
- Oil selection and quantity: Use a neutral, high smoke point oil and enough of it to submerge at least half the thickness of the chicken. For small batches, 1–1.5 inches in a skillet is enough; for full submersion, use a deep fryer.
- Breadcrumbs and texture: Panko breadcrumbs give a lighter, crunchier texture than regular breadcrumbs. For a southern-style crust, mix breadcrumbs with a little cornmeal.
- Sauce pairing: A tangy, slightly sweet sauce (like mayo mixed with hot sauce, honey mustard, or a smoky barbecue) complements the salt and crunch without overpowering.
- Make-ahead tip: You can bread the chicken and refrigerate for up to 4 hours before frying; keep it covered in the fridge to prevent drying.
- Safety: Do not overcrowd the pan and monitor oil splatter. Keep a lid nearby and use long tongs.
Storage & Freezing
Fridge storage: Cool the fried chicken to room temperature for no more than 2 hours.
Place in an airtight container with a paper towel between layers to absorb moisture.
Store in the refrigerator for up to 3 days.
Reheating from fridge: For the crispiest result, reheat on a baking rack set over a sheet pan in a 375°F (190°C) oven for 8–12 minutes.
Flip halfway through until internal temp reaches 165°F (74°C).
Avoid microwaving if you want to keep the crust crisp; the microwave will soften it.
Freezing: Flash-freeze the individually fried pieces on a baking sheet until solid, about 1–2 hours.
Transfer to a freezer bag, removing as much air as possible, and freeze for up to 2 months.
Label with date and contents.
Reheating from frozen: Bake from frozen at 400°F (200°C) on a wire rack for 15–20 minutes or until internal temp is 165°F (74°C).
If pieces are thick, tent with foil for the last few minutes to prevent over-browning.
You can also deep-fry briefly from frozen for 3–4 minutes for a quicker outcome, but oven reheating gives more reliable texture.
Variations & Substitutions
Spicy sliders: Add cayenne or hot paprika to the flour and mix sriracha into your mayo for a spicy kick.
Buttermilk herb brine: Add chopped fresh herbs (thyme, rosemary) and a crushed clove of garlic to the buttermilk for an herby note.
Gluten-free: Use a 1:1 gluten-free flour blend and gluten-free breadcrumbs or crushed rice crackers for breading.
Oven-fried alternative: For less oil, bake at 425°F (220°C) on a greased rack, sprayed lightly with oil, flipping halfway to mimic the crisp.
Frequently Asked Questions
Q: Can I use chicken thighs instead of breasts?
A: Yes. Thighs are more forgiving and stay moist even with longer cooking. Cut into uniform pieces and adjust fry time slightly if pieces are thicker. Aim for the same internal temp of 165°F (74°C).
Q: How do I prevent the breading from falling off?
A: Pat the chicken dry, follow the wet-dry-wet-dry double-coating method, press the flour and breadcrumbs firmly onto the surface, and do not overcrowd the pan when frying. Resting on a rack helps the coating set.
Q: Is there a healthier way to make these sliders?
A: Use oven-frying or an air fryer to reduce oil. Lightly spray the breaded pieces with oil before air-frying at 400°F (200°C) until crisp. Use whole-grain or smaller buns and swap mayonnaise-based sauces for yogurt-based alternatives.
Q: What sauces pair best with fried chicken sliders?
A: Tangy sauces like spicy mayo, honey-mustard, or a smoky barbecue work best. A vinegar-based slaw on the slider adds brightness and cuts through the richness.
Q: Can I prep parts of the recipe ahead of time?
A: Yes. The chicken can be cut and brined in buttermilk up to 24 hours ahead. You can also bread pieces and refrigerate for a few hours before frying for faster assembly.
Conclusion
If you love small sandwiches with maximum crunch and flavor, these fried chicken sliders deliver every time.
Please leave a star rating in the recipe card below and pin this to your favorite board to save the idea for game night or an easy dinner party.
For another take on the sliders and variations, check out Fried Chicken Sliders – Amanda Cooks & Styles for alternate assembly ideas.
If you want a recipe with a slightly different breading and sauce suggestion, see Fried Chicken Sliders – Strawberry Blondie Kitchen.
For inspiration on scaling these for a crowd, visit Fried Chicken Sliders – AnotherFoodBlogger.
Fried Chicken Sliders
Ingredients
Chicken Preparation
- 1 lb Chicken breasts Cut into uniform 2–3 inch pieces.
- 1 cup Buttermilk Soak chicken for tenderness and flavor.
- 2 large Eggs Creates the wet coating.
Breading
- 1 cup All-purpose flour Seasoned with spices.
- 1/2 cup Breadcrumbs Panko lends extra crunch.
- 1 tsp Salt Adjust to taste.
- 1 tsp Pepper Adjust to taste.
- 1 tsp Garlic powder
- 1 tsp Paprika For a smoky flavor.
Assembly
- 6 pieces Slider buns Lightly toasted for texture.
- 1 Lettuce For topping.
- 1 Tomato Sliced for topping.
- 1/2 cup Pickles For topping.
- to taste Your favorite sauce For additional flavor.
Instructions
Preparation
- Cut chicken breasts into slider-sized pieces, about 2–3 inches. Ensure uniform thickness for even cooking.
- In a bowl, whisk together flour, salt, pepper, garlic powder, and paprika.
- In another bowl, beat eggs and whisk in buttermilk until smooth.
- Dip each chicken piece in the egg mixture and then dredge in the seasoned flour.
- For a thicker crust, repeat the coating in the wet and dry mixtures.
Cooking
- Heat oil in a deep fryer or large skillet to about 350°F (175°C).
- Fry chicken pieces in batches until golden brown, about 5–7 minutes per side.
- Remove and rest on a wire rack or paper towels to drain excess oil.
Assembly
- Assemble sliders by placing fried chicken on slider buns and topping with lettuce, tomato, pickles, and your favorite sauce.
- Serve hot with extra sauce on the side for dunking.