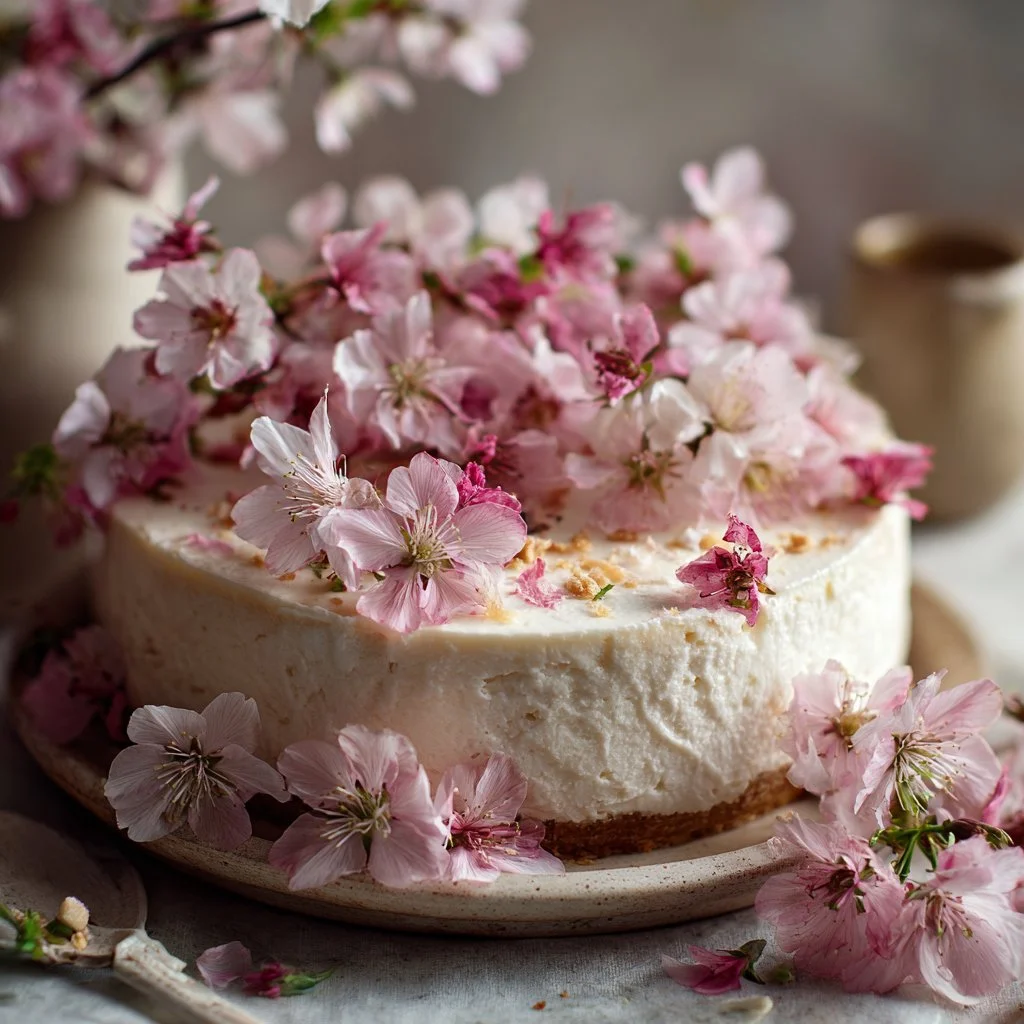
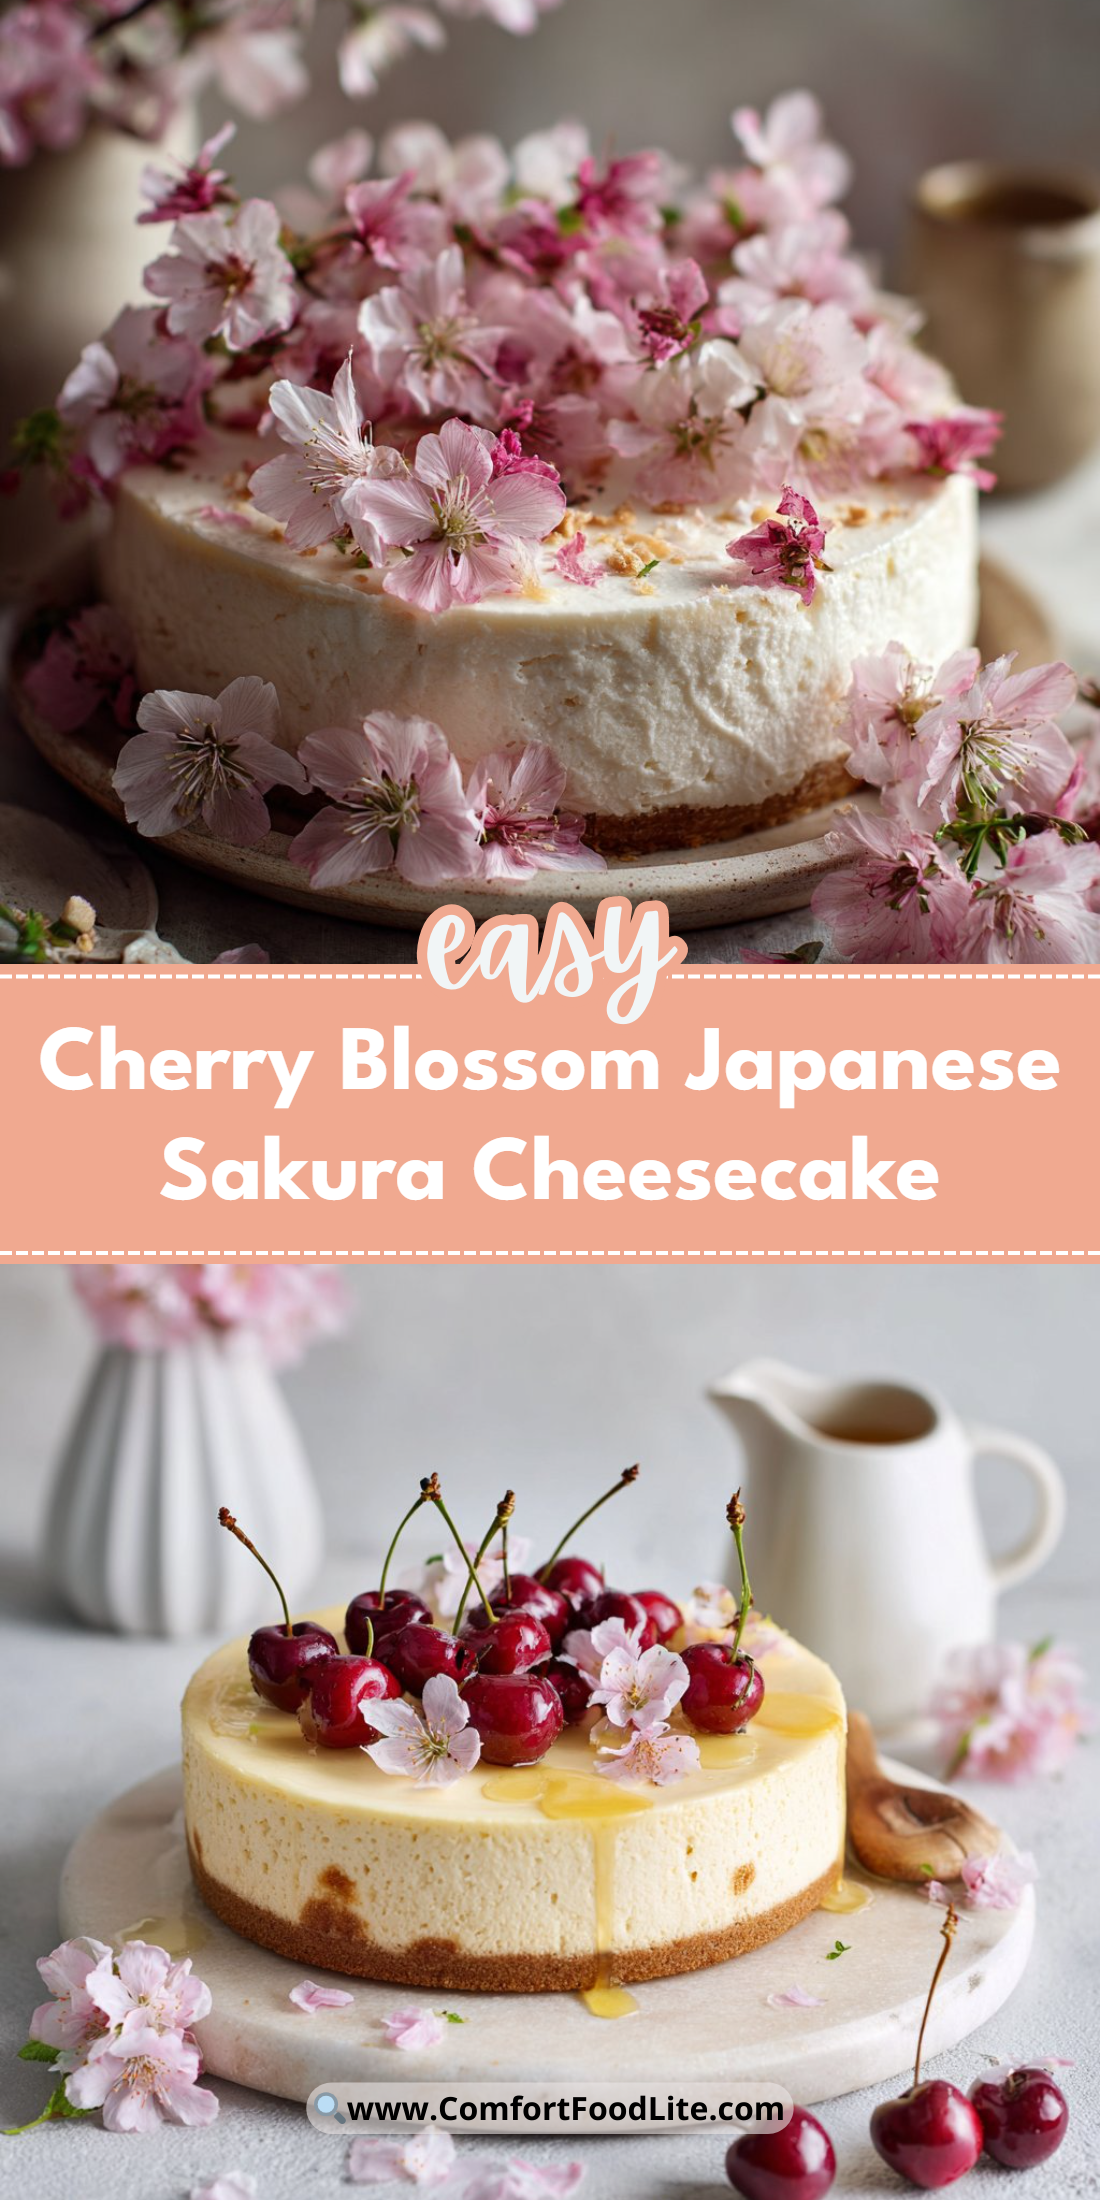
A delicate floral cloud of cream cheese, soft as a whisper, meets the subtle salt-bright of preserved sakura petals in this dreamy Japanese-style cheesecake.
It’s lighter than a New York cheesecake and silkier than a mousse, perfect for spring gatherings or a refined dessert moment.
This recipe is small-batch and forgiving, great for first-timers and experienced bakers alike.
Try it after one of my other cozy bakes; I recommend pairing with a spiced apple crumble for contrast like in this apple crumble cheesecake twist.
Why You’ll Love This Cherry Blossom Japanese Sakura Cheesecake
- Elegant floral aroma without being overpowering.
- Light, jiggly texture that melts on the tongue.
- Small 6-inch size ideal for intimate desserts.
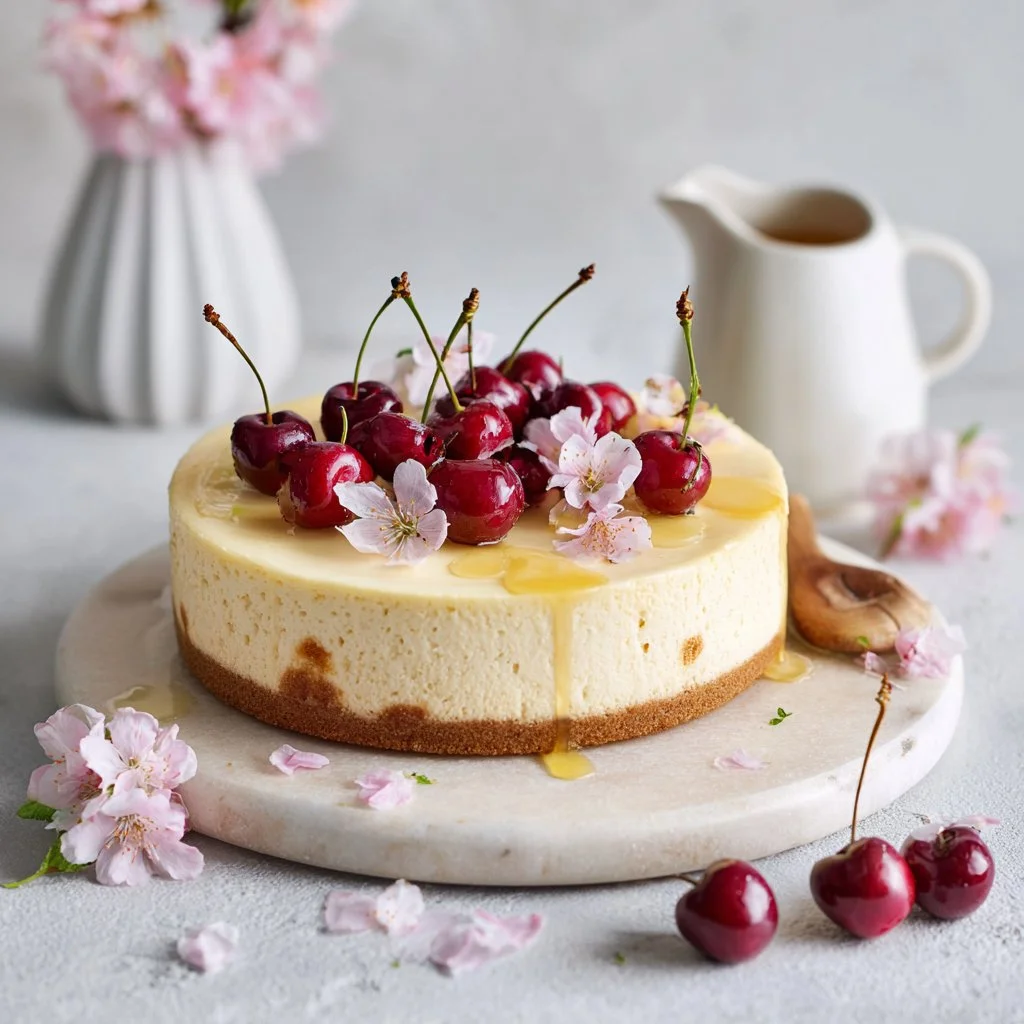
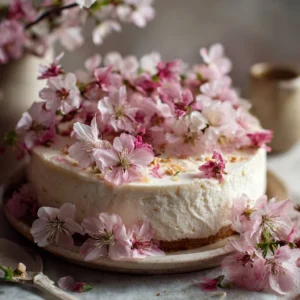
- Stunning presentation with real sakura blossoms embedded.
- Make-ahead friendly — it improves after chilling.
- Uses pantry-stable ingredients with a short bake time.
The taste is a gentle balance of tangy cream cheese and floral-salty sakura notes, finished with a cloudlike, souffle-like body. The mouthfeel is airy yet creamy, and the sakura blossoms add a surprising textural contrast and visual poetry.
“Absolutely stunning — the sakura flavor is subtle and the cake is impossibly light. My guests asked for the recipe!” — 5★ reader
Key Ingredients for Cherry Blossom Japanese Sakura Cheesecake
Salted sakura blossoms
Salted sakura are pickled cherry blossoms preserved with salt and sometimes plum vinegar. They give an authentic floral aroma and a delicate saline note that lifts the cheesecake. If you can’t find them, you can substitute a drop of cherry-blossom extract, but the visual and textural charm of real petals will be lost.
Cream cheese (8 oz), softened
Full-fat cream cheese provides body and tang; it’s the backbone of the cake’s flavor and structure. Buy a block-style cream cheese (not whipped) and allow it to warm to room temperature for smooth melting. Low-fat substitutes will create a looser batter and a less rich mouthfeel.
Eggs, separated (3 large)
Separating eggs lets you build volume from beaten whites while yolks enrich the custard base. Use very fresh eggs for better whipping and stability. If you skip separating, the texture will be denser and you’ll lose height and that signature jiggle.
Cake flour (1/4 cup), sifted
Cake flour keeps the crumb tender and helps the cheesecake set without becoming cakey. It contains less protein than all-purpose flour, which prevents over-structuring. If you must substitute, use 1/4 cup all-purpose minus 1 tablespoon and add 1 tablespoon cornstarch.
Full Ingredient List for Cherry Blossom Japanese Sakura Cheesecake
- 10 salted sakura blossoms
- 1 cup water
- 8 oz cream cheese, softened
- 4 tablespoons unsalted butter, softened
- 1/3 cup milk
- 3 large eggs, separated
- 1/4 cup granulated sugar
- 1/4 cup cake flour, sifted
- 2 tablespoons cornstarch, sifted
- 1/2 teaspoon lemon juice
- 1/4 teaspoon cream of tartar
Step-by-Step Instructions for Cherry Blossom Japanese Sakura Cheesecake
Step 1: Soak and prepare the salted sakura blossoms
Soak the 10 salted sakura blossoms in 1 cup of water for 30 minutes to draw out excess salt and mellow the flavor. Drain them carefully and pat dry with paper towel so they retain shape but aren’t waterlogged.
Pro Tip: The blossoms should look plump and pale pink, not shriveled or overly salty on the surface.
Step 2: Prep the pan and arrange blossoms
Preheat the oven to 320°F (160°C). Line a 6-inch round cake pan with parchment, pressing it smoothly to the sides; arrange the drained sakura blossoms evenly on the bottom with petals facing up.
Pro Tip: The blossoms should sit flat and visible beneath the batter — you want a clear floral pattern when turned out.
Step 3: Create the cream cheese base
Using a double boiler or a heatproof bowl set over simmering water, combine the softened cream cheese, butter, and milk. Stir until silky and fully smooth, then remove from heat and cool slightly so the mixture isn’t hot when eggs are added.
Pro Tip: The mixture should be glossy and lump-free; any graininess means the cheese wasn’t fully softened.
Step 4: Add yolks, lemon, and dry ingredients
Whisk in the egg yolks one at a time, then add the lemon juice, sifted cake flour, and sifted cornstarch until just combined to avoid overworking the batter.
Pro Tip: The batter should be thick but pourable — smooth with no visible flour pockets.
Step 5: Whip egg whites to soft peaks
In a clean, grease-free mixing bowl, whisk the egg whites with the cream of tartar until foamy. Gradually add the granulated sugar and beat until soft, glossy peaks form.
Pro Tip: Soft peaks should hold shape briefly and then gently fold over; they should not be dry or grainy.
Step 6: Fold whites into the base
Gently fold the whipped whites into the cream cheese base in thirds, using a wide spatula and a light under-and-over motion to preserve as much air as possible.
Pro Tip: The batter should look airy and ribbon-like after folding; stop folding as soon as it’s homogeneous to avoid deflation.
Step 7: Pour batter over blossoms and de-bubble
Pour the blended batter gently over the sakura blossoms, smoothing the top. Tap the pan lightly on the counter to coax out large air pockets.
Pro Tip: The surface should be glossy and have small bubbles pop up quickly — no large, persistent air pockets.
Step 8: Prepare a water bath and bake
Place the cheesecake pan in a larger tray or roasting pan and pour in about 1 inch of hot water to create a gentle steam environment. Bake at 320°F (160°C) for roughly 60 minutes, until the top is set and slightly golden.
Pro Tip: The center should still have a subtle wobble when you gently jostle the pan; a firm center means over-baked.
Step 9: Cool gradually
Turn off the oven and leave the cheesecake inside with the door cracked for 10–15 minutes to prevent a sudden temperature change that causes cracking. Remove and cool completely on a wire rack before unmolding.
Pro Tip: The cake’s top should contract slightly but remain smooth; rapid shrinkage or cracks indicate thermal shock.
Step 10: Chill and serve
Chill the cheesecake in the refrigerator for several hours or preferably overnight to firm up and deepen the flavors. Unmold carefully and serve chilled, garnished if desired.
Pro Tip: The finished cake should slice cleanly with a slightly springy, mousse-like internal texture.
Expert Tips for Cherry Blossom Japanese Sakura Cheesecake
- Temperature tip: Bring cream cheese and butter to room temperature to prevent lumps and ensure a smooth base.
- Baking tip: Use a water bath to moderate oven heat and ensure an even, custardy set without cracking.
- Texture troubleshooting: If the cake is dense, you likely overfolded the whites or underwhipped them; aim for soft peaks and gentle folding.
- Equipment tip: Use a clean, dry bowl for whipping egg whites — any grease prevents proper volume.
- Common mistake: Adding hot cream cheese to eggs will cook them; cool the base slightly before whisking in yolks.
- Oven accuracy: Calibrate your oven or use an oven thermometer; 10–15°F variation affects setting and color.
- Pan choice: A 6-inch pan gives the right height; larger pans will yield a thinner, faster-baking cake.
- Visual cue tip: If the top browns too quickly, tent with foil for the final 15–20 minutes; you want gentle color, not dark crust.
Storage & Freezing for Cherry Blossom Japanese Sakura Cheesecake
Refrigerator storage: Cover the chilled cheesecake tightly with plastic wrap or place in an airtight container. It will keep 3–4 days while maintaining texture and flavor. Use a shallow container to avoid crushing the decorative blossoms.
Freezer storage: Wrap the whole cake (or slices) first in parchment, then in two layers of heavy-duty foil and store in a freezer-safe container. Freeze up to 2 months. For best texture, remove excess air to prevent freezer burn.
Thawing and reheating: Thaw in the refrigerator overnight for whole cakes or a few hours for slices. Do not microwave unless warming a small slice — gentle room temperature is preferable to preserve creaminess. If you must warm, use the defrost setting briefly and check texture.
Variations & Substitutions for Cherry Blossom Japanese Sakura Cheesecake
Sakura swirl cheesecake
Swirl a teaspoon of sakura syrup into half the batter before folding to create a marbled floral ribbon. The flavor becomes more pronounced and visually striking, but be careful not to add too much liquid.
Sakura shortbread crust
Add a thin shortbread or graham crust flavored with ground almonds for a buttery contrast. This adds a crisp base and nutty depth, changing the cake from purely custard-driven to a balanced dessert with texture layers.
Matcha-sakura duo
Fold 1–2 teaspoons of matcha powder into a portion of the batter to make a green matcha layer underneath the sakura blossoms. The earthy bitterness of matcha complements the floral sakura and brightens the palate.
No-bake sakura jelly topping
Top the chilled cheesecake with a clear sakura jelly made from sakura syrup and gelatin for a glossy finish. This adds an extra floral punch and a jewel-like presentation without changing the base cake’s texture.
Frequently Asked Questions About Cherry Blossom Japanese Sakura Cheesecake
Q: Can I use fresh sakura blossoms instead of salted ones?
A: Fresh sakura are seasonal and not preserved, so they lack the gentle salt and pickled aroma that defines this cheesecake. If using fresh blossoms, blanch lightly and consider sprinkling a tiny pinch of sea salt or using a sakura extract to mimic the preserved flavor.
Q: Why did my cheesecake crack on top?
A: Cracking usually results from overbaking or thermal shock when transferring from oven heat to cool air. Use a water bath, avoid high oven temperatures, and allow the cake to cool slowly inside the oven with the door ajar before removing.
Q: How do I get a silky, lump-free cream cheese base?
A: Work with fully softened cream cheese and use a double boiler to gently warm and stir until smooth. Strain or press through a fine sieve if small lumps remain, and always cool slightly before adding eggs.
Q: Can I make this in a larger pan?
A: Yes, but baking time will change and the cake will be thinner. For a 7–8 inch pan, reduce batter height and check doneness earlier; expect a shorter bake and watch for over-firm centers.
Q: Is there a vegan version of this recipe?
A: Vegan adaptations require replacing cream cheese with a thick cashew-based cream or vegan cream cheese, and using aquafaba whipped to stiff peaks instead of egg whites. Results will be different — usually less airy and more custard-like — but still enjoyable with proper stabilization.
Final Thoughts on Cherry Blossom Japanese Sakura Cheesecake
If you loved this delicate floral cheesecake, please leave a star rating in the recipe card below and pin it to Pinterest for later. For more inspiration, compare techniques with the Sakura Dream Cheesecake – Bake-Street.com, explore a visual tutorial on the Japanese Cherry Blossom Cheesecake | Tastemade, or try a chilled variation like the No-Bake Cherry Blossom Jelly Cheesecake – Constellation Inspiration.
Cherry Blossom Japanese Sakura Cheesecake
Ingredients
Main Ingredients
- 10 blossoms 10 salted sakura blossoms Pickled cherry blossoms preserved with salt.
- 1 cup 1 cup water For soaking the sakura blossoms.
- 8 oz 8 oz cream cheese, softened Use block-style cream cheese.
- 4 tablespoons 4 tablespoons unsalted butter, softened Bring to room temperature.
- 1/3 cup 1/3 cup milk For the cream cheese base.
- 3 large 3 large eggs, separated Use very fresh eggs for better volume.
- 1/4 cup 1/4 cup granulated sugar For sweetening the batter.
- 1/4 cup 1/4 cup cake flour, sifted Prevents a cakey texture.
- 2 tablespoons 2 tablespoons cornstarch, sifted Helps with texture.
- 1/2 teaspoon 1/2 teaspoon lemon juice Adds brightness to the flavor.
- 1/4 teaspoon 1/4 teaspoon cream of tartar Stabilizes egg whites.
Instructions
Preparation
- Soak the salted sakura blossoms in 1 cup of water for 30 minutes to draw out excess salt. Drain and pat dry.
- Preheat the oven to 320°F (160°C) and line a 6-inch round cake pan with parchment paper, arranging the drained sakura blossoms on the bottom.
- In a double boiler, combine the cream cheese, butter, and milk. Stir until smooth, then cool slightly.
- Whisk in the egg yolks one at a time, then add lemon juice, cake flour, and cornstarch until just combined.
- Whip egg whites with cream of tartar until foamy, gradually add sugar and beat until soft peaks form.
- Fold the whipped whites into the cream cheese base gently in thirds.
- Pour the batter over the blossoms in the pan and tap lightly to remove air pockets.
- Place the pan in a larger tray, fill with 1 inch of hot water, and bake for about 60 minutes until set.
- Turn off the oven and let the cheesecake cool inside for 10–15 minutes. Then cool completely on a wire rack.
- Chill in the refrigerator for several hours or overnight before serving.