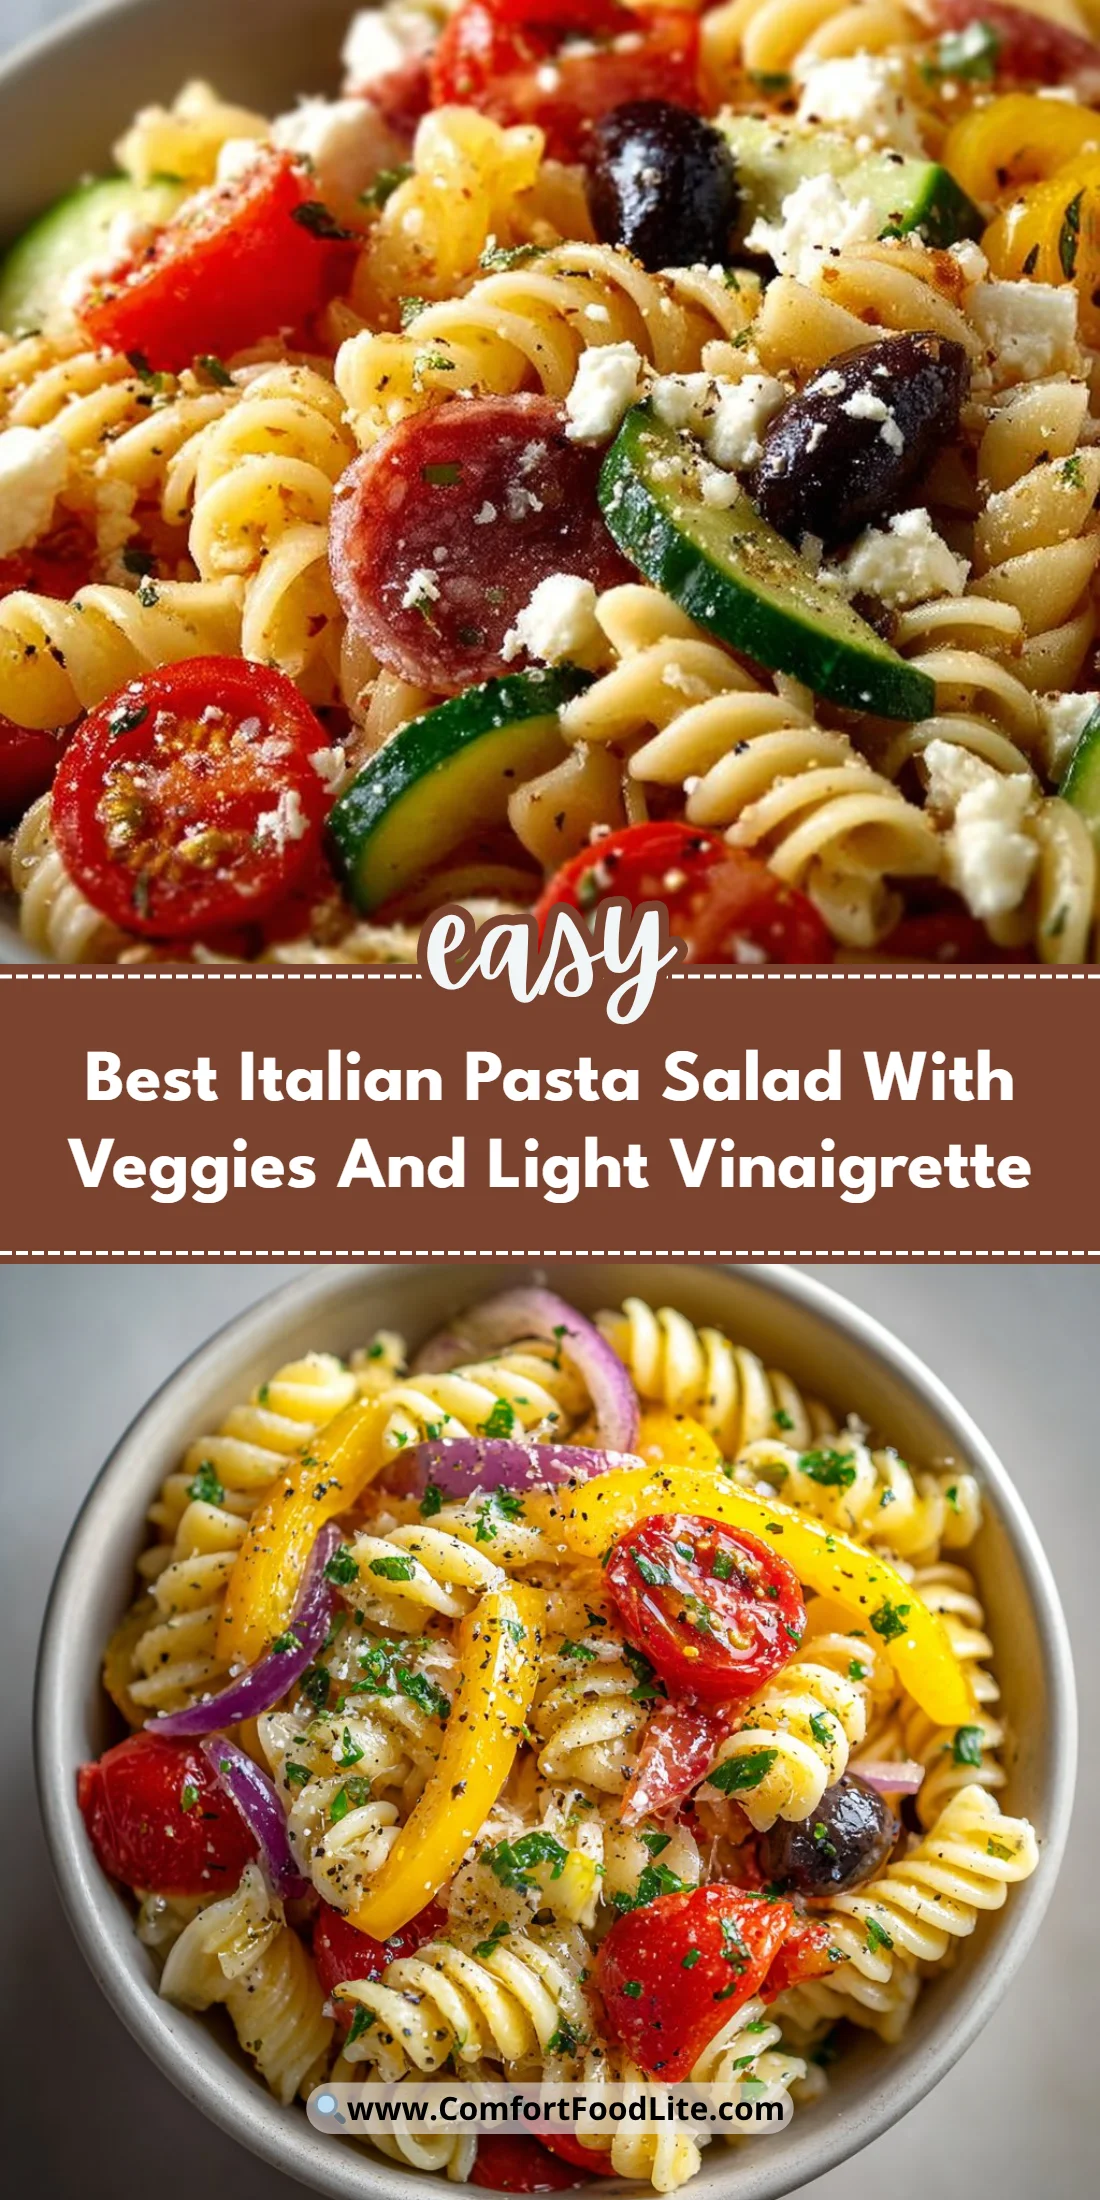
META: Try this Easy Italian Pasta Salad for a quick, comforting dish perfect for busy weeknights and summer gatherings.
Ever stared at your fridge wondering what to make for dinner? This Easy Italian Pasta Salad is the answer, combining effortless preparation with comforting flavors. Perfect for busy weeknights or your next summer gathering, it’s a dish everyone will love. With just a few ingredients and minimal effort, you can whip up a satisfyingly simple pasta salad that tastes like a little Italian getaway.
Why This Easy Italian Pasta Salad Actually Works
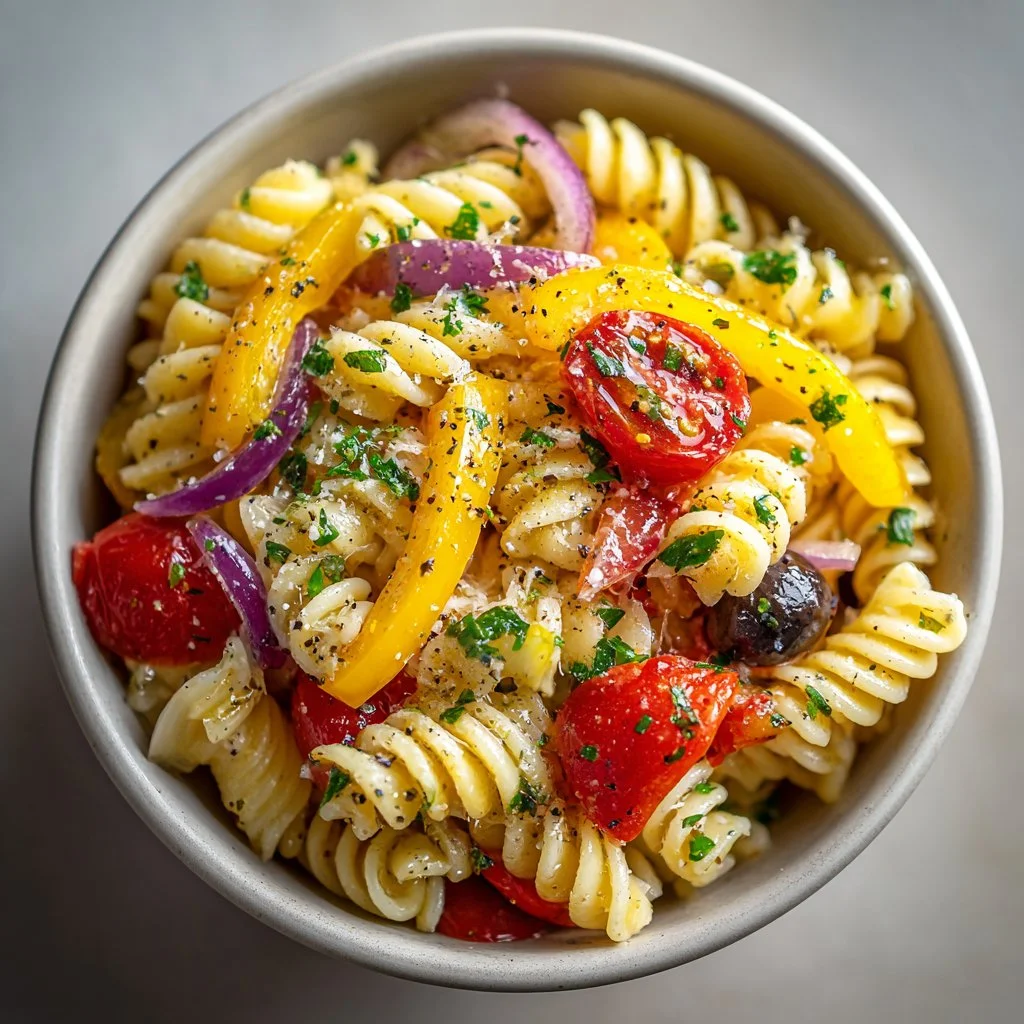
– The rotini pasta provides a charming twist that holds dressing and ingredients well.
– Fresh bell peppers and cherry tomatoes add crunch and vibrant colors.
– Cheese like mozzarella or parmesan introduces creaminess, making each bite rich and comforting.
– It’s a make-ahead option, perfect for meal prep or serving a crowd with ease.
– The flavor comes together beautifully, making it a favorite for both kids and adults.
Key Ingredients
**Rotini Pasta**: This twisty noodle is not only fun but great for holding on to dressings. Look for whole wheat or gluten-free options to suit dietary needs.
Cheese: Choose mozzarella for a soft, milky touch, or parmesan for a sharper kick. You can mix them for added depth.
Italian Dressing: A pre-made dressing saves time, but consider making your own for a fresh twist. Look for one without preservatives for a cleaner taste.
Full Ingredient List
– Rotini pasta
– Cheese (e.g., mozzarella or parmesan)
– Bell peppers
– Cherry tomatoes
– Olives
– Red onion
– Italian dressing
– Salt and pepper to taste
How to Make Easy Italian Pasta Salad
Step 1: Cook Pasta
Boil the rotini pasta according to package instructions, then drain and let it cool. Pro Tip: Rinse under cold water to stop the cooking process and prevent sticking.
Step 2: Combine Ingredients
In a large bowl, mix the cooled pasta with cheese, chopped bell peppers, halved cherry tomatoes, sliced olives, and red onion. Pro Tip: The colors of these veggies should be bright and appealing.
Step 3: Dress the Salad
Drizzle the Italian dressing over the pasta mixture and gently toss everything to coat. Pro Tip: Start with a little dressing; you can always add more for desired flavor.
Step 4: Season
Add salt and pepper to taste, adjusting as needed. Pro Tip: Taste the salad before letting it chill — it should be flavorful yet not overpowering.
Step 5: Chill
Refrigerate the salad for at least 30 minutes before serving to let the flavors meld beautifully. Pro Tip: This is where that comforting flavor really has a chance to shine through.
Tips for the Best Easy Italian Pasta Salad
– Use fresh ingredients for the best flavors.
– Prepare in advance to save time on busy weeknights.
– Consider adding grilled chicken or chickpeas for extra protein.
– Make sure the pasta is fully cooled to avoid wilting the vegetables.
– Experiment with different dressings for a unique twist each time.
– This salad can serve a crowd, making it perfect for summer picnics or large gatherings.
Storage & Reheating
Store this pasta salad in an airtight container in the fridge for up to three days. It’s a perfect make-ahead dish, tasting even better the next day. Freezing isn’t recommended due to the pasta and vegetables’ texture, but you can easily make it a day in advance.
Easy Italian Pasta Salad Variations
– **Add Protein**: Toss in diced grilled chicken or canned chickpeas for added nourishment.
– **Different Cheeses**: Try feta or goat cheese for a tangy flavor that complements the salad well.
– **Italian Pasta Salad with Pesto**: Swap the Italian dressing for pesto for a fresh twist. Using pesto fits nicely with the theme of an easy summer pasta salad.
[INTERNAL LINK: Check out our easy spicy chicken pasta for a flavorful pairing with this dish.]
Common Questions
**Can I make this salad in advance?**
Absolutely! It’s actually better after chilling for a few hours, allowing the flavors to combine.
How do I customize my Easy Italian Pasta Salad?
Feel free to add ingredients like spinach, artichokes, or even sundried tomatoes. Adjust according to your family’s tastes.
What is the best type of pasta to use?
Rotini works well because its shape captures the dressing and ingredients. Other options include penne or farfalle.
How long does pasta salad last?
This salad is best enjoyed within 3 days when refrigerated. Keep an eye out for changes in texture!
Ready to Make Easy Italian Pasta Salad?
Get started with this delicious, comforting dish that suits busy weeknights and summer gatherings alike. If you try it, leave a rating below — and save this to Pinterest so you can find it again easily.
Conclusion
This Easy Italian Pasta Salad is not just a tasty dish; it’s a lifesaver for those hectic weeknights or summer celebrations. For more ideas, you might want to explore this version or check out the best easy recipe for pasta salad. If you’re looking to impress for summer, this fresh option will do the trick. Additionally, watching the video can help you replicate the best results. Lastly, for vibrant sides, try a great lemony recipe that pairs wonderfully!
Easy Italian Pasta Salad
Ingredients
Main Ingredients
- 8 ounces Rotini pasta Choose whole wheat or gluten-free options if desired.
- 1 cup Cheese (mozzarella or parmesan) Can mix for added depth of flavor.
- 1 cup Bell peppers, chopped Use a mix of colors for a vibrant salad.
- 1 cup Cherry tomatoes, halved
- 1/2 cup Olives, sliced
- 1/2 cup Red onion, sliced
- 1/2 cup Italian dressing Use pre-made or homemade.
- Salt and pepper to taste
Instructions
Preparation
- Boil the rotini pasta according to package instructions, then drain and let it cool. Pro Tip: Rinse under cold water to stop the cooking process and prevent sticking.
- In a large bowl, mix the cooled pasta with cheese, chopped bell peppers, halved cherry tomatoes, sliced olives, and red onion. Pro Tip: The colors of these veggies should be bright and appealing.
- Drizzle the Italian dressing over the pasta mixture and gently toss everything to coat. Pro Tip: Start with a little dressing; you can always add more for desired flavor.
- Add salt and pepper to taste, adjusting as needed. Pro Tip: Taste the salad before letting it chill — it should be flavorful yet not overpowering.
- Refrigerate the salad for at least 30 minutes before serving to let the flavors meld beautifully. Pro Tip: This is where that comforting flavor really has a chance to shine through.