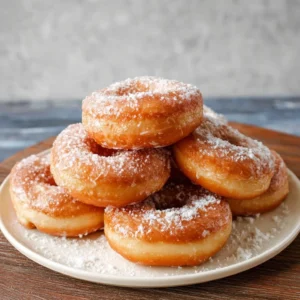
The first time I made these two-ingredient donuts I expected a sad little biscuit masquerading as dessert.
Instead I pulled a tray of warm, golden rings out of the oven in under 15 minutes and ate two before they cooled.
This recipe is one of those rare kitchen wins—fast, forgiving, and endlessly tweakable.
These donuts are perfect when you want a quick sweet without yeast, frying, or a dozen pantry ingredients.
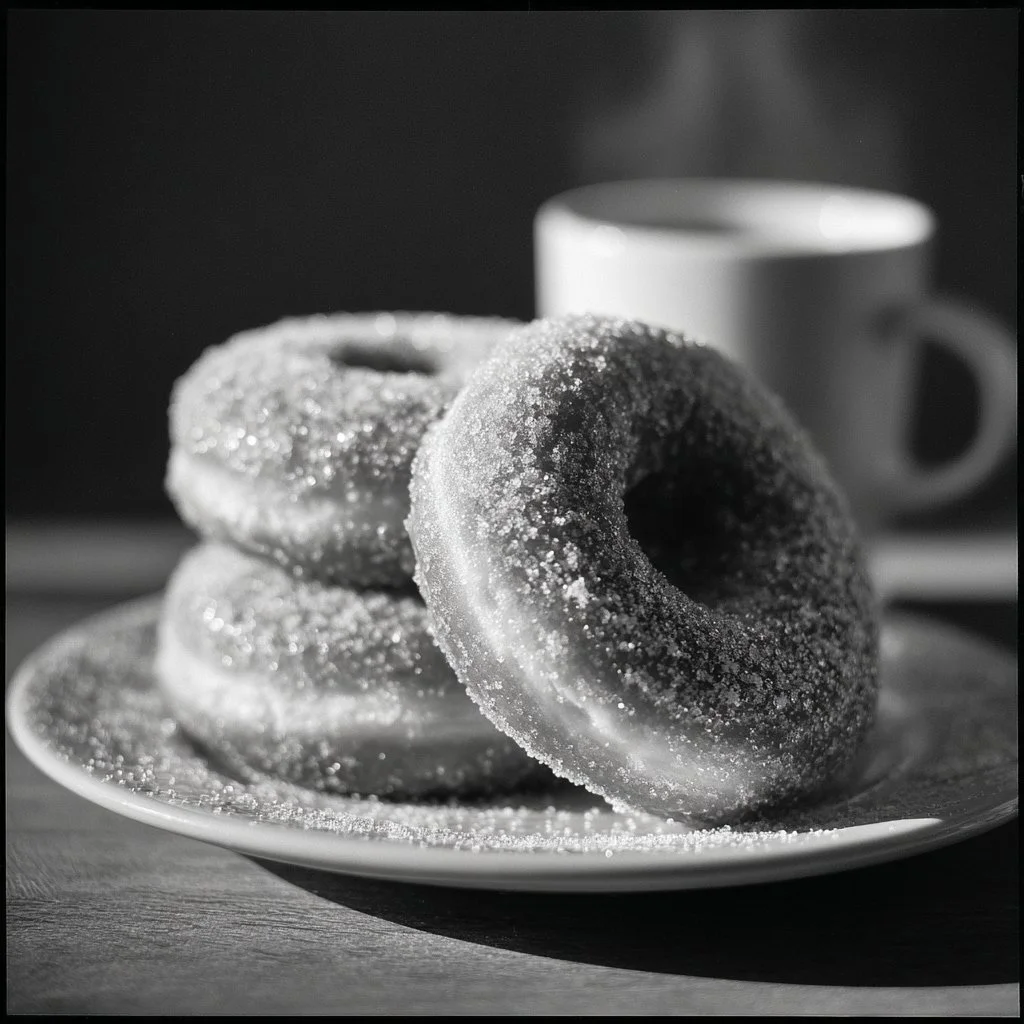
They’re a great base for glazes, cinnamon sugar, or a quick jam sandwich.
Because it’s only flour and Greek yogurt, you truly get dessert in minutes.
Why You’ll Love This Recipe
- Quick: From bowl to oven in about 10 minutes.
- Minimal ingredients: Two pantry staples and no complicated techniques.
- Versatile: Dress them sweet or keep them simple for breakfast.
- Kid-friendly: Easy to let kids help with shaping or decorating.
- Light texture: Not heavy like fried donuts—airy but slightly cakey.
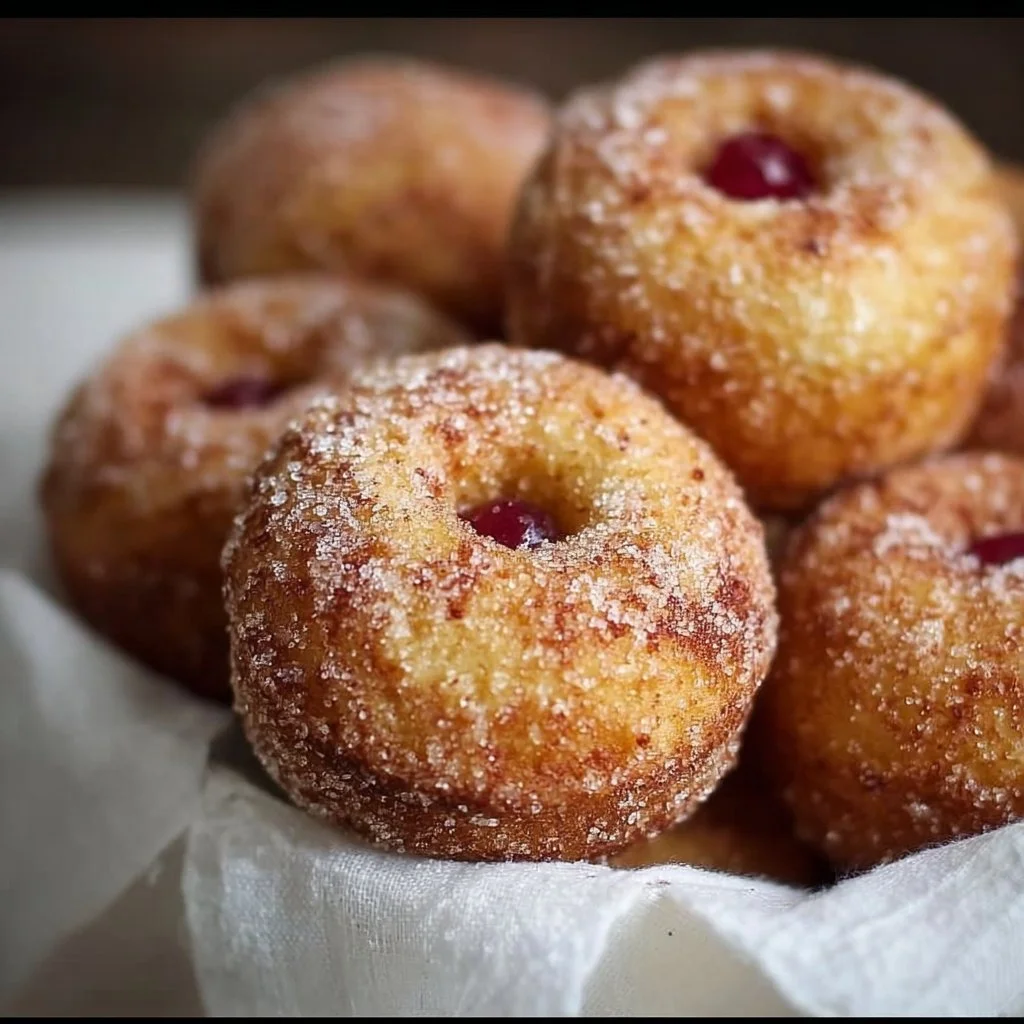
These donuts have a tender, cake-like crumb with a slightly chewy edge from the yogurt.
They toast up golden on the outside and stay soft inside, like a cross between a biscuit and a cakey doughnut.
The tang of the Greek yogurt gives a gentle acidity that balances sweet toppings and keeps them from tasting flat.
“Ridiculously easy and surprisingly delicious. My kids thought I bought them — then I told them it was just yogurt and flour!” — 5★ reader review
Key Ingredients
Self-rising flour
Self-rising flour is the backbone of this recipe because it already contains a rising agent and salt, so the dough puffs without extra work.
If you don’t have it, you can make a quick DIY self-rising mix (see substitutions below), but using a ready-made bag keeps the ratio consistent every time.
Greek yogurt
Full-fat Greek yogurt gives richness, moisture, and structure thanks to its protein content.
I prefer brands with thick consistency like Fage or Chobani Greek-style; they make the dough easier to shape and produce a more tender crumb.
Flour components (why they matter)
The protein level in the flour affects chewiness. Self-rising blends usually use lower-protein all-purpose flour plus baking powder which yields a soft, tender donut.
If you use a higher-protein flour you’ll notice a firmer texture; stick to standard self-rising for the classic result.
Yogurt acidity and fat
The yogurt’s acidity reacts subtly with the leavening in the self-rising flour to give lift and a mild tang.
Higher-fat yogurts yield a richer, more dessert-like donut; low-fat versions will still work but the texture can be slightly drier.
Ingredients
- 1 cup self-rising flour
- 1 cup Greek yogurt
Step-by-Step Instructions
Step 1: Preheat and prep
Preheat your oven to 375°F (190°C).
Line a baking sheet with parchment paper or a silicone mat so the donuts don’t stick.
Pro Tip: A fully preheated oven gives the best initial rise; don’t skip warming it first.
Step 2: Mix the dough
In a mixing bowl, combine the self-rising flour and Greek yogurt.
Stir with a spatula until a shaggy dough forms and no streaks of yogurt remain.
Pro Tip: Use a silicone spatula and fold gently; overmixing tightens gluten and can make the donuts denser.
Visual cue: The dough should be slightly tacky but not sticky enough to cling to your fingers.
Step 3: Knead briefly
Lightly flour a clean surface and turn the dough out.
Knead gently for about a minute—just enough to bring it together into a smooth ball.
Pro Tip: Kneading is only for structure, not strength. One minute is enough.
Visual cue: When the dough holds together and springs back slightly when poked, it’s ready.
Step 4: Shape the donuts
Roll the dough into a log roughly 1–1½ inches thick.
Form into a ring by tapping the ends together, or press with a donut cutter to make classic rounds with holes.
Pro Tip: If you don’t have a cutter, use two round cutters or the rim of small glasses—one for the outer ring and one for the hole.
Visual cue: The ring should be uniform in thickness so it bakes evenly.
Step 5: Arrange for baking
Place the shaped donuts on the prepared sheet, leaving an inch or two between each.
They won’t expand hugely, but give them space so the heat circulates.
Pro Tip: If making mini donuts, reduce baking time by a few minutes and watch closely.
Visual cue: The raw dough will look matte; after baking it should be slightly golden.
Step 6: Bake until golden
Bake for about 8–10 minutes, or until the tops and edges are lightly golden brown.
Remove from oven and transfer to a wire rack to cool slightly.
Pro Tip: A toothpick inserted into the thickest part should come out clean or with a few moist crumbs, not wet batter.
Visual cue: The donuts will firm up as they cool; don’t overbake or they’ll dry out.
Step 7: Cool and finish
Let cool slightly before glazing, dusting with sugar, or slicing and spreading with jam.
Serve warm for the best texture.
Pro Tip: If glazing, cool for 5 minutes so the glaze sets without sinking in.
Visual cue: Warm donuts yield a little steam; once cooled, the texture becomes more stable.
Expert Tips for Success
- Measure precisely. Use a kitchen scale if possible; one cup of flour can vary by how it’s scooped which affects dough hydration and final texture.
- Choose full-fat Greek yogurt for richness. Low-fat works in a pinch, but the donuts will be less tender and slightly tangier.
- If your self-rising flour is old, check its lift. Baking powder loses potency over time and can lead to flat donuts. Replace the flour if it’s stale.
- Keep mixing minimal. Overworking the dough builds gluten and makes the donuts tough rather than tender. Fold until just combined.
- For even browning rotate the pan halfway through baking. Ovens have hot spots and this prevents one side from over-browning.
- If the dough is sticky, chill for 10 minutes. A short rest firms the dough and makes shaping easier without adding more flour.
- Want a crisp outside? Slightly brush the tops with melted butter before baking to encourage deeper browning and a bit more crispness.
- Use a thermometer for accuracy: ovens vary, so if you’re unsure, an oven thermometer helps hit 375°F consistently.
- To test for doneness without a toothpick, press gently with a fingertip—if it springs back, it’s done. If it leaves a dent, bake another minute.
- Make mini donuts in a donut pan or with a piping bag into rings on a sheet for faster baking and snack-sized treats.
Storage & Freezing
Short-term fridge storage is simple.
Place cooled donuts in an airtight container and refrigerate up to 3 days.
To reheat from the fridge, warm in a 325°F (160°C) oven for 5–8 minutes or pop in the toaster oven for 2–3 minutes.
Avoid the microwave for long, as it makes them gummy; short bursts of 10–15 seconds can work but test first.
For longer storage, freeze the cooled donuts on a sheet pan until solid, then transfer to a zip-top bag or freezer-safe container.
They will keep well for up to 2 months.
To reheat from frozen, thaw at room temperature for 20–30 minutes, then warm in a 350°F (175°C) oven for 6–8 minutes.
For a quick fix, microwave for 20–30 seconds, then crisp in a toaster oven for a minute.
Tip for glazed donuts: Freeze before glazing to avoid sogginess.
Glaze after reheating to keep the topping bright and fresh.
Variations & Substitutions
Cinnamon Sugar Donuts
Mix 2 tablespoons sugar with 1 tablespoon cinnamon.
Brush warm donuts with melted butter and toss in the mixture.
Chocolate Glaze
Melt 1/2 cup chocolate chips with 1 tablespoon butter and a splash of milk.
Dip cooled donuts and let set on a rack.
Berry-Filled Donut Sandwiches
Split cooled donuts and spread with jam or lemon curd.
Press together gently for a little jammy center.
Dairy-free / Yogurt swap
Use a plant-based thick yogurt (like coconut yogurt) for dairy-free versions.
Choose a thicker variety; watery yogurts will change the dough consistency.
Gluten-free option
If you have a 1:1 gluten-free self-rising blend, this can work.
Expect a slightly different crumb and follow package instructions for binding if necessary.
Frequently Asked Questions
Q: Can I use regular flour instead of self-rising?
A: Yes, but you’ll need to add a leavening agent. For every cup of all-purpose flour, add 1½ teaspoons baking powder and ¼ teaspoon salt to replicate self-rising flour. Mix thoroughly before combining with yogurt.
Q: Why are my donuts dense?
A: Dense donuts usually come from overmixing, using too much flour, or old leavening in the self-rising flour. Measure accurately, mix just until combined, and check that your flour’s rising agents are still active.
Q: Can I fry these instead of baking?
A: Technically yes, but the dough is formulated for baking and is quite soft. Frying may cause them to absorb more oil and not hold a perfect shape. If you fry, keep oil around 350°F and monitor closely so they don’t get greasy.
Q: How do I make them sweeter without a glaze?
A: Fold in a tablespoon of sugar or a teaspoon of vanilla into the dough before shaping. Another option is to brush with melted butter and roll in cinnamon sugar right after baking.
Q: Are these suitable for breakfast?
A: Absolutely. They’re sturdy enough for toast-and-jam preparations and can be made less sweet for a breakfast-appropriate flavor. Try slicing and topping with nut butter and berries.
Final Thoughts
These two-ingredient donuts are the kind of recipe I turn to when I want fast, honest baking without fuss.
They reward small tweaks—changing the yogurt, adding a glaze, or making minis—and still deliver consistently good results.
Please leave a star rating in the recipe card below if you try them, and pin this recipe to Pinterest to save it for later.
Conclusion
If you want more inspiration or alternate takes on the same two-ingredient concept, I like how other cooks adapt the method and flavors—see 2-Ingredient Donuts – The Conscious Plant Kitchen for a plant-forward version.
For another popular take with tips and photos, check out 2 Ingredient Donuts (No Yeast, Eggs or Butter) – Kirbie’s Cravings.

Two-Ingredient Donuts
Ingredients
Main Ingredients
- 1 cup self-rising flour Acts as a rising agent and contains salt.
- 1 cup Greek yogurt Use full-fat for better texture.
Instructions
Preparation
- Preheat your oven to 375°F (190°C) and line a baking sheet with parchment paper.
- In a mixing bowl, combine the self-rising flour and Greek yogurt, stirring until a shaggy dough forms.
- Lightly flour a clean surface and turn the dough out. Knead gently for about a minute to form a smooth ball.
- Roll the dough into a log approximately 1–1½ inches thick and shape it into a ring.
- Place the shaped donuts on the prepared sheet, leaving space between each.
Baking
- Bake for 8–10 minutes, or until the tops and edges are lightly golden brown.
- Remove from oven and transfer to a wire rack to cool slightly.
- Let cool slightly before glazing, dusting with sugar, or spreading with jam.