
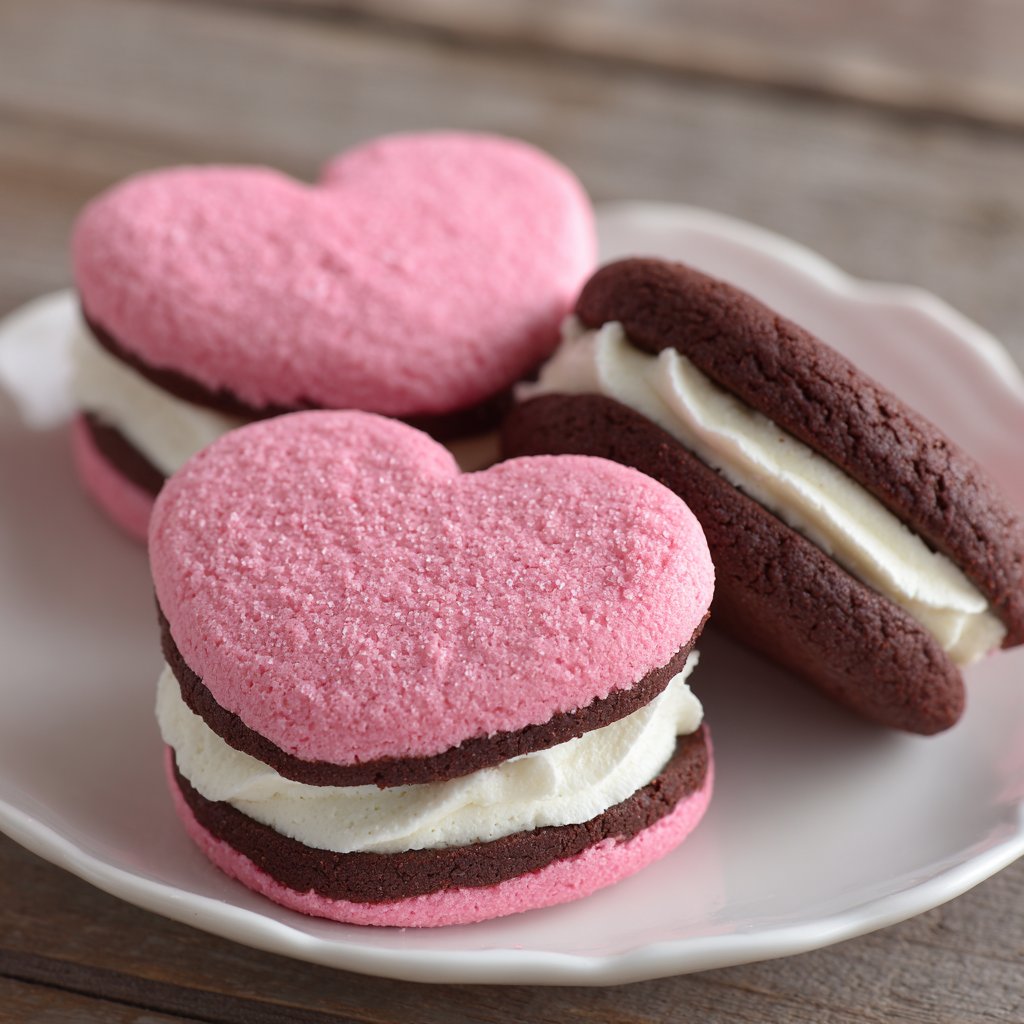
I grew up making sandwich cookies for every holiday, and these chocolate heart-shaped treats are my go-to for Valentine’s Day. Crisp, chocolatey cookies cradle a pillowy pink buttercream — they look charming, taste decadent, and are unexpectedly simple to make. Whether you’re baking with kids, gifting neighbors, or just want a pretty cookie to accompany coffee, these Valentine sandwich cookies deliver on appearance and flavor.
Why you’ll love this dish
These cookies hit several sweet spots: they’re visually festive, freezer-friendly, and kid-approved. The dough is straightforward — no chilling for days or temperamental techniques — yet the Dutch-process cocoa gives a deep chocolate flavor that feels special. Heart cutters make them instantly giftable, and the pink filling adds that romantic pop that screams “Valentine’s Day” without any frosting artistry.
“Perfect balance of tender chocolate cookie and creamy filling — everyone asked for the recipe!” — a tester’s note
Why bake these at home? You control the chocolate intensity, sugar level, and color. They’re great for classroom parties, cookie exchanges, or a homemade Valentine that looks like you spent hours but actually didn’t.
How this recipe comes together
Step-by-step overview:
- Cream butter and sugar until light — this traps air for a tender cookie.
- Add egg and vanilla, then fold in dry ingredients (flour, Dutch cocoa, baking powder, salt) until just combined.
- Chill dough so it’s easy to roll into thin hearts.
- Cut, bake briefly at 350°F until edges set, then cool completely.
- Whip a smooth buttercream with powdered sugar, color it, and pipe between cookie halves to make sandwiches.
This approach keeps the process manageable: make dough, chill, bake, then fill. You can split tasks across two sessions (make dough ahead, fill later) if needed.
What you’ll need
Ingredients
- 1 cup (2 sticks) unsalted butter, softened
- 1 cup granulated sugar
- 1 large egg
- 1 teaspoon pure vanilla extract
- 2 ¾ cups all-purpose flour
- Pink food coloring (gel works best)
- 1½ teaspoons baking powder
- 1 teaspoon salt
- ½ cup (1 stick) unsalted butter, softened (for filling)
- 2–3 tablespoons half-and-half or milk (adjust for filling consistency)
- 2 teaspoons pure vanilla extract (for filling)
- 1/8 teaspoon salt (for filling)
- 3 cups powdered sugar (sifted is best for smooth filling)
Substitution notes: If you only have natural unsweetened cocoa, the flavor will be slightly brighter and more acidic — you can use it, but Dutch-process gives a smoother, deeper taste. For a dairy-free alternative, swap the butter with a firm vegan butter and use plant-based milk; texture may vary slightly.
Step-by-step instructions
- Preheat nothing yet. In a large bowl, beat 1 cup softened butter and 1 cup granulated sugar on medium speed until light and fluffy (about 2–3 minutes).
- Add the egg, vanilla, and a few drops of pink food coloring. Beat until fully incorporated and the color is even
- Whisk together the flour, baking powder, and salt.
- Gradually add the dry mixture to the creamed butter on the lowest mixer speed. Mix just until no streaks of flour remain — don’t overwork.
- Divide the dough in half. Shape each half into a disc, wrap in plastic, and refrigerate for 1 hour to firm up.
- When chilled, preheat the oven to 350°F. Line baking sheets with parchment paper.
- Work with one dough disc at a time on a lightly floured surface. Roll to 1/8–1/4 inch thickness. Use a heart-shaped cutter to cut cookies and transfer them to the prepared sheet, spacing a little apart.
- Bake 9–10 minutes — cookies should be set at the edges but not hard. Remove and cool on a wire rack completely.
- For the filling: Beat ½ cup softened butter, 2–3 tablespoons half-and-half, 2 teaspoons vanilla, and 1/8 teaspoon salt until combined. Gradually add 3 cups powdered sugar and beat until smooth. The filling should be slightly stiffer than cupcake frosting; adjust milk if it’s too stiff. Add pink or red food coloring to desired shade.
- Transfer filling to a piping bag fitted with a large round tip (or use a zip-top bag and snip the corner). Pipe filling onto half the cookies and top with remaining cookies to make sandwiches.
Best ways to enjoy it
Serving suggestions:
- Plate as a stack of three- or five-cookie towers dusted with a light sift of cocoa for contrast.
- Pair with a strong coffee, espresso, or a vanilla latte to balance the chocolate.
- For parties, arrange on a tiered tray with fresh berries (strawberries or raspberries) and small flowers for a romantic spread.
- Gift them in a cellophane bag with a ribbon — they travel well for short distances.
Storage and reheating tips
- Room temperature: Store cookies in an airtight container at room temp for up to 2 days.
- Refrigeration: Keep in fridge for up to 1 week. Let them come to room temperature before serving for the best texture.
- Freezing: Freeze baked, unfrosted cookies in a single layer on a tray until solid, then transfer to a freezer bag for up to 3 months. Thaw and then fill. You can also freeze assembled sandwiches (layered with parchment) for up to 2 months; thaw in the fridge.
- Food safety: Because the filling is butter-based (no raw egg), it’s safe at room temp for short display periods. If your environment is warm, refrigerate to prevent softening.
Helpful cooking tips
- Room-temperature butter creams faster and traps air better — don’t skip this step.
- Chill the dough: This prevents excessive spreading and helps you cut clean shapes.
- Roll thin (1/8–1/4 inch) for the ideal crisp-tender bite that won’t overwhelm the filling.
- Use a light dusting of flour and flour your cutter occasionally to prevent sticking, but don’t over-flour or cookies can dry out.
- Watch bake time closely — remove when edges are set; they firm up as they cool.
- For super-smooth filling, sift powdered sugar before adding.
- If piping feels uneven, push filling into the tip by squeezing the bag gently from the top, not by forcing at the bottom.
Creative twists
- Flavor swaps: Add 1 teaspoon instant espresso to the dough for mocha notes. Or swap the vanilla in the filling for almond extract (½ teaspoon) for a different profile.
- Filling variations: Replace buttercream with raspberry jam, salted caramel, or a chocolate ganache for richer sandwiches.
- Decoration: Dust cookie edges with colored sanding sugar before sandwiching, or pipe a tiny rosette on top for flair.
- Dietary adaptations: For gluten-free, use a 1:1 gluten-free flour blend that contains xanthan gum. For vegan: try a tested vegan butter and egg replacer; texture will vary so chill times may need adjustment.
- Mini version: Use a small cutter to make bite-size sandwich cookies — perfect for party platters.
Common questions
Q: How long does the whole process take?
A: Active prep is about 30–40 minutes. Including chilling (1 hour) and baking/cooling, plan for roughly 2–2.5 hours total.
Q: Can I use natural cocoa instead of Dutch-process?
A: Yes, but expect a brighter, slightly more acidic chocolate flavor. Dutch-process gives a smoother, darker taste. If you use natural cocoa, the cookie color and flavor will shift but still be tasty.
Q: Can I make the dough or filling ahead?
A: Dough can be made and refrigerated for up to 48 hours or frozen for 1 month. Filling stores in the fridge for up to 1 week; bring to room temperature and re-whip before using.
Q: My filling is too runny. How do I fix it?
A: Add more sifted powdered sugar a little at a time to thicken. Chill briefly if needed, then re-whip before piping.
Q: How do I keep cookies from breaking when sandwiching?
A: Make sure cookies are completely cooled. Pipe a modest amount of filling — too much can push out and break delicate edges. If cookies are fragile, use a thin layer instead of a tall dome.
Conclusion
If you want a visually charming, reliably delicious Valentine’s treat, these heart-shaped chocolate sandwich cookies are a winner: simple dough, quick bake, and a fluffy buttercream that makes each bite feel festive. For the original inspiration and a classic version, check this Valentine Sandwich Cookies – Love to be in the Kitchen. If you’d like another tested take and reader reviews, see this Easy Valentine Sandwich Cookies Recipe on Allrecipes.
Enjoy baking — and don’t forget, imperfect cookies often taste the best.

Heart-Shaped Chocolate Sandwich Cookies
Ingredients
For the Cookie Dough
- 1 cup unsalted butter, softened Divided into two parts, one for the dough and one for the filling.
- 1 cup granulated sugar
- 1 large egg
- 1 teaspoon pure vanilla extract
- 2 ¾ cups all-purpose flour
- 1½ teaspoons baking powder
- 1 teaspoon salt
For the Filling
- ½ cup unsalted butter, softened
- 2–3 tablespoons half-and-half or milk Adjust for filling consistency.
- 2 teaspoons pure vanilla extract
- 1/8 teaspoon salt
- 3 cups powdered sugar Sifted is best for a smooth filling.
- 1 Pink food coloring (gel works best)
Instructions
Preparation
- In a large bowl, beat 1 cup softened butter and 1 cup granulated sugar on medium speed until light and fluffy (about 2–3 minutes).
- Add the egg, vanilla, and a few drops of pink food coloring. Beat until fully incorporated and the color is even.
- Whisk together the flour, baking powder, and salt.
- Gradually add dry mixture to the creamed butter on the lowest mixer speed. Mix just until no streaks of flour remain — don’t overwork.
- Divide the dough in half. Shape each half into a disc, wrap in plastic, and refrigerate for 1 hour to firm up.
Baking
- When chilled, preheat the oven to 350°F (175°C). Line baking sheets with parchment paper.
- Roll one dough disc at a time on a lightly floured surface to 1/8–1/4 inch thickness. Use a heart-shaped cutter to cut cookies and transfer them to the prepared sheet, spacing them slightly apart.
- Bake for 9–10 minutes until edges are set but not hard. Remove and cool on a wire rack completely.
Filling
- Beat ½ cup softened butter, 2–3 tablespoons half-and-half, 2 teaspoons vanilla, and 1/8 teaspoon salt until combined.
- Gradually add 3 cups powdered sugar and beat until smooth. The filling should be slightly stiffer than cupcake frosting; adjust milk if it’s too stiff.
- Add pink or red food coloring to the filling to achieve desired shade.
- Transfer filling to a piping bag fitted with a large round tip (or use a zip-top bag and snip the corner). Pipe filling onto half the cookies and top with remaining cookies to make sandwiches.