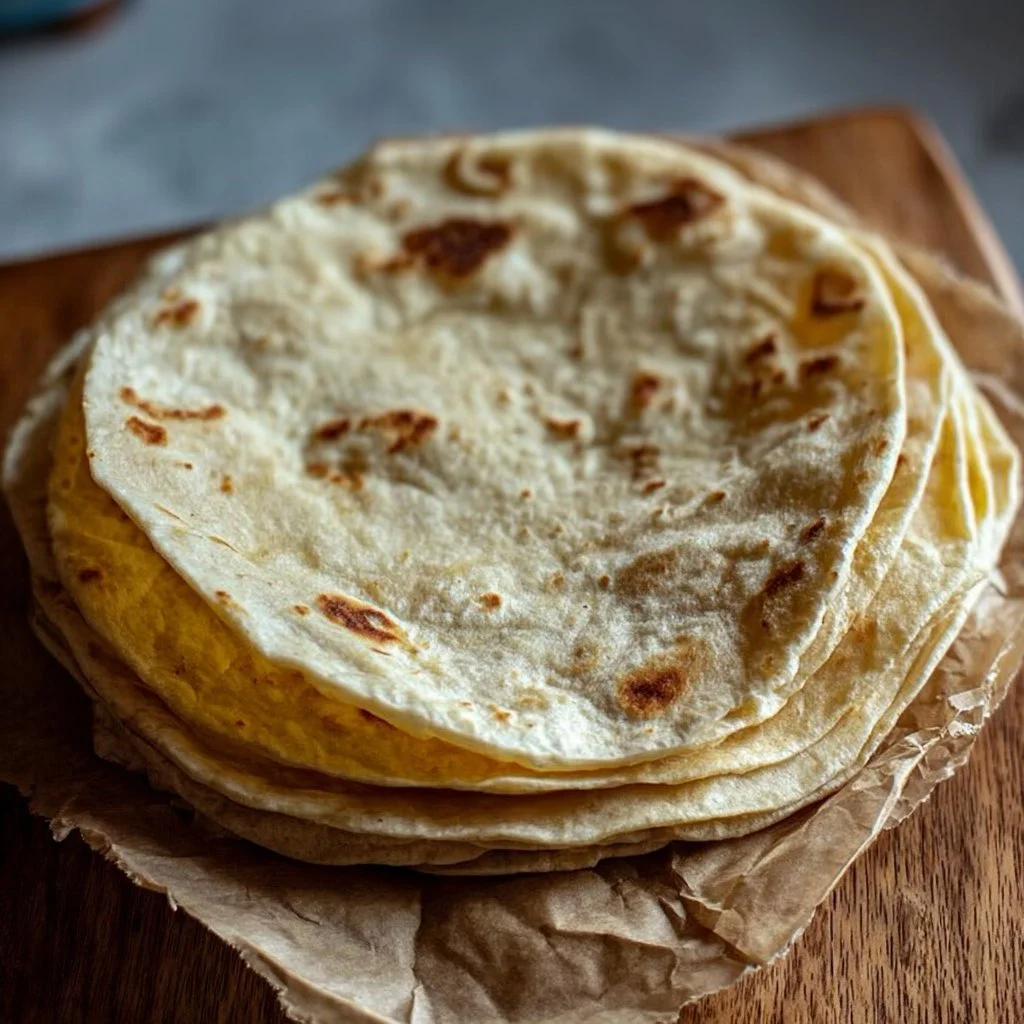
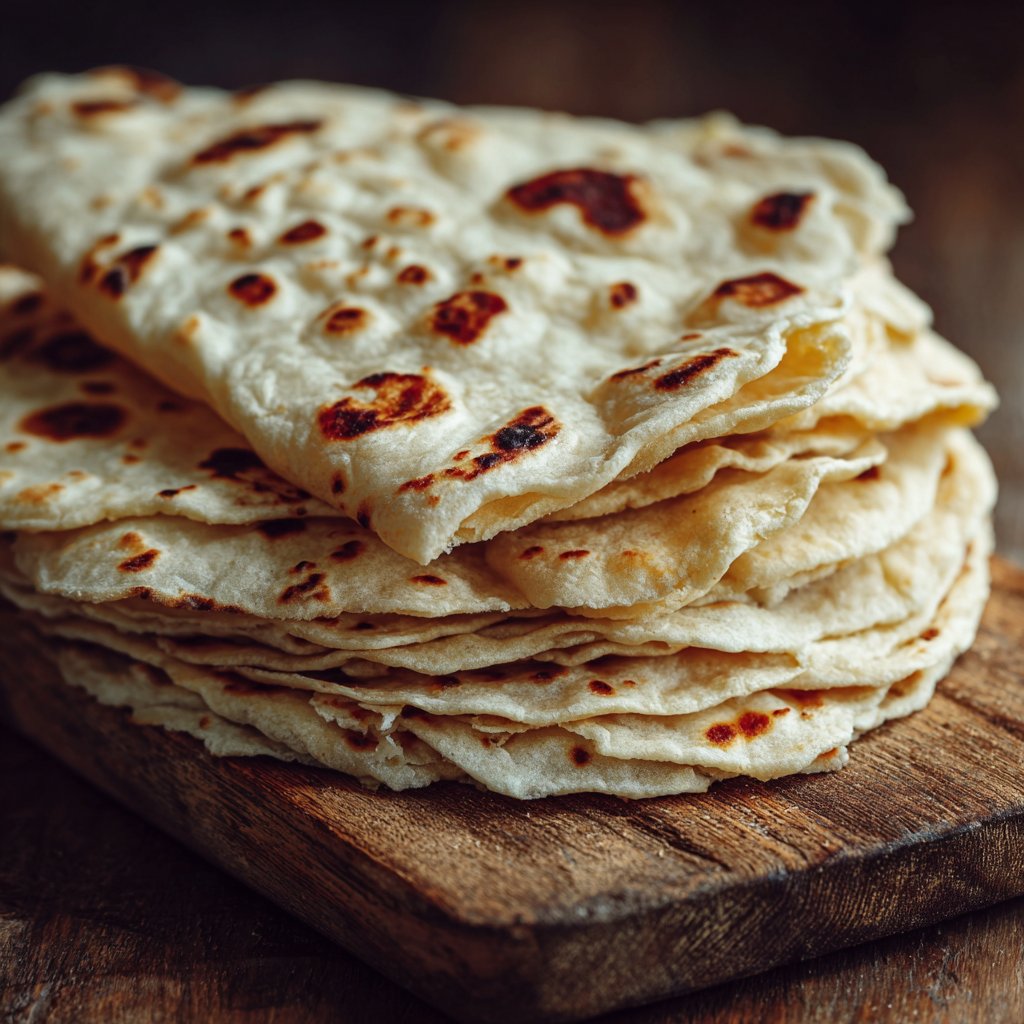
I’ve been making these sourdough tortillas for weeks—mostly to use up discard and because they cook up faster and tastier than store-bought wraps. They’re thin, pliable, and pick up a faint tang from the starter that plays beautifully with smoky fillings and bright salsas. If you want quick tortillas with personality (and zero preservatives), this is the one to learn.
Why you’ll love this dish
These tortillas turn leftover sourdough discard into something instantly useful. They’re:
- Fast: 30 minutes of rest, then a few minutes of active cooking.
- Budget-friendly: basic pantry staples and starter discard.
- Versatile: use them for tacos, wraps, quesadillas, or breakfast burritos.
- Kid-approved: mild tang, soft texture, and easy to fold.
They’re perfect for weeknight dinners when you want freshness without fuss, or for using discard after a baking day.
“We switched to these tortillas for taco night — the tang is subtle, they puff a bit on the skillet, and everyone loved the homemade texture.” — a home-cook review
The cooking process explained
Before you dive in, here’s the quick workflow so you know what to expect:
- Mix discard, oil, and water into a sticky batter.
- Add flour and salt, knead briefly until smooth.
- Rest the dough 30 minutes to relax the gluten.
- Divide and roll thin into 8–10 rounds.
- Cook each tortilla on a very hot skillet about 1 minute per side until brown spots appear.
- Cool briefly, then stack or store.
This sequence keeps the process simple and helps you pace the cooking: mixing, short knead, rest, roll, and quick cooking.
What you’ll need
- 1/2 cup sourdough starter discard (110 g) — unfed or recently fed discard both work
- 1/4 cup olive oil (54 g) — substitute neutral oil (vegetable, canola) if you prefer
- 1/3 cup water (80 g) — may need an extra tablespoon if your discard is thick
- 1 2/3 cup all-purpose flour (210 g) — swap up to 25% whole wheat (expect a firmer texture)
- 1/2 tsp salt (4 g)
Notes:
- If your discard is very liquid, reduce water slightly. If it’s thick, keep water and add a splash more while mixing.
- For a richer tortilla, replace half the oil with melted butter or ghee.
- Gluten-free flours won’t behave the same; try a tested gluten-free tortilla recipe instead.
Directions to follow
- Combine the discard, olive oil, and water in a large bowl. Stir until smooth.
- Add the flour and salt. Mix until a shaggy dough forms.
- Knead by hand 1–2 minutes until the dough looks homogeneous and has no dry spots. Stop when it’s smooth—don’t overwork it. (A stand mixer with a dough hook works here.)
- If the dough feels too sticky, sprinkle 1 tablespoon more flour and knead until absorbed.
- Cover the bowl with a damp towel. Let the dough rest 30 minutes at room temperature. This relaxes the gluten and makes rolling easier.
- Heat a large skillet over high heat until very hot. Cast iron works best for good color.
- Lightly flour your work surface. Divide the dough into 8–10 equal pieces. Flatten each ball with your palm.
- Roll each piece into a thin circle about 1/4 inch thick. They should be almost see-through.
- Cook one tortilla at a time on the hot skillet. Cook about 1 minute per side. Flip as soon as bubbles appear and the edges firm up. Look for nice brown spots.
- Stack cooked tortillas on a plate and cover with a towel to keep warm until serving. Allow to cool before storing in an airtight container.
Best ways to enjoy it
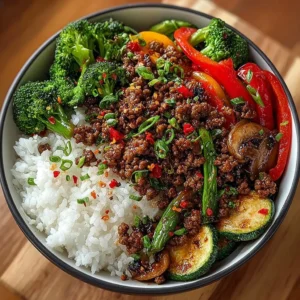
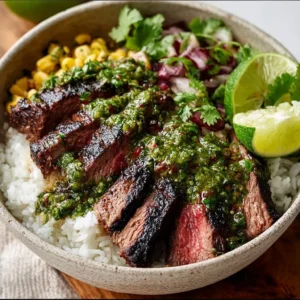
- Classic tacos: fill with grilled chicken, onions, cilantro, and salsa verde.
- Breakfast burritos: scrambled eggs, cheese, roasted potatoes, and a smear of avocado.
- Quesadillas: cheese and sautéed peppers, crisped in a dry skillet.
- Dipping breads: serve with hummus, chipotle crema, or a smoky bean dip.
- Layered desserts: brush lightly with butter and sugar, then roll with fruit and cream for a quick sweet treat.
For plating, stack tortillas in a warm cloth-lined basket. Serve salsas and toppings in small bowls to let guests build their own.
Storage and reheating tips
- Room temp: keep tortillas in an airtight container for up to 2 days.
- Refrigerator: store in a sealed bag or container for up to 5 days.
- Freezer: separate with parchment and freeze flat in a freezer bag for up to 2 months.
- Reheat: warm on a hot skillet for 20–30 seconds per side, or microwave wrapped in a damp paper towel for 15–20 seconds. Reheating straight from frozen works on a skillet—low heat to thaw through, then blast to high for browning.
Food safety: cool tortillas to room temperature before sealing. Don’t leave cooked wheat tortillas out longer than 2 hours at room temperature.
Pro chef tips
- Use very high heat for quick browning without drying out the tortilla. The skillet should be smoking slightly when you start.
- Roll thin. The thinner the tortilla, the more tender and pliable it will be.
- Keep the surface lightly floured, but avoid excess flour on the tortilla before cooking—shake off any loose flour to prevent burnt spots.
- If tortillas tear while rolling, let the dough rest another 10 minutes; the gluten needs to relax.
- To make perfectly even rounds, weigh dough portions (approx. 40–55 g each) before rolling.
- For puffed pockets, press a thin rolling motion and don’t overwork the dough—air pockets form better in rested, relaxed dough.
Creative twists
- Garlic-herb: mix 1 tsp garlic powder and 1 tbsp finely chopped herbs into the dough.
- Chili-citrus: add 1 tsp smoked paprika and 1 tsp lime zest for a bright smoky flavor.
- Cheesy tortillas: fold 1/3 cup grated cheese into the dough for richer wraps.
- Whole grain: swap 1/4–1/3 cup of the all-purpose flour for whole wheat. Expect a nuttier flavor and slightly firmer texture.
- Vegan nutty option: use avocado oil for a neutral flavor and add 1 tbsp ground flaxseed for texture.
Common questions
Q: Do I need active starter or can I use discard?
A: Use discard—unfed or fed discard both work. Active starter isn’t necessary. The discard adds mild tang but isn’t relied on for leavening.
Q: How thin should I roll these tortillas?
A: About 1/8–1/4 inch thick. They should be almost see-through so they stay soft and foldable after cooking.
Q: Can I freeze these?
A: Yes. Cool completely, separate with parchment, and freeze flat in a sealed bag for up to 2 months. Reheat from frozen on a skillet or microwave.
Q: My tortillas are tough—what went wrong?
A: Likely over-kneading or rolling too thick. Knead only until combined and rest the dough. Also cook quickly on high heat to avoid drying them out.
Q: Can I make these gluten-free?
A: Not directly—gluten-free flours need special binders and recipes. Look for a tested gluten-free tortilla recipe instead.
Conclusion
If you want more inspiration or alternate versions, check out this tested recipe at The Best Sourdough Tortillas (with sourdough discard) – Milk and Pop, and see another approach that works with discard or active starter at Sourdough Flour Tortillas (with discard or not) | Alexandra’s Kitchen. These references offer useful variations and photos if you want to compare techniques.

Sourdough Tortillas
Ingredients
For the dough
- 1/2 cup sourdough starter discard unfed or recently fed discard both work
- 1/4 cup olive oil substitute neutral oil if preferred
- 1/3 cup water may need an extra tablespoon if discard is thick
- 1 2/3 cup all-purpose flour swap up to 25% with whole wheat for firmer texture
- 1/2 tsp salt
Instructions
Preparation
- Combine sourdough discard, olive oil, and water in a large bowl. Stir until smooth.
- Add the flour and salt. Mix until a shaggy dough forms.
- Knead by hand for 1–2 minutes until the dough looks homogeneous and has no dry spots. Stop when it's smooth.
- Cover the bowl with a damp towel and let the dough rest for 30 minutes at room temperature.
Cooking
- Heat a large skillet over high heat until very hot.
- Lightly flour your work surface. Divide the dough into 8–10 equal pieces and flatten each ball.
- Roll each piece into a thin circle about 1/4 inch thick.
- Cook each tortilla on the hot skillet for about 1 minute per side until brown spots appear.
- Stack cooked tortillas on a plate and cover with a towel to keep warm.