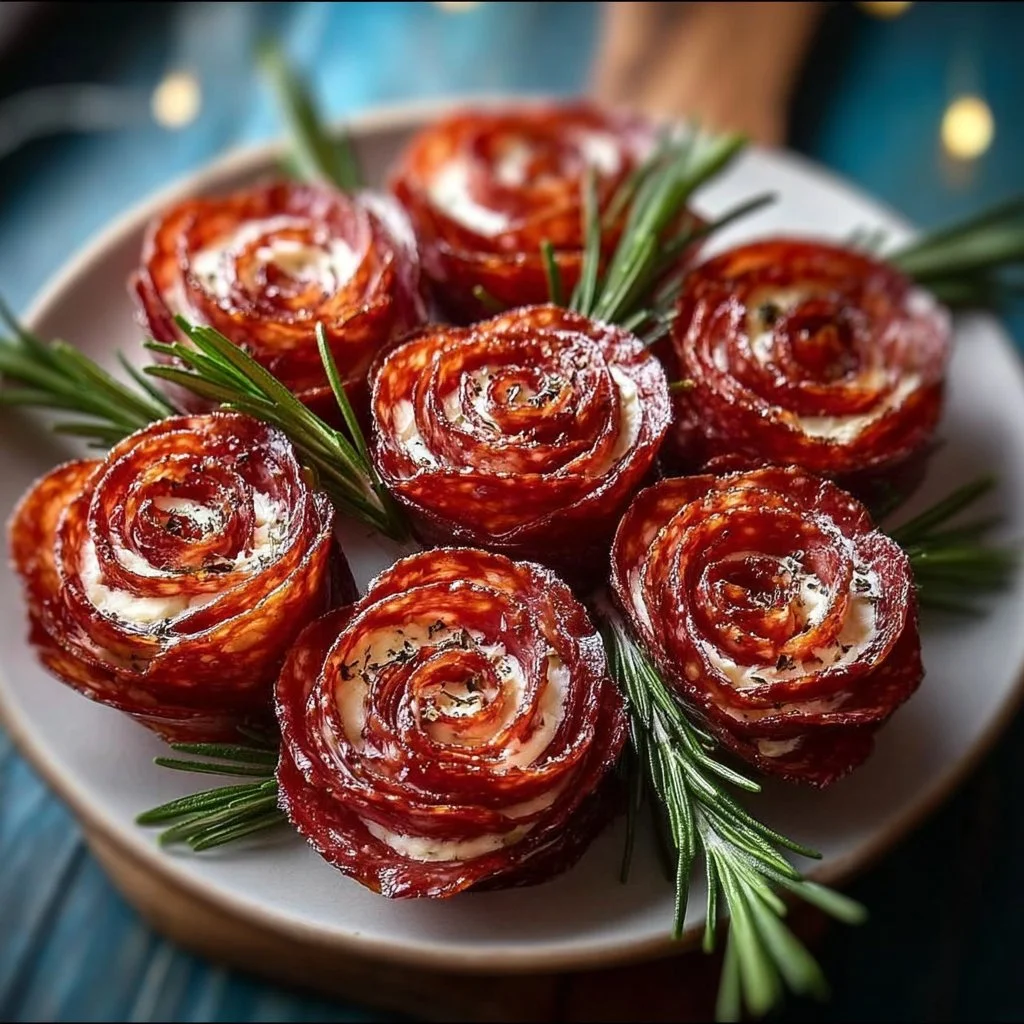
The first time I made these salami roses I brought them to a last-minute potluck and watched people actually argue over who got the prettiest one.
They look like they took skill, but they come together in minutes with just salami and rosemary.
This recipe is proof that simple ingredients, a little patience, and a tidy assembly technique can turn a charcuterie board into a showpiece.
They travel well, they need no heating, and they pair with almost any cheese.
If you like little edible surprises that still feel elegant, these are for you.
Keep reading for ingredient notes, step-by-step photos (and 
where the final display belongs), and the tips that make them look professionally styled.
Why You’ll Love This Recipe
- Stunning presentation with almost zero culinary skill.
- Extremely fast to assemble once you get the folding rhythm.
- Portable and stable — perfect for charcuterie boards, centerpieces, or party jars.
- Customizable: swap cheeses, oils, or herbs for seasonal flavor.
- Low waste: minimal prep and no cooking required.
The texture is delightfully contrasting. The salami gives a silky, slightly fatty chew that becomes more tender at room temperature.
Fresh rosemary stems add a clean herbaceous bite and act as natural stems, while an optional smear of soft cheese provides a creamy counterpoint.
Served at room temp the fat blooms a little and the flavors open, making each bite rich but balanced.
"Five stars — made these for a bridal shower and everyone asked for the recipe. Easy, beautiful, and tasted great!" — Jamie, reader
Key Ingredients
Salami slices
Salami is the visual focus and the flavor base. Choose slices that are thin but not paper-thin; deli-style Genoa or soppressata cut about 1–1.5 mm thick rolls easily without tearing. Avoid overly soft "sandwich" salami that crumples when folded — you want slices that hold shape.
Fresh rosemary stems
Rosemary acts as both garnish and structural stem. Pick long, straight stems with firm needles. If stems are too woody near the base, snap off a bit so the salami will sit lower and look like a rosebud. Organic rosemary tends to have a stronger aroma; shop by smell.
Cream cheese or goat cheese (optional)
A smear of soft cheese on the platter or on each base brightens the salami and lengthens the serving window. Use full-fat cream cheese for crowd-pleasing familiarity, or a tangy chèvre for contrast. If you prefer a cleaner look, dot small quenelles of cheese rather than spreading it across the whole board.
Olive oil (optional)
A light drizzle of good extra-virgin olive oil over cheese or the finished arrangement adds gloss and rounds the saltiness. Use a peppery, grassy EVOO for more flavor, but use sparingly to avoid making the plate slick.
Full ingredient list
- Salami slices
- Fresh rosemary stems
- Cream cheese or goat cheese (optional)
- Olive oil (optional)
- Pepper (optional, for seasoning)
Step-by-Step Instructions
Step 1: Gather and prep your supplies
Lay out a clean cutting board and a plate or platter for finished roses.
Line up the rosemary stems and have your salami within easy reach so you can make roses assembly-line style.
Pro Tip: Use a small plate or saucer to stack finished roses so they don’t roll away while you work.
Step 2: Fold each salami slice into a petal shape
Pick up a single slice and fold it in half lengthwise.
The fold creates the curved petal edge that gives the rose a natural look.
Pro Tip: If slices are very large, fold twice into a narrow petal for a denser rose.
Step 3: Roll the folded slice into a rose shape
Start rolling at one narrow end and spiral the folded slice around itself.
Keep the roll snug but not so tight that the salami bunches; you want visible layered edges.
Pro Tip: Aim for three to four overlapping folds for a balanced “bloom.”
Step 4: Secure the rolled salami onto a rosemary stem
Gently pierce the base of the rolled salami with the tip of the rosemary stem so the slice sits like a flower on a stem.
Insert far enough to be secure but not so far that the petals flatten.
Pro Tip: If stems are too thick, shave a tiny bit of wood with a knife to make piercing smoother.
Step 5: Repeat and arrange
Continue folding, rolling, and mounting until you have the desired number of roses.
Arrange them on a platter, in a shallow jar, or clustered around a cheese spread.
Pro Tip: For a natural bouquet look, vary the heights and orientation slightly rather than making them all identical.
Step 6: Optional finishing touches and serving
Spread a layer of cream cheese or goat cheese on the platter if using.
Drizzle lightly with olive oil and crack a little black pepper over the cheese. Serve at room temperature.
Pro Tip: Room temp makes the salami flavors pop and keeps the cheese soft and approachable.
Expert Tips for Success
- Bring everything to room temperature before assembly. Cold salami is stiffer and can crack. Allow slices to sit out for 10–15 minutes if refrigerated.
- Pick the right salami thickness. Thin-sliced deli salami around 1–1.5 mm creates attractive folds; thicker slices are harder to roll and may look bulky.
- Work in batches. Make 8–10 roses at a time and then arrange them; this prevents finished pieces from getting handled too much.
- Keep rosemary stems uniform. Trim the bottom of each stem so the roses sit evenly on a platter and create a tidy base.
- Use a dab of cheese as glue for display. If roses slide on a smooth plate, place tiny mounds of cream cheese where each rose will sit to anchor them.
- Refresh rosemary aroma. Give the stems a light clap between your hands before inserting; this releases oils and boosts the herbal scent on the platter.
- Mind the salt balance. Salami can be salty; pair with bland crackers or unsalted nuts on the board to temper the overall bite.
- When stacking in jars, place a small folded napkin or parchment at the bottom to prevent sliding and to make removal easier.
- Knife skills for variety. For smaller "buds," cut a salami slice into halves or thirds before folding. This gives varied bloom sizes for a more natural arrangement.
- Transporting: secure roses upright by packing them in a shallow box with crumpled paper around stems, or use a shallow floral foam covered with cheese to hold stems during travel.
- For a glossy finish, brush the petals lightly with a neutral oil — but do this sparingly to avoid drips.
- Avoid over-handling. Touch the petals as little as possible to maintain the rose shape and appearance.
Storage & Freezing
Fridge storage
Store assembled roses in an airtight container for up to 24 hours.
Place a sheet of parchment between layers to avoid smearing.
If you’ve left them on a cheese spread, cover tightly to prevent the cheese from drying and to reduce aroma transfer to other foods.
Freezer notes
I do not recommend freezing fully assembled roses; freezing changes texture and makes the rosemary limp.
If you must save components, freeze salami slices flat in a single layer in a freezer bag for up to 2 months.
Thaw slices overnight in the fridge and bring to room temperature before forming roses.
Reheating and serving after storage
Bring refrigerated components to room temperature at least 20–30 minutes before serving.
If cheese has firmed, let it warm so it regains spreadable creaminess.
Avoid microwaving assembled roses — heat wilts rosemary and alters salami texture.
Variations & Substitutions
Vegetarian option
Replace salami with thinly sliced roasted beet or marinated roasted pepper folded the same way.
Use a lemony herb stem such as rosemary or thyme sprig alternative for structure.
Cheese-forward version
Pipe small rosettes of goat cheese into the center of each salami rose before serving.
Add honey and cracked black pepper for a sweet-savory profile.
Spicy or smoked twist
Use spicy soppressata or smoked salami to introduce a smoky heat.
Pair with a milder cheese like mascarpone to balance intensity.
Mini-bites for kids or finger-food events
Cut salami into narrow strips and roll into tiny buds, then serve on short toothpicks (remove rosemary if you prefer a non-herb stem).
Offer plain cream cheese filling for kids who prefer familiar flavors.
Frequently Asked Questions
Q: How long will salami roses stay fresh on a charcuterie board?
A: At room temperature, properly assembled salami roses are best within 2–4 hours.
Beyond that, the salami can become oily and the rosemary loses structure.
For parties lasting longer than four hours, keep the plate refrigerated and bring out smaller batches.
Q: Can I make salami roses ahead of time?
A: Yes, you can prepare roses up to 24 hours ahead and store them in an airtight container in the fridge.
Stagger production so roses reach room temperature just before serving to preserve appearance.
Use small dabs of cream cheese as anchors when storing to prevent sliding.
Q: What other herbs work as stems if I don’t have rosemary?
A: Thyme and chives work for small-scale roses, though they won’t be as sturdy as rosemary.
Italian flat-leaf parsley stems can be used for short stems but may not pierce as cleanly.
Avoid woody stems that are too thick to thread through without damaging the salami.
Q: Can I use pre-sliced salami from the grocery store?
A: Absolutely — deli-sliced salami works well if the slices hold shape.
Avoid deli options that are overly thin or moist, as they tear when folded.
If slices are wet from packaging, pat them dry with paper towel before folding.
Q: How do I make larger statement roses for a centerpiece?
A: Use slightly thicker slices or double up two slices for each petal.
Vary the diameter by adding more folded layers and use longer rosemary stems for height.
Cluster multiple sizes together for a more natural bouquet look.
Final Thoughts
These salami roses are proof that small, thoughtful touches lift any gathering.
They require minimal ingredients, almost no cooking, and reward a few minutes of focused assembly with big visual payoff.
Please leave a star rating in the recipe card below or pin this to Pinterest if you tried them — it helps more than you know.
Conclusion
For an alternative step-by-step tutorial with photos, check out How to Make a Salami Rose (2 ways!) | The Recipe Critic which shows two quick folding methods.
If you want a board-specific approach, Hilda’s guide is excellent: How to Make A Salami Rose For a Charcuterie Board | Hilda’s Kitchen Blog.
For another visual reference and styling ideas, see Salami Roses – Organized Island.

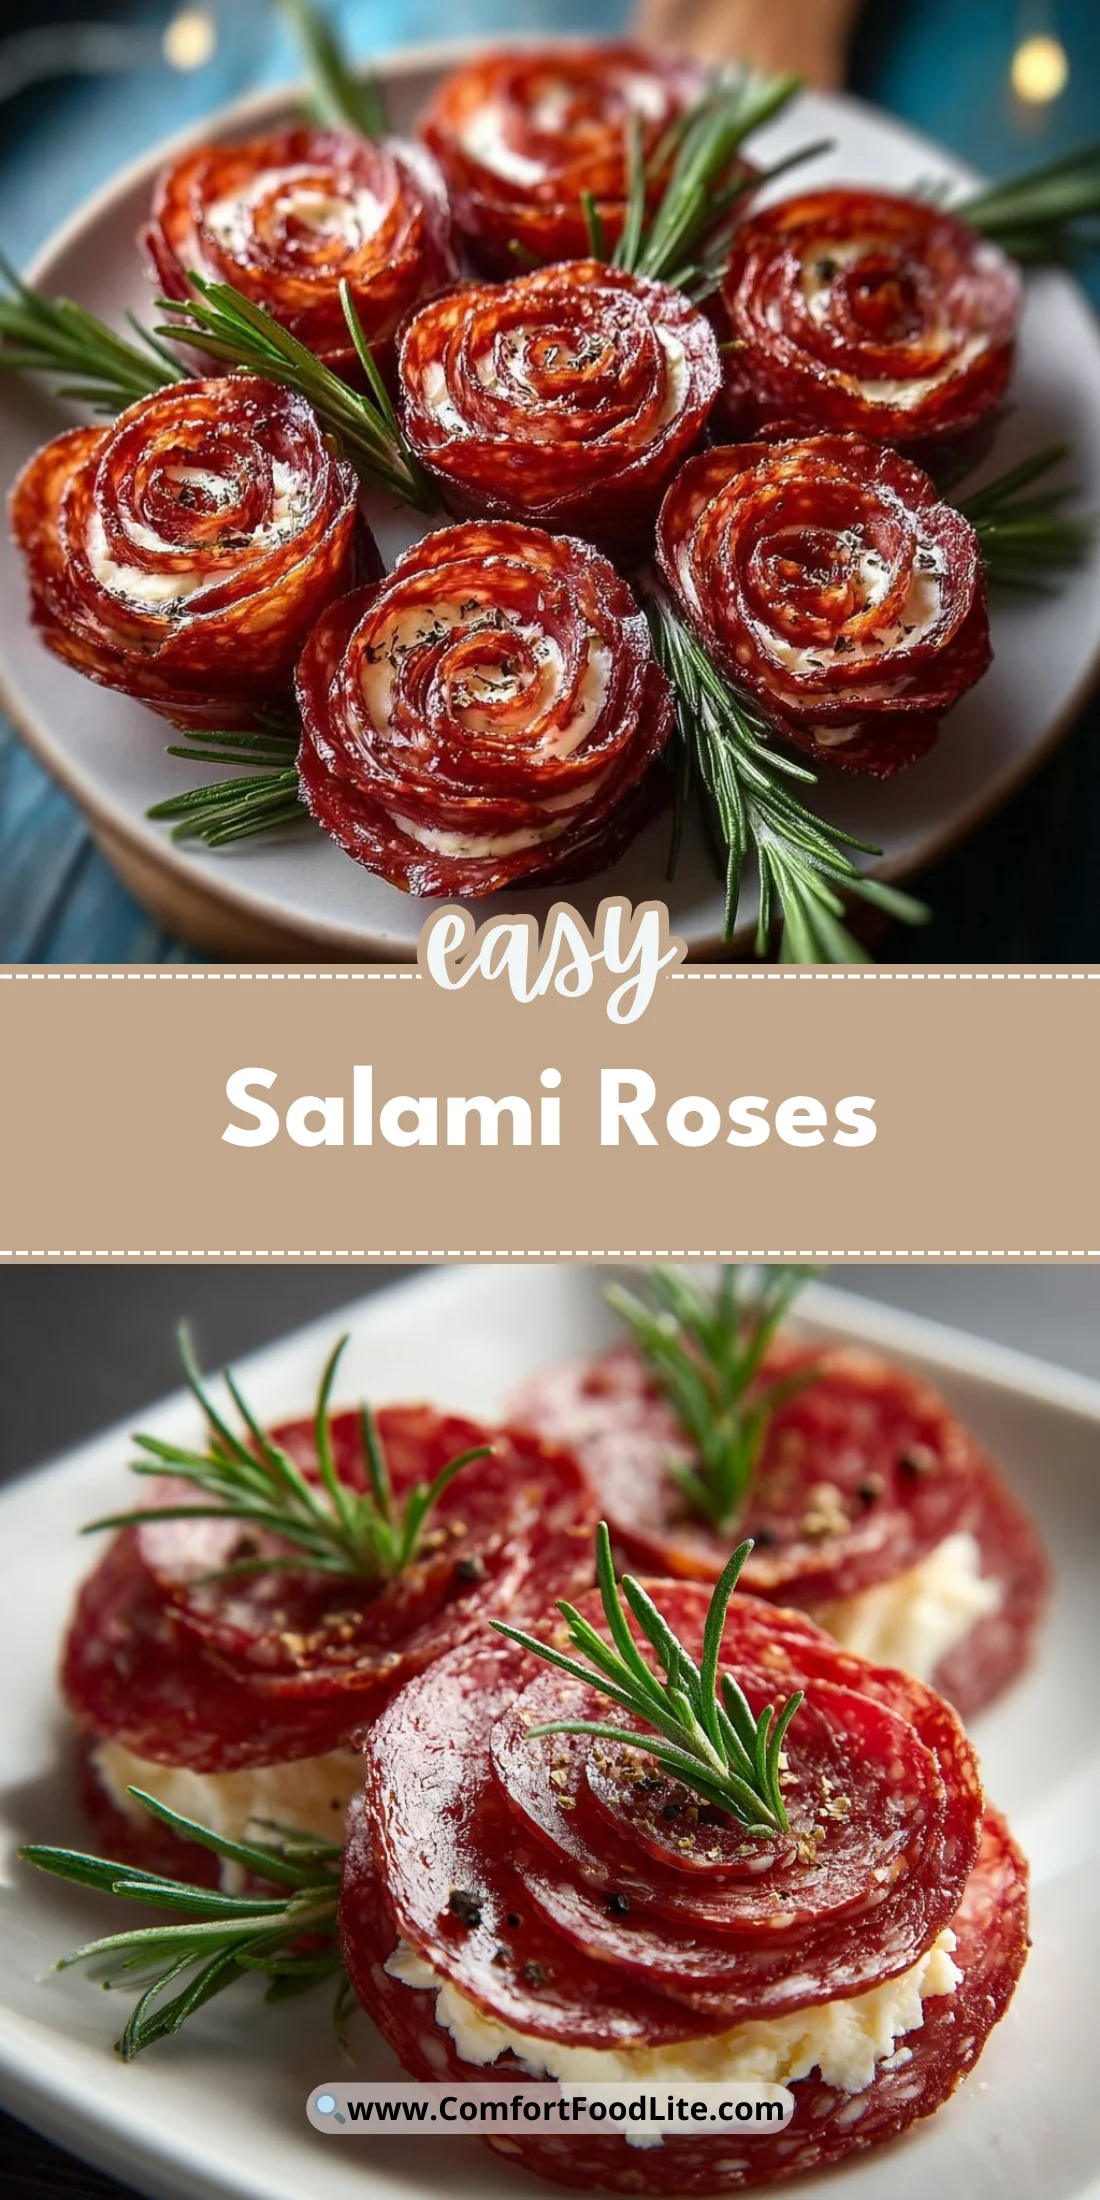
Salami Roses
Ingredients
Main ingredients
- 15 slices Salami slices Choose thin slices (1–1.5 mm) for best folding.
- 5 stems Fresh rosemary stems Long, firm stems with strong aroma work best.
Optional ingredients
- 1 cup Cream cheese or goat cheese Use for spreading on the platter or as filling.
- 2 tablespoons Olive oil Drizzle over the arrangement for flavor and gloss.
- to taste Pepper Add for seasoning.
Instructions
Preparation
- Gather and prep your supplies: Lay out a cutting board and a plate for finished roses. Have your rosemary stems and salami slices ready.
- Fold each salami slice into a petal shape: Fold one slice in half lengthwise to form curved petal edges.
- Roll the folded slice into a rose shape: Start at one end and spiral the slice snugly, ensuring that the edges overlap.
- Secure the rolled salami onto a rosemary stem: Pierce the base of the rolled salami with the rosemary to secure it as a flower on the stem.
- Repeat and arrange: Continue making more roses and place them on a platter or in jars.
- Optional finishing touches: If using, spread cream cheese on the platter and drizzle with olive oil before serving.