The first time I made these pizza sliders I thought they’d be a party afterthought.
They vanished before the drinks did, and everyone asked for the recipe.
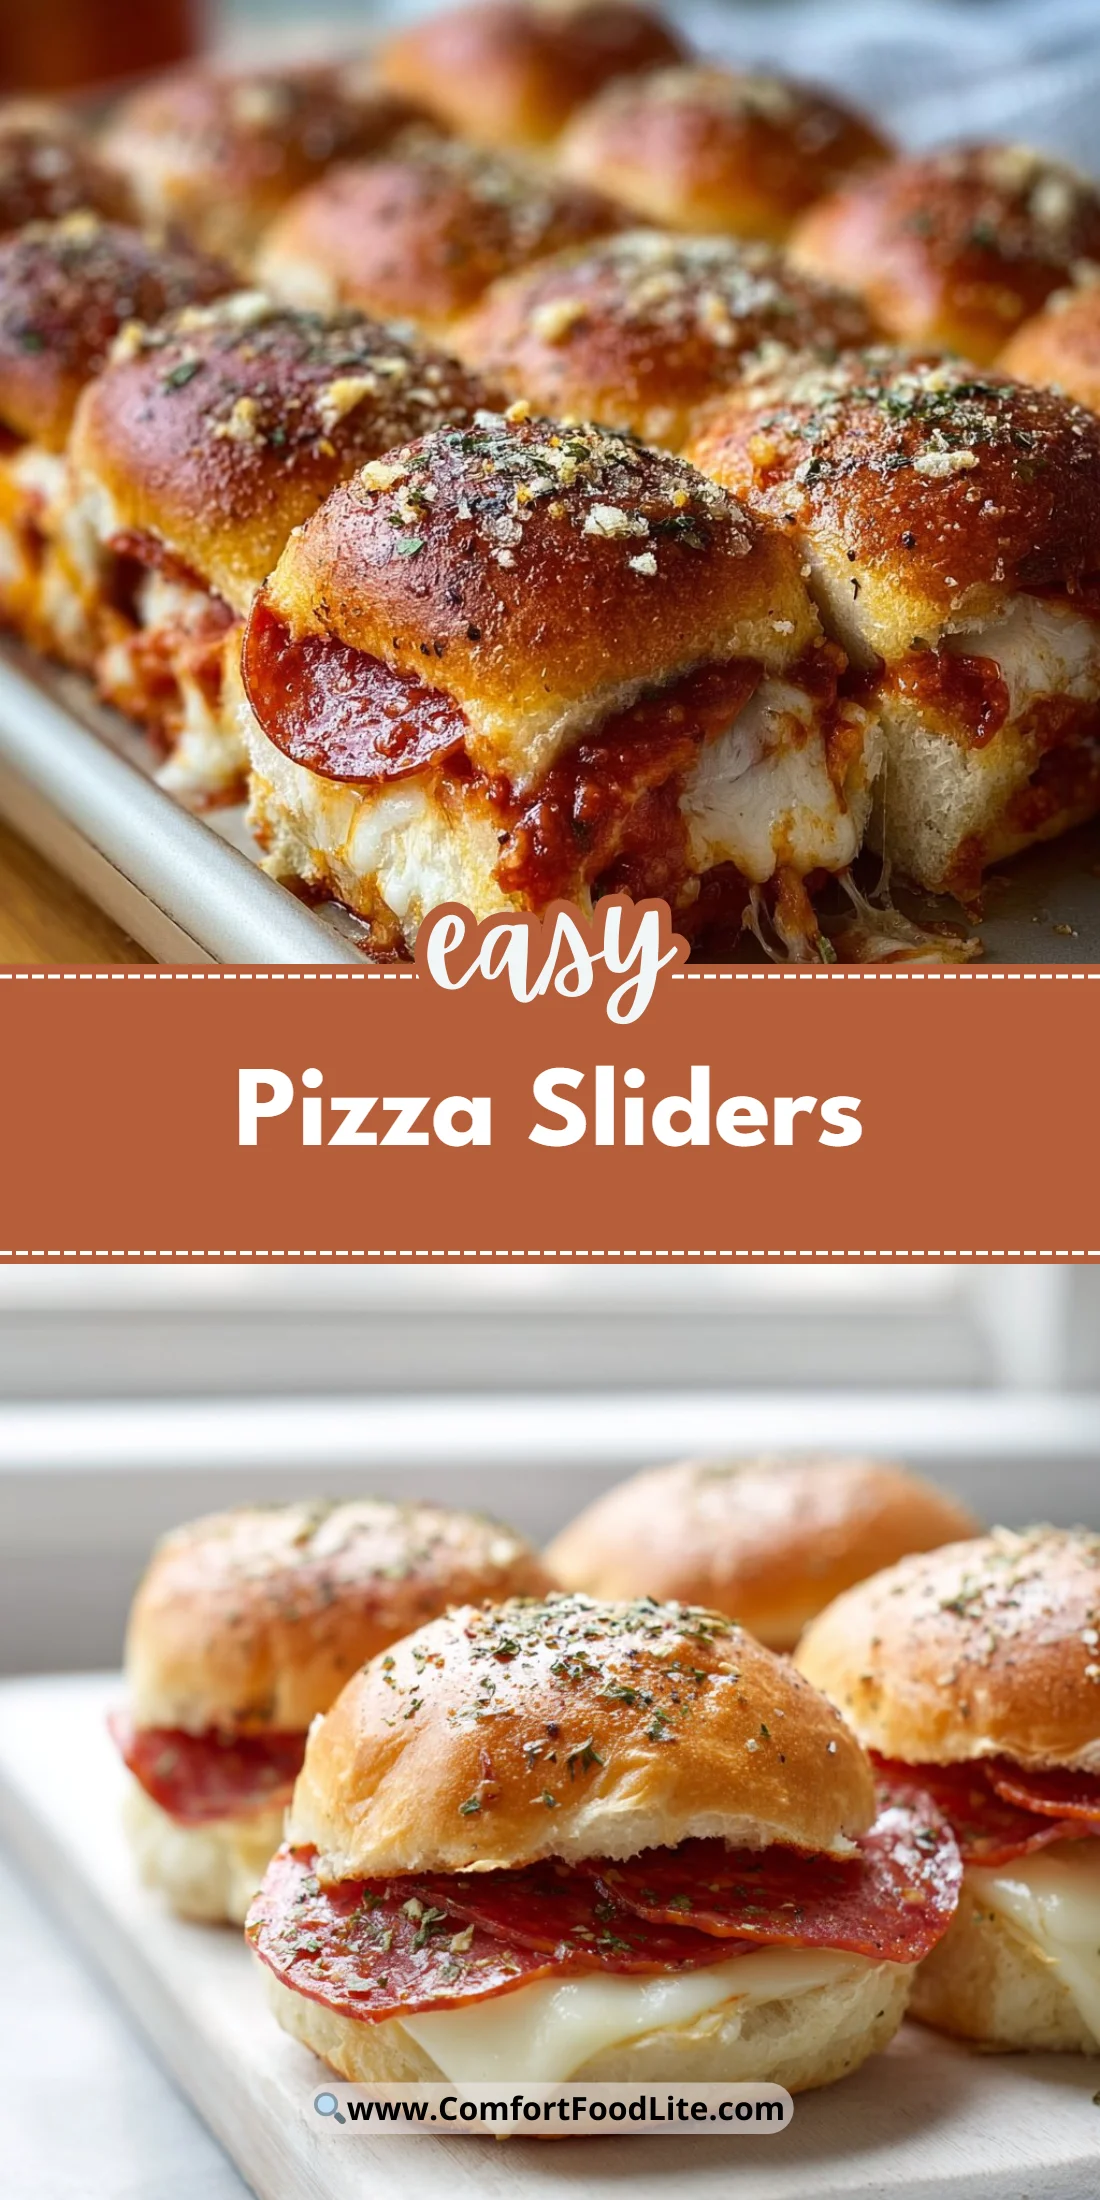
They’re simple, fast, and hit all the familiar pizza notes in a tidy, hand-held package.
This shortcut version is a winner because it uses pantry-friendly staples and zero special skills.
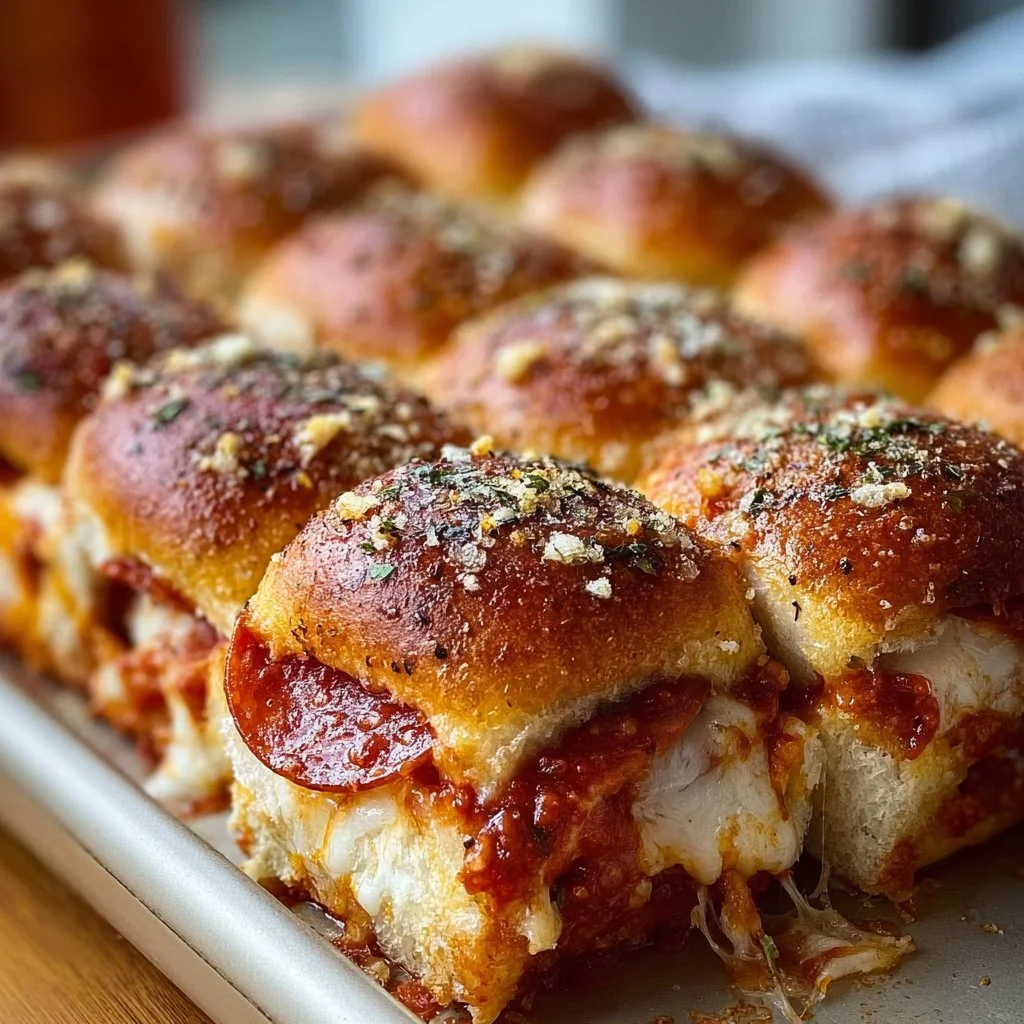
You get crisped, buttery tops, molten cheese, bright marinara, and pepperoni spice in every bite.
If you love playing with pizza formats, try swapping the base for something heartier like an artisan pizza dough for a different texture.
Why You’ll Love This Recipe
- Ready in under 30 minutes from start to finish.
- Crowd-pleasing — kids and adults both reach for seconds.
- Uses inexpensive ingredients you probably already have.
- Easily scalable for a party or scaled down for a couple.
The texture is what sells these sliders: a soft, tender interior from the buns with a slightly crisp, buttery top.
The mozzarella stretches and pools between bun layers, while the pepperoni releases a touch of spicy oil that flavors the cheese.
The marinara keeps everything saucy without making the buns soggy when assembled and baked briefly.
“Made these for movie night — better than takeout! The tops were perfectly buttery and the cheese pull was unreal. 5 stars!” — Jenna, reader
Key Ingredients
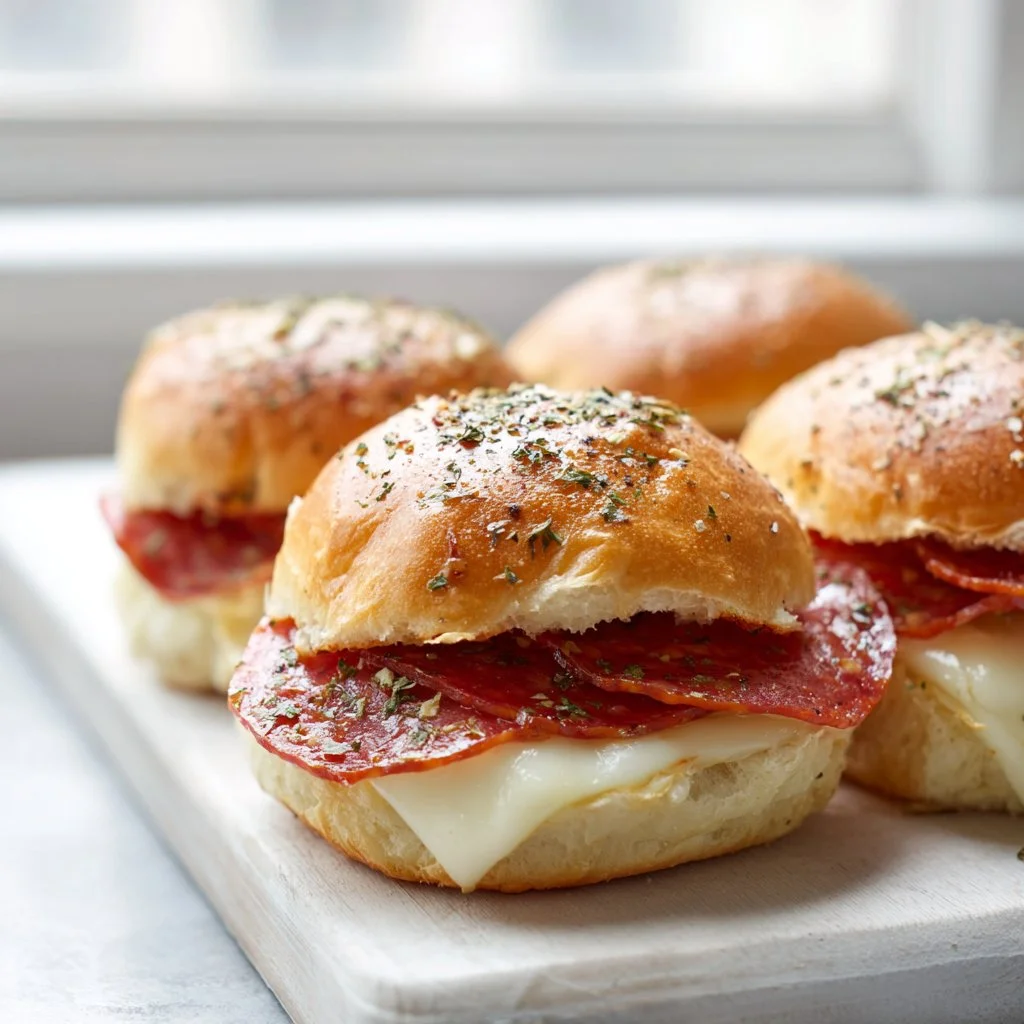
Slider buns
Good slider buns are essential because their soft crumb soaks up just enough sauce without collapsing. Choose enriched, slightly sweet buns (Hawaiian-style or classic white) if you want a tender texture. If you prefer a sturdier bite, opt for brioche sliders — they toast beautifully and stand up to extra sauce.
Mozzarella cheese
Mozzarella is the melty, mild glue that makes these sliders pizza-like. Whole-milk mozzarella gives creamier melts; low-moisture shredded mozzarella is convenient and browns nicely. If you buy a block and grate it yourself, you’ll avoid the anti-caking agents that can affect melt.
Pepperoni slices
Pepperoni provides the savory, slightly smoky fat that flavors the cheese and bun. Thick-cut pepperoni holds up through baking and adds a chewy chew; thin-cut crisps at the edges when exposed, adding texture. Choose a quality brand without too many fillers for the best flavor.
Marinara sauce
A bright, herby marinara cuts the richness and keeps each slider saucy. Use a jarred marinara you already like, or a quick homemade version if you have a few extra minutes. Avoid overly watery sauces — thicker marinara prevents soggy bottoms.
Full ingredient list:
- Slider buns (12-16, depending on size)
- Pepperoni slices (about 24-30 slices)
- Mozzarella cheese (2 cups shredded or sliced)
- Marinara sauce (1 to 1 1/2 cups)
- Butter (4 tablespoons)
- Garlic powder (1/2 teaspoon)
- Italian seasoning (1/2 teaspoon)
Step-by-Step Instructions
Step 1: Preheat and prepare
Preheat your oven to 350°F (175°C).
This temperature warms through the sliders and melts the cheese without burning the tops too fast.
Pro Tip: Use the middle rack for even baking; the oven should be fully preheated before the sliders go in.
Visual cue: The oven light should be steady and the temperature indicator should read 350°F.
Step 2: Assemble the bottom layer
Cut the slider buns in half horizontally and place the bottom halves snugly in a baking dish.
Arrange them edge-to-edge so the tops can lift slightly during baking and stay together when sliced.
Pro Tip: A 9×13-inch baking dish fits 12 standard sliders perfectly.
Visual cue: The bottoms should create a nearly continuous sheet with tiny gaps between buns.
Step 3: Add pepperoni and cheese
Layer pepperoni slices over each bottom bun, then top with a generous amount of mozzarella.
Make sure each bun gets enough pepperoni so every bite has meat and cheese.
Pro Tip: Overlap slices slightly to build a continuous flavor layer.
Visual cue: You should see cheese covering the tops of the pepperoni, not bare bun.
Step 4: Spoon on marinara and cap with tops
Spoon a tablespoon or two of marinara onto each cheese-topped bun — enough to be saucy but not so much that it soaks the bread.
Then place the top halves of the buns back on to form sandwiches.
Pro Tip: If your sauce is very thin, drain a spoonful on the side of the jar before adding.
Visual cue: The buns should look moist at the seams but not dripping.
Step 5: Make the garlic butter topping
Melt the butter in a small bowl and stir in garlic powder and Italian seasoning.
Brush this mixture generously over the top of the slider buns for a glossy, seasoned crust.
Pro Tip: Warm butter spreads more evenly — use a silicone brush for full coverage.
Visual cue: The tops will glisten when brushed and look evenly coated.
Step 6: Bake until melty and golden
Bake the sliders for 15–20 minutes, or until cheese is bubbling and bun tops are golden brown.
Remove from oven and let them sit for a minute to set before slicing between buns.
Pro Tip: If you want crispier edges, broil for 30–60 seconds at the end, watching constantly.
Visual cue: Cheese should be visibly melted and tops should have a light golden color.
Step 7: Serve warm
Slice the sliders in rows inside the dish and transfer to a platter or serve straight from the pan.
They’re best hot, with extra marinara on the side for dipping.
Pro Tip: Use a serrated knife to cut through without squashing the buns.
Visual cue: The cheese pull will be long and stretchy when served warm.
Expert Tips for Success
- Temperature matters: Bake at 350°F for even heating. A hotter oven will brown faster but may leave centers undercooked; cooler ovens lengthen bake time and can dry the buns.
- Pan choice: Use a metal baking dish for crisper bottoms and a glass dish for a gentler heat. Metal conducts heat faster and will give a slight toasting to the bottom crust.
- Cheese strategy: Layering matters. Putting cheese directly on the pepperoni helps the oil from the meat integrate into the cheese, boosting flavor. If using pre-shredded cheese, toss it with a teaspoon of cornstarch to reduce clumping.
- Sauce control: Too much sauce makes the buns soggy. Use thicker marinara or drain excess water from jarred sauce. Spoon sauce in small dollops and spread gently rather than drowning the cheese.
- Butter application: Warm the butter slightly so it brushes smoothly. Brush right before baking to avoid the butter soaking into the top too early.
- Make-ahead assembly: Assemble the sliders up to the butter step and refrigerate covered for up to 24 hours. Add butter and bake when ready. This is great for entertaining.
- Broil for finish: If you want crispy tops, broil for 30–60 seconds after baking. Keep the oven door ajar and watch closely to prevent burning.
- Serving tip: Cut into neat rows using a long-level serrated knife, wiping between cuts for clean slices.
- Scaling: Double the ingredients for a crowd, arranging two pans in the oven if it fits. Rotate pans halfway through baking for even results.
- Troubleshooting cheese separation: If cheese pools too much of its oil, mix a touch of grated parmesan or fontina for flavor balance and reduced oiliness.
Storage & Freezing
Fridge storage: Cool sliders to room temperature for no more than two hours, then cover the baking dish tightly with foil or plastic wrap.
Store in the refrigerator for up to 3 days. Reheat in a 325°F oven for 10–12 minutes covered, then uncover for 2–3 minutes to crisp the top.
Freezer storage: For longer storage, assemble sliders (without the butter topping) and wrap the entire baking dish tightly in plastic wrap and foil, or transfer individual sliders to an airtight container with parchment between layers.
Freeze for up to 2 months.
Reheating from frozen: Thaw overnight in the fridge for best texture, then reheat at 325°F for 15–20 minutes covered, finishing uncovered for a few minutes.
If reheating from frozen without thawing, add extra 5–10 minutes and cover with foil to avoid burning the top.
Leftover tips: Make small individual portions by wrapping single sliders for lunchboxes. Reheat in a toaster oven for 6–8 minutes to restore crispness without drying.
Variations & Substitutions
- Italian Sausage Twist: Swap pepperoni for small crumbles of cooked Italian sausage and add a pinch of red pepper flakes. This adds savory depth and a little heat.
- Veggie-Friendly: Replace pepperoni with grilled mushrooms, roasted red peppers, and spinach. Use a sprinkle of parmesan to boost umami.
- Cheesy Four-Cheese: Mix mozzarella with provolone, fontina, and a little grated parmesan for a richer, more complex melt.
- Gluten-Free or Biscuit Base: Use gluten-free slider buns or try a biscuit base inspired by a breakfast biscuit pizza approach for a flakier texture.
- Romantic Presentation: Turn sliders into a centerpiece by arranging them in a circle and topping with basil — think of it as an approachable riff on pizza roses for a themed meal.
Frequently Asked Questions
Q: Can I make these ahead for a party?
A: Yes. Assemble everything through the butter-brushing step, then cover and refrigerate for up to 24 hours. Add the butter just before baking for the best shine and texture.
Q: Can I make pizza sliders smaller or larger?
A: Absolutely. Use the bun size as your guide. Smaller slider buns reduce bake time slightly; larger buns need a few extra minutes. Adjust filling quantity per bun to keep ratios correct.
Q: How do I avoid soggy bottoms?
A: Use thicker marinara, avoid over-saucing, and bake on a middle rack. If sogginess persists, transfer assembled sliders to a metal sheet pan for better bottom crisping.
Q: Can I freeze assembled sliders after baking?
A: Yes. Cool completely, then wrap the entire tray or transfer to airtight containers. Freeze up to 2 months. Reheat covered at 325°F until warm, then uncover to crisp.
Q: What are good dipping sauces besides marinara?
A: Garlic butter, ranch, or a spicy arrabbiata sauce are all excellent. A herbed olive oil or pesto also complements the cheese and pepperoni well.
Final Thoughts
These pizza sliders are a fast, satisfying way to serve pizza flavors without the fuss of dough.
They’re adaptable, crowd-pleasing, and perfect for casual dinners, game days, or potlucks.
Please leave a star rating in the recipe card below or pin this recipe to Pinterest if you loved it.
Conclusion
If you want more slider-style inspiration, compare this method to a similar take at Modern Honey’s pepperoni pizza sliders to see different assembly tweaks.
For another fast, cheesy approach, check the classic easy version at My Baking Addiction’s pizza sliders and borrow ideas for sauce and cheese ratios.
And if you’re intrigued by pull-apart presentations, take a look at The Country Cook’s pizza pull-apart sliders for a fun serving style.

Pizza Sliders
Ingredients
Slider Ingredients
- 12-16 pieces Slider buns Choose enriched, slightly sweet buns for a tender texture.
- 24-30 slices Pepperoni slices Thick-cut pepperoni holds up through baking.
- 2 cups Mozzarella cheese Use whole-milk mozzarella for creamier melts.
- 1-1.5 cups Marinara sauce Opt for thicker marinara to prevent soggy bottoms.
- 4 tablespoons Butter Melted for brushing on top.
- 0.5 teaspoon Garlic powder
- 0.5 teaspoon Italian seasoning
Instructions
Preparation
- Preheat your oven to 350°F (175°C).
- Cut the slider buns in half horizontally and place the bottom halves snugly in a baking dish.
- Layer pepperoni slices over each bottom bun, then top with a generous amount of mozzarella.
- Spoon a tablespoon or two of marinara onto each cheese-topped bun.
- Melt the butter in a small bowl and stir in garlic powder and Italian seasoning.
- Brush the butter mixture generously over the top of the slider buns.
- Bake the sliders for 15–20 minutes, or until cheese is bubbling and bun tops are golden brown.
- Slice the sliders in rows inside the dish and serve warm.