The first time I made this Peanut Butter Cup Dump Cake, I expected a mess — instead I got a pan of ooey-gooey magic that disappeared in an hour.
It’s built for people who want maximum chocolate-peanut butter payoff with minimal prep.
No mixing bowls, no chilling, and almost zero babysitting make it a perfect weeknight dessert or last-minute potluck hero.
Why You’ll Love This Recipe
- Ridiculously easy: dump, drizzle, bake — that’s it.
- Ultra-decadent: candy, chips, and a fudgy crumb all in one pan.
- Crowd-pleaser: kids love it and adults ask for seconds.
- Minimal equipment: 9×13 pan and a spoon; no stand mixer required.
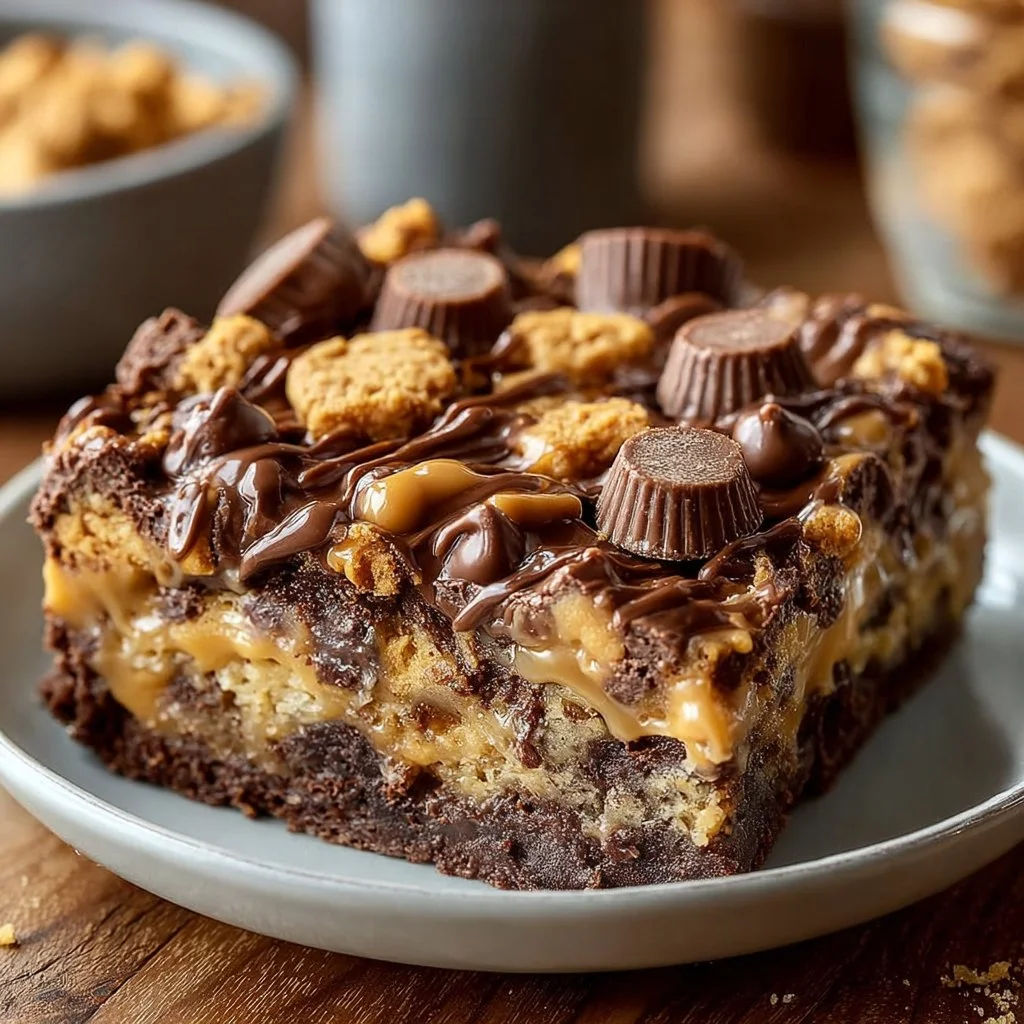
The texture is a contrast play: under the cake mix sits molten peanut butter cups and evaporated-milk syrup that keep the base fudgy. The top crisps into a cakey, golden crust dotted with melted chips. Every bite gives a crunchy edge, a soft center, and bursts of peanut butter candy that keep the flavor from being one-note.
“This was the easiest dessert I’ve ever made and it tasted like a bakery cake — my whole family begged for the recipe!” — 5 stars, Dana R.
Key Ingredients
Chocolate cake mix — This is the structural backbone and the part that bakes up into a soft crust. Use a good-quality box mix (Duncan Hines or Betty Crocker both work well); finer crumb mixes tend to set a bit more uniformly on top.
Miniature peanut butter cups — These are the flavor engine. Chop them so they melt and distribute pockets of peanut-butter goodness. If you can, pick fresh cups (not stale) and toss a few whole on top for visual appeal.
Evaporated milk — It’s the secret to that rich, saucy interior. Evaporated milk adds body and caramelized sweetness while helping the dry cake mix hydrate and set into a tender top.
Creamy peanut butter (melted) — A ribbon of melted peanut butter gives concentration and depth beyond what the cups provide. Go full creamy for smoother melting; natural peanut butter can be used but often needs stirring to recombine oils.
Full ingredient list:
- 1 box (15.25 oz) chocolate cake mix
- 2 cups miniature peanut butter cups, chopped
- 1 cup peanut butter chips
- 1/2 cup creamy peanut butter, melted
- 1 stick (1/2 cup) unsalted butter, melted
- 1 can (12 oz) evaporated milk
- 1/2 cup milk chocolate chips
Step-by-Step Instructions
Step 1: Prep the pan and oven
Preheat your oven to 350°F (175°C). Lightly grease a 9×13-inch baking dish so the edges don’t stick and cleanup is easier.
Pro Tip: Use cooking spray with flour or rub a little softened butter around the corners for the cleanest release.
Step 2: Layer the chopped peanut butter cups
Spread the chopped miniature peanut butter cups evenly across the bottom of the prepared baking dish. Try to get a single even layer so the distribution of molten candy is consistent.
Pro Tip: If your cups are sticky, toss them lightly in a tablespoon of cake mix first to prevent clumping.
Step 3: Add the dry cake mix
Sprinkle the chocolate cake mix evenly over the peanut butter cups, covering them completely. Don’t press or tamp it down — the dry mix acts as the topping that will set into cake.
Pro Tip: Shake the box gently while sprinkling to get a finer, more even coating.
Step 4: Drizzle with peanut butter and pour the liquids
Drizzle the melted creamy peanut butter across the surface in ribbons to add richness. Then pour the melted unsalted butter and the evaporated milk evenly across the top, aiming to saturate the cake mix but not create large puddles.
Pro Tip: Pour in a slow, steady stream and tilt the pan slightly if needed so the liquids spread evenly without stirring.
Step 5: Top with chips and bake
Scatter the peanut butter chips and milk chocolate chips over the top. Resist the urge to stir — the magic comes from layers staying as they are. Bake for 35–40 minutes, or until the cake topping looks set and turns a golden color.
Pro Tip: You’ll know it’s ready when the edges pull away slightly from the pan and the top springs back when touched gently.
Step 6: Cool, set, and serve
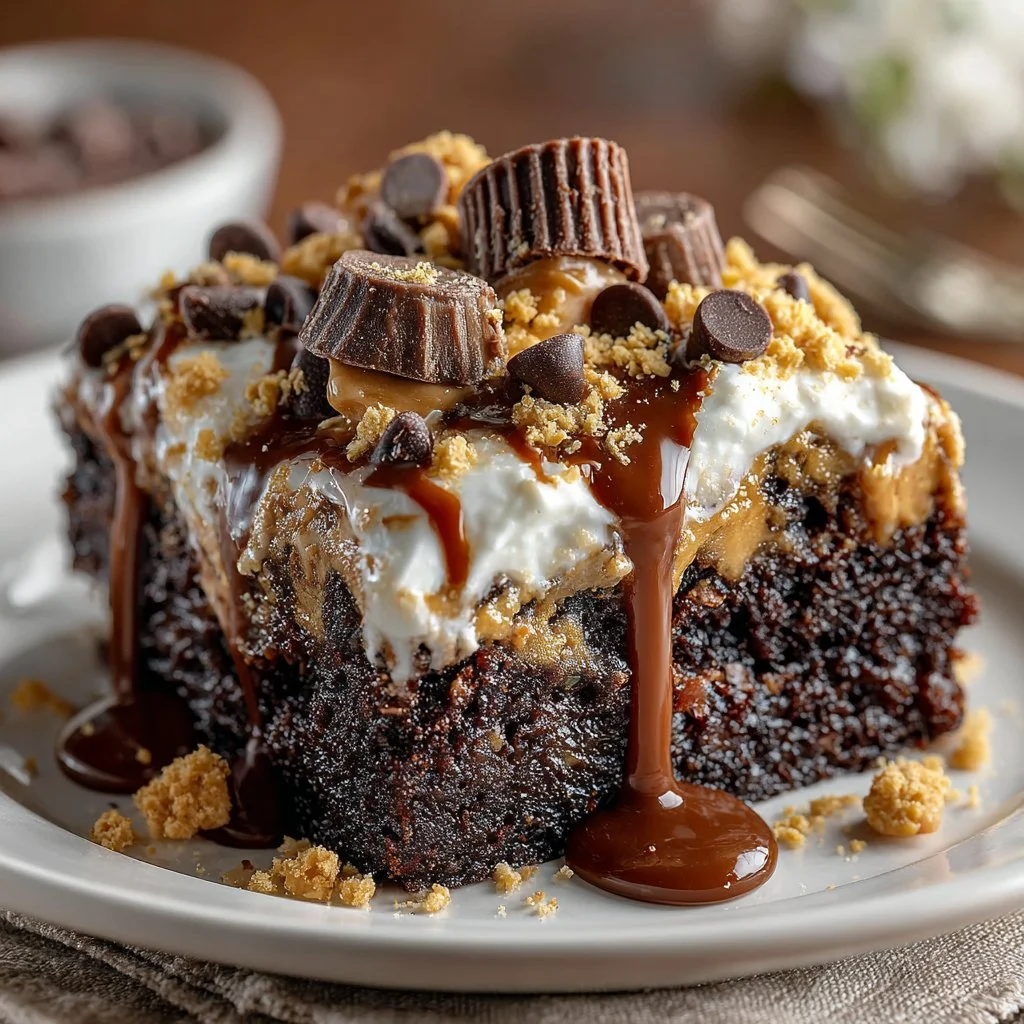
Allow the cake to cool slightly before serving so the internal syrup thickens a bit and slices hold together. Serve warm with a scoop of vanilla ice cream or whipped cream for contrast.
Pro Tip: Cooling for 10–15 minutes makes neat squares; serving too hot will be deliciously messy but harder to portion.
Expert Tips for Success
- Use room-temperature ingredients when possible. If your peanut butter is hard, it won’t drizzle smoothly; warm it briefly in the microwave for 10–15 seconds and stir until pourable.
- Chop candy into even pieces. Large uncut cups create pockets that can make cutting tidy squares difficult; aim for uniform chunks about 1/4–1/2 inch.
- Don’t overbake. Because the interior is intentionally gooey, the indicator is visual: a golden top and slightly springy center. Overbaking dries the top and limits the molten interior.
- Choose evaporated milk over regular milk or heavy cream. Regular milk runs too thin and cream can make the cake overly rich and heavy; evaporated milk creates the ideal syrupy interior without collapsing the cake.
- If the top browns too quickly, tent foil loosely over the pan halfway through baking. This keeps the top from burning while allowing the center to finish.
- For even heating, rotate the pan once at the 20-minute mark. Ovens can have hot spots; a quick 180° turn helps the top set evenly.
- To serve neat slices, chill the pan for 30 minutes after cooling, then run a sharp knife under hot water, dry it, and slice. The warmed knife cuts cleanly through chocolate and peanut pockets.
- For a nut-free household swap, use caramels or chocolate chips in place of peanut butter cups and add a sprinkle of toasted oats for texture. This keeps the dump-cake simplicity without allergen risk.
Storage & Freezing
Fridge: Once cooled to room temperature, cover the pan tightly with plastic wrap or transfer slices to an airtight container. Store in the refrigerator for up to 4–5 days. Reheat single portions in the microwave for 20–30 seconds to regain melty texture.
Freezer: Wrap individual squares tightly in plastic wrap and then in foil or a freezer bag to prevent freezer burn. Freeze for up to 3 months. Thaw overnight in the refrigerator before reheating.
Reheating tips: For best texture, reheat at 300°F (150°C) for 10–12 minutes in a small oven-safe dish, or microwave on medium in 20–30 second bursts until warm. Top with fresh chips before a quick blast of heat to refresh the melty appearance.
Variations & Substitutions
- Salted-caramel twist: Replace half the peanut butter chips with soft caramel bits and sprinkle coarse sea salt on top after baking. The salt brightens the chocolate and peanut butter.
- Nut-butter swap: Use almond butter or sunflower seed butter if you prefer a different nutty profile or need a peanut-free option. Melt it before drizzling to mimic the original texture.
- Double-chocolate: Stir a handful of dark chocolate chunks into the cake mix layer for extra richness and a slight bitter counterpoint to the sweet peanut butter cups.
- Mini-batch version: Use an 8×8-inch pan and halve ingredients; check baking time at 25–30 minutes since smaller pans cook faster.
Frequently Asked Questions
Q: Can I use a different size pan?
A: Yes, but adjust bake time. An 8×8-inch pan will be thicker and need less time, about 25–30 minutes. A larger pan will thin the layers and finish faster; start checking at 25 minutes.
Q: Why is my top soggy instead of cakey?
A: Sogginess usually means underbaked or too much liquid concentration in one area. Ensure even pouring of evaporated milk and butter and give it the full 35–40 minutes. If the center jiggles significantly, put it back in for 5–8 minutes.
Q: Can I make this gluten-free?
A: Yes. Use a gluten-free chocolate cake mix labeled for baking. Texture may vary slightly, but the basic dump-cake chemistry remains the same.
Q: How do I get clean slices?
A: Chill briefly, then use a sharp knife dipped in hot water and wiped dry between each cut. This melts through the chocolate and peanut butter bits for neat squares.
Q: Is this recipe child-friendly for helping?
A: Absolutely. Kids can chop candy (with supervision), sprinkle cake mix, and drizzle ingredients. It’s a forgiving recipe where exact precision isn’t required.
Final Thoughts
This Peanut Butter Cup Dump Cake is a dependable, no-fuss dessert that tastes like you spent hours in the kitchen.
It’s a great go-to for birthdays, weeknights, and bring-a-dish events.
If you loved it, please leave a star rating in the recipe card below and pin this to Pinterest for later.
Conclusion
If you want another version to compare technique or flavor pairings, check this similar take on Peanut Butter Cup Dump Cake for inspiration.
For a slightly different assembly and topping idea, see the recipe for Chocolate Peanut Butter Dump Cake – Mom Loves Baking.

Peanut Butter Cup Dump Cake
Ingredients
Main Ingredients
- 1 box 15.25 oz chocolate cake mix Use a good-quality box mix such as Duncan Hines or Betty Crocker.
- 2 cups miniature peanut butter cups, chopped Fresh cups preferred; toss a few whole on top for visual appeal.
- 1 cup peanut butter chips
- 1/2 cup creamy peanut butter, melted Use full creamy for smoother melting.
- 1 stick unsalted butter, melted
- 1 can 12 oz evaporated milk Adds body and sweetness to the recipe.
- 1/2 cup milk chocolate chips
Instructions
Preparation
- Preheat your oven to 350°F (175°C) and lightly grease a 9x13-inch baking dish.
- Spread the chopped miniature peanut butter cups evenly across the bottom of the prepared baking dish.
- Sprinkle the chocolate cake mix evenly over the peanut butter cups.
- Drizzle the melted creamy peanut butter, melted unsalted butter, and evaporated milk across the surface.
- Scatter the peanut butter chips and milk chocolate chips over the top without stirring.
Baking
- Bake for 35–40 minutes or until the top looks set and golden.
Cooling
- Allow the cake to cool slightly before serving.
- Serve warm with vanilla ice cream or whipped cream.