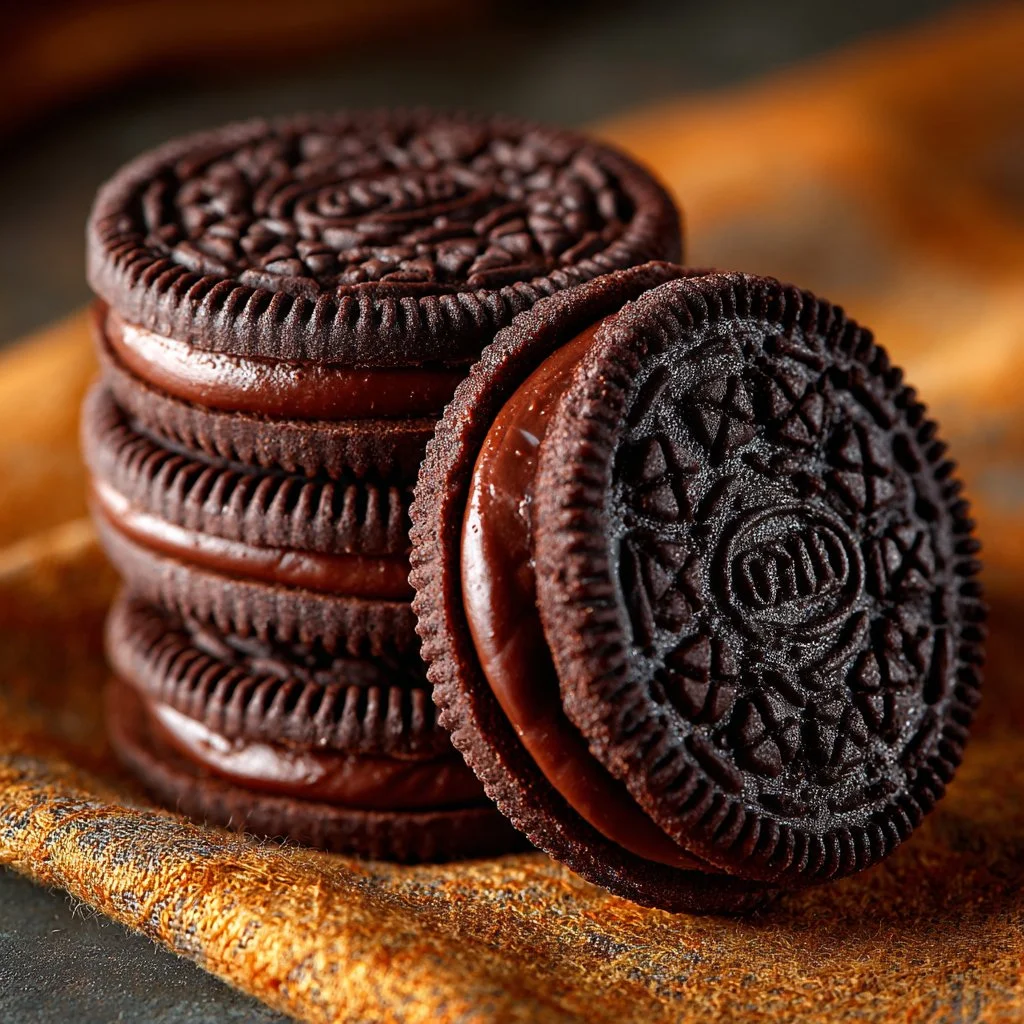
I remember making these chocolate-covered Oreos on a rainy afternoon when I wanted something indulgent but fuss-free. This recipe turns a simple packet of Oreos into elegant, bite-sized treats with a glossy chocolate shell — perfect for parties, gifts, or a quick dessert fix. Ready in under an hour and with just three ingredients, these are the kind of sweets everyone asks for seconds of.
Why you’ll love this dish
These chocolate-covered Oreos are the easiest way to elevate a store-bought cookie into a showstopper. They’re fast, low-cost, kid-approved, and require no baking — ideal for last-minute gatherings, holiday cookie trays, or a simple after-dinner treat.
“A tiny bit of melted chocolate makes everything feel homemade. These were the hit of my holiday cookie swap — glossy, crisp, and dangerously easy.” — home baker review
What makes them especially handy: you can scale the recipe up or down, customize the coating, and keep most steps ahead of time. They’re also forgiving: imperfect dips still taste great, so they work well for novice cooks and busy parents.
Step-by-step overview
Before you dive in, here’s the quick plan: melt chocolate with oil until satin-smooth, dunk each Oreo so it’s fully coated, let excess drip, set them on parchment, and chill until the shells harden. Expect five minutes of prep and about 30 minutes of chilling.
What you’ll need
- 24 Oreo cookies (any variety — classic, double-stuf, or flavored)
- 200 grams dark chocolate (about 7 oz). Use a good-quality baking chocolate or couverture for best shine.
- 1 tablespoon vegetable oil (or light-flavored coconut oil)
Notes and substitutions:
- Swap dark chocolate for milk or white chocolate if you prefer sweeter coatings. White chocolate often needs a little more fat (oil) or a melting aid because it contains less cocoa butter.
- Use coconut oil for a hint of coconut flavor; it will firm at cooler temperatures.
- For dairy-free or vegan options, choose a dairy-free chocolate and confirm Oreos are acceptable for your diet (classic Oreos are vegan by many standards, but check labels).
Step-by-step instructions
- Chop the chocolate into uniform pieces so it melts evenly. Place chocolate and vegetable oil in a microwave-safe bowl or the top of a double boiler.
- Microwave in 20–30 second bursts, stirring between each, until smooth. If using a double boiler, warm gently and stir until silky. Avoid overheating — chocolate should be warm, not boiling.
- Prepare a tray lined with parchment or silicone. Have a fork or dipping tool ready.
- Hold an Oreo with the fork, dip it into the melted chocolate, and rotate to coat completely. Tap the fork on the edge of the bowl to let excess drip back.
- Transfer the coated cookie to the prepared tray and repeat until all cookies are covered.
- When all cookies are on the tray, pop the tray into the refrigerator for at least 30 minutes, or until the chocolate is set and glossy.
- Serve chilled or at room temperature once set. Enjoy.
Key Ingredients
- 24 pieces Oreo cookies — any flavor you like.
- 200 grams dark chocolate — aim for 60–70% cocoa for balance; lower percent for sweeter coating.
- 1 tablespoon vegetable oil — helps the coating glide and gives a shine.
Ingredient tips:
- If your chocolate seizes (becomes grainy), add a small splash of warm cream or a little more oil and stir until smooth.
- For a glossier finish without oil, temper the chocolate instead (requires slightly more technique but yields a firmer snap).
Best ways to enjoy it
- Serve on a decorative platter with a mix of dipped and plain Oreos for contrast.
- Pair with coffee, cold milk, or a dessert wine for a grown-up twist.
- Use them as edible toppers for cupcakes or as a crunchy addition to an ice cream bar.
- Package in cellophane bags tied with ribbon for quick homemade gifts.
Storage and reheating tips
- Short-term: Store in an airtight container in the refrigerator for up to 10–14 days. Chilled storage keeps the chocolate from softening in warm kitchens.
- Room temperature: If your kitchen is cool (under 70°F / 21°C), you can keep them in a cool, dry place for 2–3 days. Avoid humid spots.
- Freezing: Layer the cookies in a freezer-safe container separated by parchment. Freeze up to 2 months. Thaw in the fridge for a few hours before bringing to room temperature to avoid condensation on the chocolate.
- Food safety: Always use clean hands and utensils. If ingredients have been at room temp for several hours, refrigerate promptly.
Pro chef tips
- For the glossy finish: stir gently and avoid incorporating air while melting. If you want the extra-professional snap, temper the chocolate (heat to ~45°C/113°F for dark, cool to ~27°C/80°F, then reheat slightly to ~31°C/88°F).
- Use a fork and baking rack for faster drip-off and neater bottoms.
- If you want a marbled look, drizzle a contrasting chocolate (white or milk) over the set dark coating and use a toothpick to swirl before it hardens.
- Work quickly but calmly — if the chocolate starts to thicken, rewarm briefly in 5–10 second microwave bursts.
- For even more shine, lightly brush the finished surface with a thin smear of neutral oil using a pastry brush (very sparingly).
Creative twists
- Toppings: sprinkle crushed nuts, sea salt, mini sprinkles, crushed candy canes, or toasted coconut onto the wet chocolate before chilling.
- Flavored coatings: mix a pinch of espresso powder or orange zest into the melted chocolate for depth.
- Sandwich upgrades: use flavored Oreos (mint, golden, peanut butter) for different flavor combos.
- Dietary swaps: use dairy-free chocolate and coconut oil for vegan versions; choose sugar-free chocolate for low-sugar alternatives.
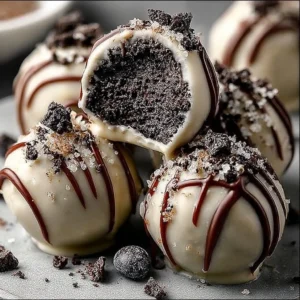
- Mini desserts: half-dip Oreos and sandwich two together around a scoop of softened cream cheese frosting for an Oreo truffle twist.
FAQ
Q: How long does it take to make these?
A: Active hands-on time is about 10–15 minutes. Include chilling, and plan for at least 30–40 minutes total.
Q: Can I dip Oreos without adding oil to the chocolate?
A: Yes — if you temper the chocolate properly, you don’t need oil. Oil is a shortcut to easier dipping and a shinier finish but can slightly soften the final shell.
Q: Will the chocolate “bloom” (white streaks) in the fridge?
A: Bloom is caused by fat or sugar migration and is more likely if the chocolate wasn’t cooled properly or if cookies are moved from very cold to warm environments too quickly. To minimize bloom, store the cookies in a stable cool place and avoid temperature swings.
Q: Can I use a microwave or should I use a double boiler?
A: Both methods work. Microwave is faster—use short bursts and stir between—to avoid burning. A double boiler gives gentler, more even heat and reduces risk of scalding.
Q: How long do they keep?
A: Stored airtight in the refrigerator, they keep 10–14 days. Frozen, they keep up to 2 months.
Conclusion
If you want a fast, crowd-pleasing treat that looks and tastes special, these chocolate-covered Oreos deliver every time. For more ideas on presentation and alternative techniques, see this recipe roundup from Chocolate Covered Oreos – Boston Girl Bakes, and for a similar classic method with helpful photos check Chocolate Dipped Oreo Cookies.

Chocolate-Covered Oreos
Ingredients
Main Ingredients
- 24 pieces Oreo cookies (any variety — classic, double-stuf, or flavored)
- 200 grams dark chocolate (about 7 oz.) Use a good-quality baking chocolate or couverture for best shine.
- 1 tablespoon vegetable oil (or light-flavored coconut oil) Helps the coating glide and gives a shine.
Instructions
Preparation
- Chop the chocolate into uniform pieces to ensure even melting.
- Place chocolate and vegetable oil in a microwave-safe bowl or the top of a double boiler.
- Microwave in 20–30 second bursts, stirring between each, until smooth, or warm gently over a double boiler until silky.
- Prepare a tray lined with parchment or silicone and have a fork or dipping tool ready.
Dipping
- Hold an Oreo with the fork, dip it into the melted chocolate, rotating to coat completely.
- Tap the fork on the edge of the bowl to let excess chocolate drip back.
- Transfer the coated cookie to the prepared tray and repeat until all cookies are covered.
Setting
- Place the tray in the refrigerator for at least 30 minutes, or until the chocolate is set and glossy.
Serving
- Serve chilled or at room temperature once set. Enjoy!