The first time I made this recipe I underestimated how patient you have to be.
Slow-cooked onions turn into something wildly sweet and silky with just a splash of fat and a little time.
This simple method is the one I use when I want a deeply flavored, kitchen-friendly topping that lifts everything from grilled cheese to weeknight pasta.
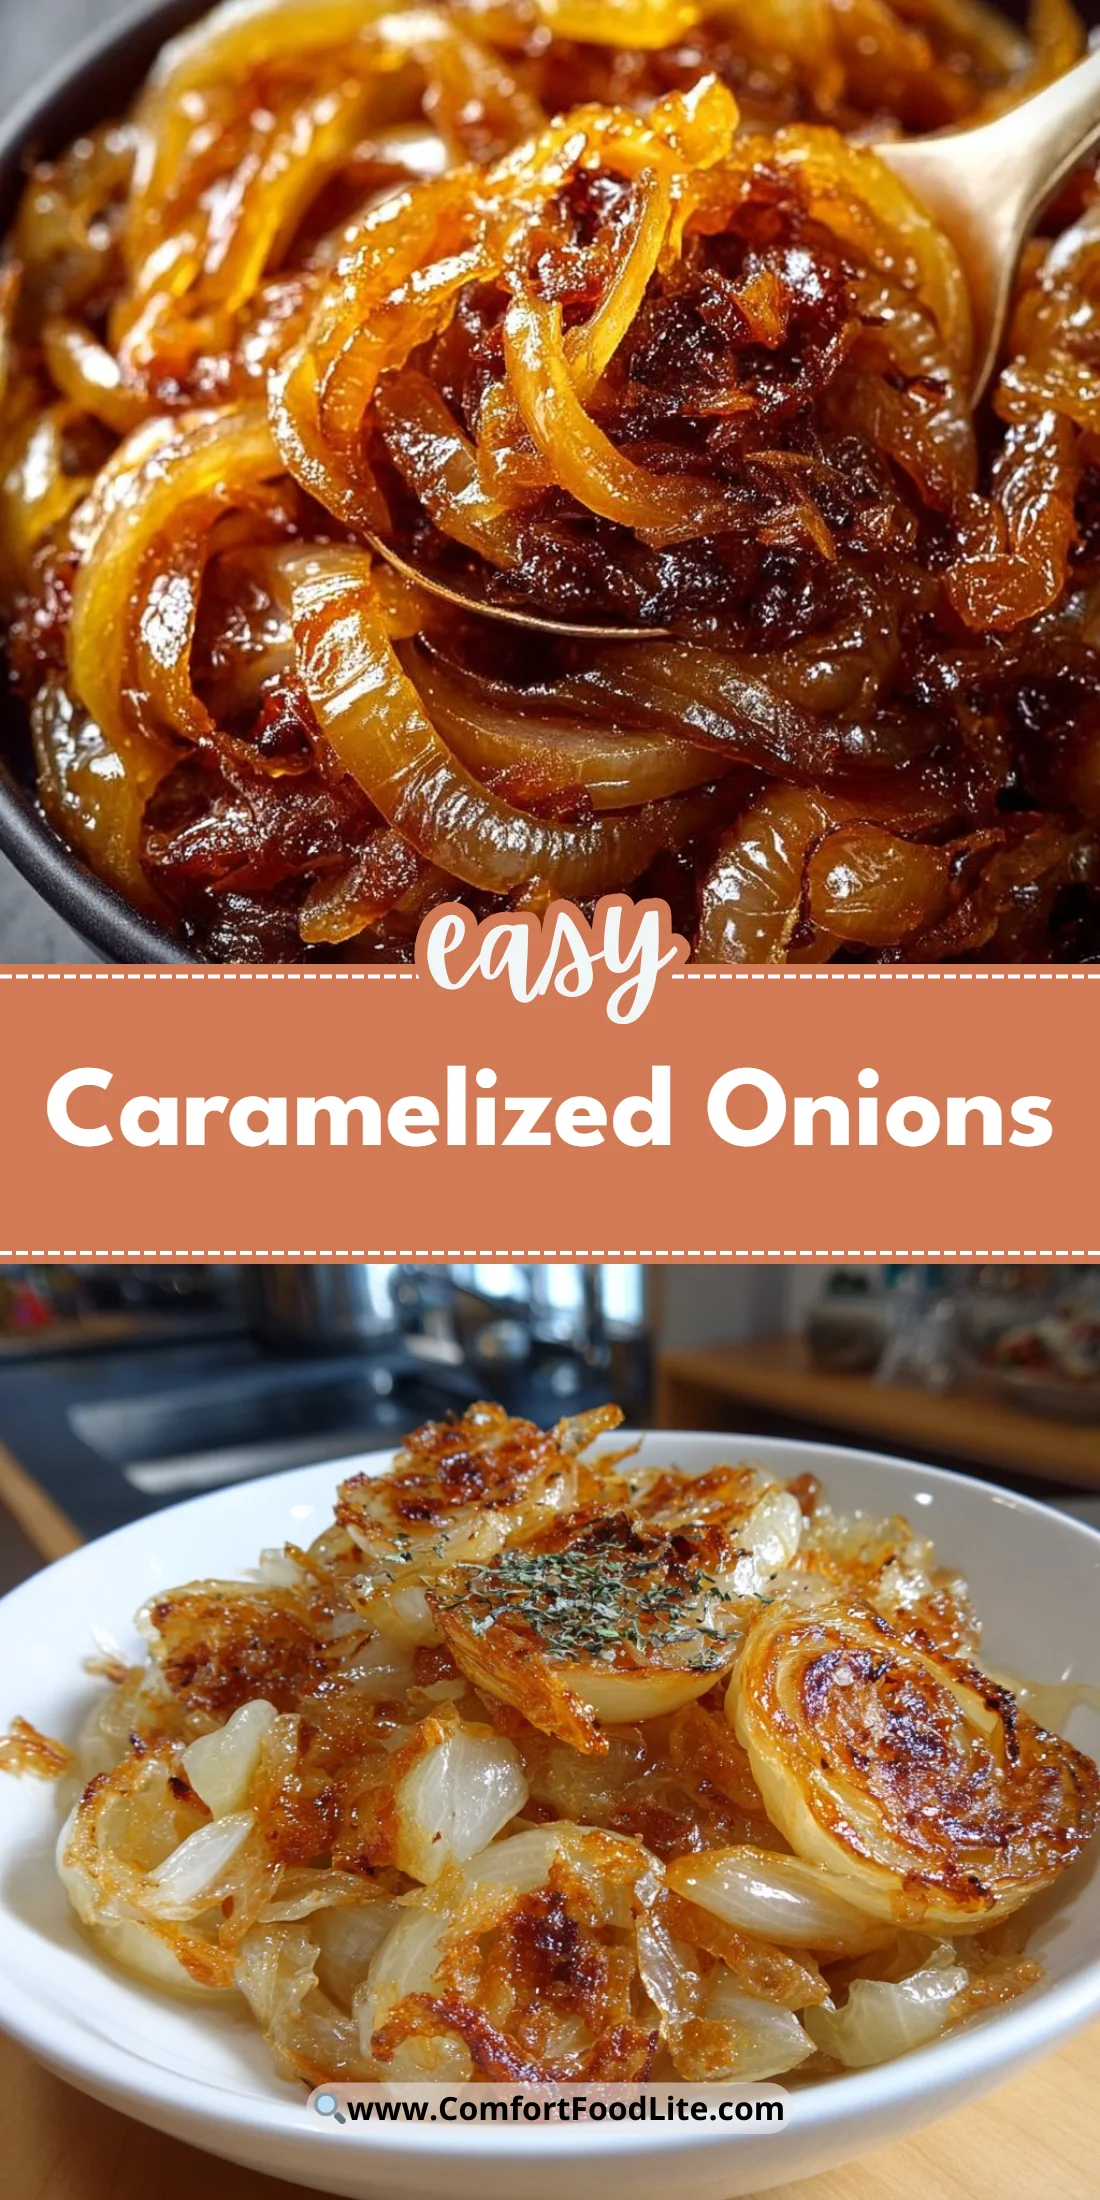
If you are looking for a no-fuss, high-impact condiment, these caramelized onions are a winner.
Why You’ll Love This Recipe
- Deep, concentrated sweetness from everyday ingredients.
- Minimal hands-on work — mostly gentle stirring.
- Versatile: use them on sandwiches, pizzas, pastas, and more.
- Makes a small batch that keeps well and stretches across several meals.
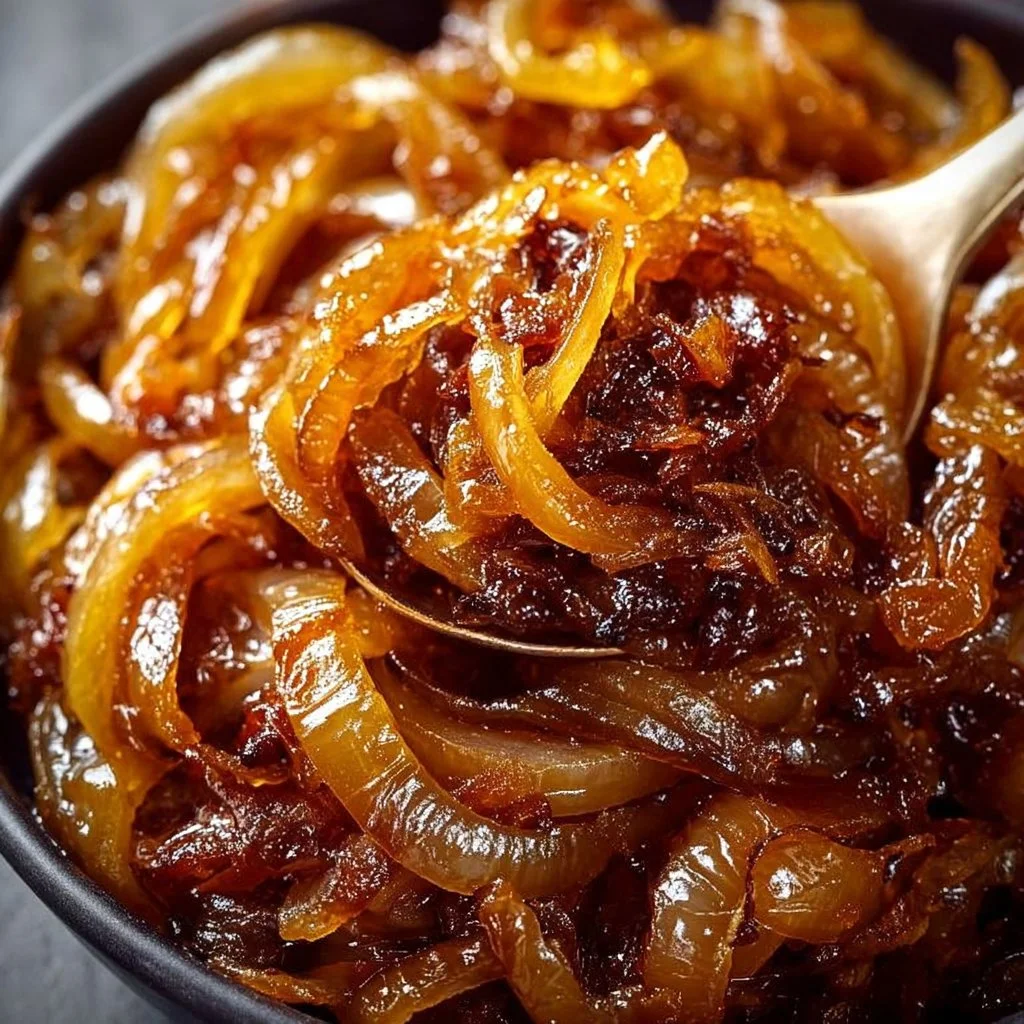
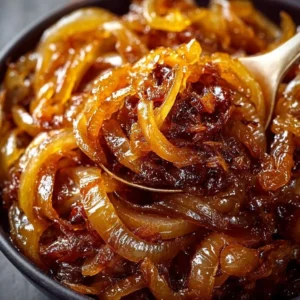
The texture is luxuriously soft with ribbons of onion that collapse into almost jam-like strands.
The taste moves from lightly savory to rich, mellow sweetness as natural sugars break down.
A good batch adds umami and complexity to a simple dish without overpowering it.
“Absolutely game-changing — I keep a jar in the fridge and it transforms leftovers into restaurant-level meals. 5 stars!” — Reader Dana
My favorite way to use these onions is on crostini with a smear of something tangy.
Key Ingredients
Olive oil or butter
Olive oil gives a clean, fruity background and keeps the flavor lighter.
Butter adds richness and a slightly toasted aroma that many home cooks prefer.
If you’re using butter, I like a European-style butter with higher fat for a deeper flavor.
Onions (2 large)
The choice of onion matters: yellow onions have the best balance of starch and sugar for caramelizing.
Sweet onions like Vidalia will give a quicker, more honeyed result, while white onions can be brighter and less sweet.
Choose firm, dry onions without blemishes for the most consistent results.
Salt
Salt helps draw moisture out of the onions and jumpstarts the caramelization.
Use a fine sea salt or kosher salt so you can taste and control the seasoning easily.
Add it early and sparingly; you can always adjust at the end.
Sugar (optional)
A small pinch of granulated sugar helps if your onions are not very sweet or if you’re short on time.
Use sparingly — the goal is to enhance natural sugars, not to make them candied.
Brown sugar will add an extra molasses note; plain granulated sugar keeps the flavor clean.
Full ingredient list:
- 2 large onions, sliced
- 2 tablespoons olive oil or butter
- Salt to taste
- Optional: sugar (for extra sweetness)
For another way to use caramelized onions in a composed bite, see my take on caramelized onion and goat cheese tarts.
Step-by-Step Instructions
Step 1: Thinly slice the onions
Slice the onions into even halves and then into thin, consistent slices.
Even thickness ensures they cook at the same rate and brown uniformly.
Visual cue: the slices should be ribbon-like, not chunky.
Pro Tip: Use a sharp chef’s knife or a mandoline on a low setting for consistent slices.
Step 2: Warm the fat in a wide skillet
Heat 2 tablespoons of olive oil or butter in a large skillet over medium heat.
You want the pan warm enough to sizzle gently but not so hot that the onions burn.
Visual cue: the fat should shimmer but not smoke.
Pro Tip: A heavy-bottomed skillet or cast iron helps distribute heat evenly and prevent hot spots.
Step 3: Add onions and salt
Add the sliced onions and a pinch of salt to the skillet, tossing to coat.
Salt pulls liquid from the onions and helps them soften and brown without drying out.
Make sure the pan isn’t overcrowded; give the onions a little room to breathe.
Pro Tip: If your pan feels crowded, split the batch or use a wider pan — crowded onions steam and won’t caramelize properly.
Step 4: Slow-cook, stirring occasionally
Reduce heat slightly to medium-low and let the onions cook.
Stir every few minutes, scraping the browned bits from the pan to distribute flavor.
This stage takes about 20–30 minutes until the onions are deeply golden and tender.
Pro Tip: You’ll know they’re ready when the onions are a uniform deep amber and mostly collapsed into soft ribbons.
Step 5: Optional sweetening and finishing
If desired, sprinkle a little sugar and stir to dissolve, which brightens the sweetness.
Taste and adjust salt at the end; a touch more salt can balance the sweetness beautifully.
Remove from heat and let cool slightly before using.
Pro Tip: A splash of vinegar or a squeeze of lemon brightens caramelized onions if they feel too sweet.
Step 6: Use and serve
Use immediately as a topping for burgers, pizza, pasta, or grilled cheese.
They also fold beautifully into omelets, mashed potatoes, or mixed with roasted vegetables.
Store leftovers properly to keep them tasting fresh for later meals.
Pro Tip: For a quick meal, stir warm caramelized onions into cooked pasta with a knob of butter and grated cheese.
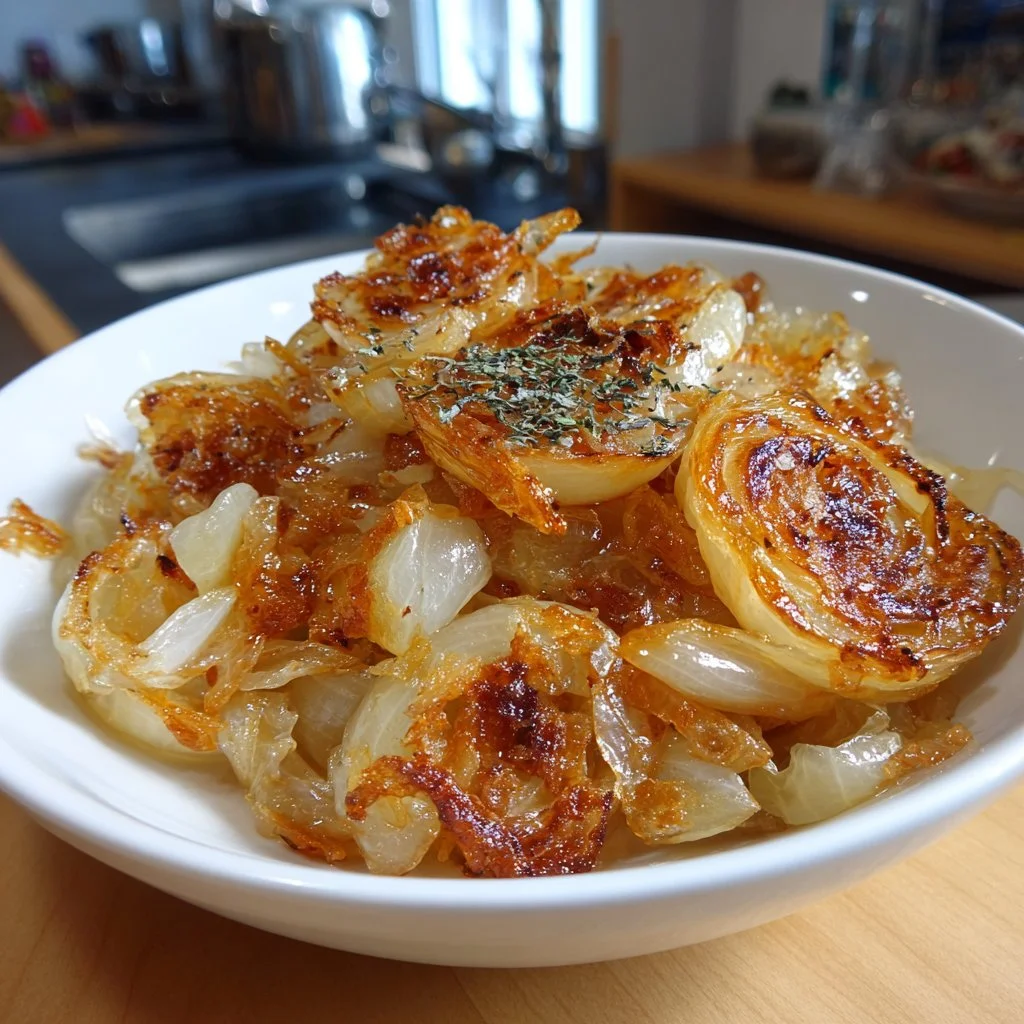
For a crisp-textured counterpoint, try these fried onion alternatives like air-fryer crispy onions.
Expert Tips for Success
- Use the right pan size: A wide, heavy skillet gives the onions surface area to brown. Crowding leads to steaming, not caramelizing.
- Temperature control is everything: Start at medium, then drop to medium-low. Too hot and they burn; too low and they stew.
- Patience beats shortcuts: True caramelization takes time. Expect 20–30 minutes for a deep, even color without burning.
- Stir, but not constantly: Stirring every few minutes prevents sticking and encourages even browning, but over-stirring slows the process.
- Deglaze for extra flavor: If browned bits cling to the pan, splash a tablespoon of water, wine, or vinegar and scrape them up; it adds complexity.
- Adjust sweetness at the end: If your onions taste flat, a small pinch of sugar or a drizzle of balsamic vinegar will elevate them.
- Salt early, finish carefully: Add salt at the start to draw out moisture, then taste and tweak before serving.
- Use clarified butter for higher heat: If you want a slightly quicker caramelization without burning butter solids, use ghee or clarified butter.
- Keep low and slow for consistency: If you’re cooking a large batch, reduce the heat further and give yourself extra time; large volumes take longer to brown.
- Make-ahead strategy: Cook a big batch and refrigerate in a shallow container for faster cooling and longer life.
- Don’t rinse the pan: Once the onions begin to brown, avoid washing away the fond; those browned bits are flavor gold.
- When life gets busy: If you’re short on time, add a teaspoon of sugar halfway through to accelerate browning, but watch closely to prevent burning.
- Use a wooden spoon to press and separate: A wooden spoon helps scrape and separate onions without damaging the pan’s surface.
- If onions seem bitter: A touch of acid (vinegar, lemon) or a pinch of sugar will rebalance bitterness from overcooking.
- Equipment choice matters: Cast iron or stainless steel provides the best fond; nonstick will work but yields less fond and slightly different texture.
I also like to keep a small jar in the fridge and turn to it for quick flavor lifts; for a crunchy contrast, pair with air-fryer crispy onions.
Storage & Freezing
Fridge storage: Cool the onions to room temperature before transferring to an airtight container.
They will keep well in the refrigerator for up to 7–10 days.
Use shallow containers for quicker cooling and longer freshness.
Freezing: For longer storage, freeze in portion-sized freezer bags or an ice cube tray.
Press out excess air, label, and freeze for up to 3 months.
To use frozen cubes, drop them directly into a pan and gently heat until thawed and warmed through.
Reheating: Reheat on the stovetop over low heat with a splash of water or oil to loosen the texture.
Microwave reheating works too; cover and heat in short bursts, stirring between intervals.
Avoid overheating, which can turn the onions dry and less flavorful.
Variations & Substitutions
Balsamic boost: Stir in a tablespoon of balsamic vinegar near the end for a glossy, tangy-sweet finish.
Caramelized shallots: Swap onions for shallots for a subtler, more delicate end result, excellent with fish or shellfish.
Beer or wine-laced: Deglaze with a splash of beer or dry white wine halfway through for depth and complexity.
Herb finishes: Stir in fresh thyme or rosemary at the end for an herbaceous lift; avoid cooking herbs for the entire time or they will brown and taste bitter.
If you want a composed idea, try folding caramelized onions into a tart recipe like this caramelized onion and goat cheese tart.
Frequently Asked Questions
How long does it take to caramelize onions?
Caramelizing onions properly takes time.
Expect 20–30 minutes for a deep, even caramelization on medium-low heat.
Larger batches or lower heat will extend the time; patience yields the best flavor.
Can I caramelize onions in the oven?
Yes — spread sliced onions in a single layer on a rimmed baking sheet with oil and roast at 375°F.
Stir every 10–15 minutes and roast for 40–60 minutes until deeply golden.
Oven caramelizing requires less hands-on stirring but still needs time.
Why are my onions burning instead of caramelizing?
If they burn, the heat is too high or the pan is too hot.
Lower the temperature and stir more frequently to redistribute the onions.
Add a splash of water to deglaze and reduce immediate charring.
Can I use other kinds of onions?
Yes — yellow onions are the most forgiving and balanced choice.
Sweet onions speed up the process and yield a honeyed finish.
Red onions caramelize beautifully but may produce a different color and slightly sharper flavor.
How do I make a large batch without crowding the pan?
Cook in batches or use a wide roasting pan in the oven for larger quantities.
Crowding causes steaming and prevents browning.
Shallow pans with plenty of surface area give the best results.
Final Thoughts
Caramelized onions are a deceptively simple way to heighten ordinary meals.
A little time and attention deliver a pantry staple that transforms sandwiches, pastas, and more.
Please leave a star rating in the recipe card below and pin this to Pinterest if you loved it.
For another tested approach to caramelized onions, check out the Love and Lemons caramelized onions recipe or read a detailed technique guide from Serious Eats on how to caramelize onions.
Caramelized Onions
Ingredients
Main Ingredients
- 2 large large onions, sliced Yellow onions are recommended for the best balance of starch and sugar.
- 2 tablespoons olive oil or butter Choose olive oil for a lighter flavor or butter for richness.
- to taste pinch salt Fine sea salt or kosher salt is preferable.
- optional sugar Use sparingly to enhance natural sweetness.
Instructions
Preparation
- Thinly slice the onions into even halves and then into thin, consistent slices.
- Heat 2 tablespoons of olive oil or butter in a large skillet over medium heat until shimmering.
- Add the sliced onions and a pinch of salt, tossing to coat them evenly.
- Reduce the heat to medium-low and let onions cook, stirring every few minutes for about 20–30 minutes until deeply golden and tender.
- Optionally, sprinkle in a little sugar towards the end to enhance sweetness, and adjust salt as needed.
- Serve immediately as a topping for various dishes or store properly for later use.