

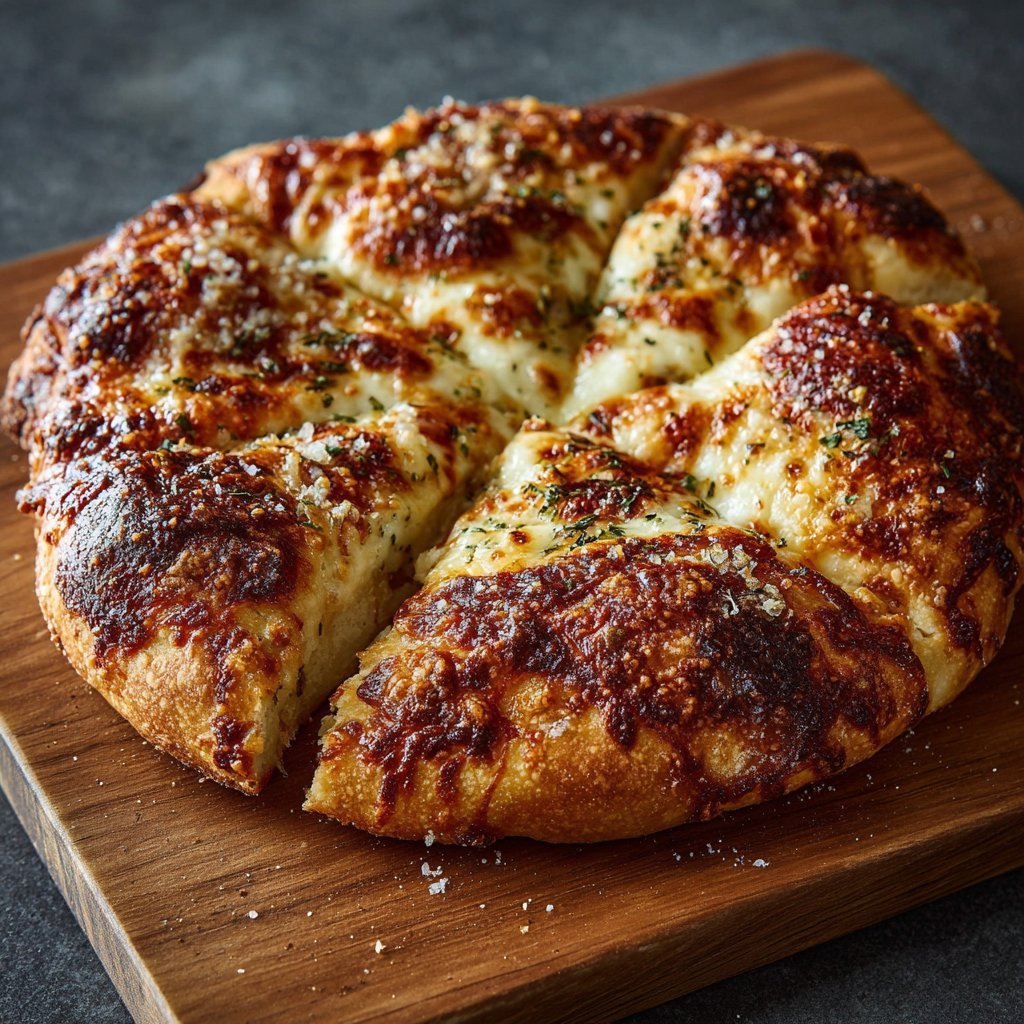
The first time I made this dough I remember the crust puffing up like a mini volcano in the oven — thin, blistered, and impossibly chewy.
If you are looking for a simple, reliable artisan pizza dough that works for weeknight pies and special dinners alike, this is it.
It’s forgiving, uses pantry staples, and rewards a little patience with big texture and flavor.
Why You’ll Love This Recipe
- Makes 2–4 pizzas depending on size, so it’s great for families or twice-as-many leftovers.
- Uses instant yeast (no proofing required) but still delivers artisan flavor and structure.
- High hydration (relative to flour amount) gives an open, airy crumb and blistered crust.
- Optional olive oil adds richness without weighing the dough down.
This dough produces a crust that’s chewy in the middle with a crisp, blistered exterior when baked on a hot stone or sheet. The balance of salt and sugar is subtle — enough to enhance flavor and help the yeast along without making the dough sweet. The result is a multi-textured bite: a crunchy edge, a slightly springy center, and a faint olive-oil aroma when used.
"Five stars — followed this recipe and my home pizzas finally looked and tasted like the pizzeria down the street!" — Mia R., reader
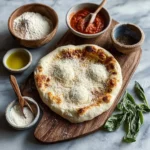
Key Ingredients
All-purpose flour
All-purpose flour gives a reliable balance of protein for gluten without being too strong. Brands vary: if you want a chewier crust, choose an AP flour with slightly higher protein (11.5–12.5%). For a more tender crumb, regular supermarket AP works fine.
Instant yeast (1 packet / 2 1/4 tsp)
Instant yeast mixes straight into dry ingredients and shortens prep time. It’s very predictable for home bakers; keep it fresh in the fridge for best rise. If you prefer a slow ferment for more flavor, you can reduce yeast and cold-ferment overnight.
Warm water (110°F / 43°C)
Water temperature wakes the yeast without killing it. 110°F (43°C) is a safe target for immediate rises. Use a digital thermometer for accuracy, especially in winter when tap water is colder.
Olive oil (2 tablespoons, optional)
Olive oil is optional but recommended for added flavor and a slightly softer crumb. Extra-virgin olive oil adds fruity notes; use a mild oil if you want the tomato and cheese to shine.
Full ingredient list:
- 4 cups all-purpose flour
- 1 ½ teaspoons salt
- 1 teaspoon sugar
- 1 packet (2 ¼ teaspoons) instant yeast
- 1 ½ cups warm water (110°F/43°C)
- 2 tablespoons olive oil (optional)
Step-by-Step Instructions
Step 1: Combine dry ingredients
In a large mixing bowl, stir together the flour, salt, sugar, and instant yeast until evenly distributed.
Using a whisk for the dry mix helps avoid yeast clumps and spreads the salt so it doesn’t kill yeast on contact.
Pro tip: You’ll know it’s mixed well when you can scoop a handful and see even color and texture across the flour.
Step 2: Add the water
Slowly pour in the warm water while mixing with a wooden spoon or your hands until a shaggy dough forms.
Take your time adding water; if your flour brand absorbs more liquid you may need a splash more or less.
Pro tip: The dough should feel slightly sticky but not soupy. A shaggy mass that tears a bit when pulled is perfect.
Step 3: Knead until smooth
Transfer the dough to a lightly floured surface. Knead for about 8–10 minutes until smooth and elastic.
Kneading develops gluten which traps gas from the yeast and gives the dough structure and chew.
Pro tip: You’ll know it’s ready when the dough springs back slightly when poked and feels satiny, not sticky.
Step 4: Add olive oil (optional)
If using, incorporate the olive oil during the last few minutes of kneading so it blends in without making the dough greasy.
The oil smooths the dough and adds flavor and softness to the final crust.
Pro tip: If the dough becomes too slack after oiling, rest it 5 minutes then finish kneading; the gluten will relax and absorb the oil.
Step 5: First rise
Place the dough in a lightly oiled bowl, cover with plastic wrap or a damp cloth, and let it rise in a warm place for 1–2 hours or until doubled in size.
This bulk fermentation is where the yeast produces flavor and the dough gains volume.
Pro tip: A good visual cue is dough that has roughly doubled and holds an indentation when gently pressed.
Step 6: Divide and shape
Punch down the dough to release air and divide it into 2–4 equal pieces based on desired pizza size. Shape each piece into a tight ball.
Tight skin on the dough ball helps it hold shape and makes stretching easier.
Pro tip: Weighing portions with a kitchen scale gives consistent pizza sizes and baking times.
Step 7: Second rise (rest)
Place dough balls on a floured surface, cover with a damp cloth, and let them rest for 30 minutes to relax the gluten.
This short bench rest makes stretching the dough effortless and prevents it from snapping back.
Pro tip: If the dough resists stretching, give it another 10–15 minute rest and it will relax.
Step 8: Preheat the oven
While the dough rests, preheat your oven to the highest setting (usually around 475°F / 245°C) and place a pizza stone or baking sheet inside to heat.
A very hot baking surface is crucial for that crisp bottom and blistered edges.
Pro tip: Preheat the stone for at least 30 minutes. The hotter the stone, the better the oven spring and browning.
Step 9: Stretch and roll
Take one dough ball and stretch it into a round using your hands or a rolling pin. Keep a thicker edge for the crust.
Stretch from the center out, letting gravity help if you’re doing a hand stretch.
Pro tip: If bubbles form too early, dock the dough lightly or stretch thinner in the center.
Step 10: Top and bake
Add your favorite toppings to the stretched dough and carefully transfer it to the preheated stone or sheet. Bake for 10–15 minutes until the crust is golden and the cheese bubbles.
Watch closely: bake times vary by oven and thickness. Remove when edges are blistered and bottom sounds hollow when tapped.
Pro tip: Slide the pizza onto the stone with a floured peel or a parchment round for easier transfer. Use a metal peel for removal.
By following these steps, you’ll create artisan pizza dough that’s ready to be transformed into delicious pizzas!
Expert Tips for Success
-
Control hydration precisely. This recipe’s 1 ½ cups water for 4 cups flour yields a moderately tacky dough that’s easy to work with. If your kitchen is dry or you use high-protein flour, add water a tablespoon at a time. Conversely, if the dough is too sticky to handle, dust the surface lightly instead of adding lots more flour — extra flour tightens gluten and makes the crust tough.
-
Temperature management matters. Yeast is happiest between 75–85°F (24–29°C). If your kitchen is cold, proof near a warm oven or on top of a warm but switched-off oven. For slower, more flavorful fermentations, use less yeast and refrigerate overnight for 12–72 hours.
-
Knead for structure, but don’t overdo it. Ten minutes brings a smooth, elastic dough. If you’re using a stand mixer, go by feel; 6–8 minutes on medium is typically enough. Over-kneading rare in hand-kneading but can happen in machines; watch for a glossy, stretchy windowpane.
-
Use a hot baking surface. A pizza stone or steel preheated at the highest oven temp gives superior bottom crust. If you don’t have a stone, an inverted heavy baking sheet works. Preheat for 30–45 minutes for maximum heat retention.
-
Make use of the bench rest. The 30-minute rest after dividing softens the dough and prevents it from springing back while you shape. Don’t skip it if you want thin, even pizzas.
-
Learn to read the dough. A perfect dough ball feels supple, slightly tacky, and bounces back slowly to a gentle poke. If it bubbles excessively during final proof, punch down lightly and proceed — large gas pockets can make toppings slide.
-
Toppings and timing. Keep toppings light and evenly distributed to avoid soggy centers. If using watery vegetables, salt and rest them on paper towels first to remove excess moisture.
-
Flavor boosters. Swap half the water for warm milk for a softer crumb, or add a tablespoon of honey instead of sugar for browning and a subtle sweetness. Add a tablespoon of semolina to the peel to help slide pizzas.
Storage & Freezing
Fridge:
After the first rise, you can refrigerate the dough in a lightly oiled bowl covered in plastic for up to 48 hours. The cold ferment deepens flavor. Bring dough back to room temperature for about 1 hour before shaping to make it easier to stretch.
Freezer:
Portion dough balls and wrap each tightly in plastic wrap, then place in a resealable freezer bag. Freeze for up to 3 months. To use, thaw in the refrigerator overnight, then bring to room temperature for 1–2 hours before shaping.
Reheating baked pizza:
Reheat slices on a hot skillet for 1–2 minutes each side to revive crispness. Alternatively, bake at 375°F (190°C) for 6–8 minutes until warmed through. Avoid microwaving unless you accept a softer crust.
Reviving saved raw dough:
If your refrigerated dough is overproofed and flat, reshape into balls and give it a short second rise. If it smells strongly of alcohol, punch down and allow a short fresh rise — flavor will be milder but still usable.
Variations & Substitutions
Whole wheat swap:
Replace up to 25–30% of the flour with whole wheat for nuttiness. You’ll need slightly more water and a longer knead to develop the denser flour’s gluten.
Gluten-free option:
Use a 1:1 gluten-free flour blend formulated for baking with xanthan gum already included. Expect different hydration needs and a more delicate shaping process.
Flavor add-ins:
Mix in 1–2 teaspoons dried herbs (oregano, basil) or 1 tablespoon grated Parmesan into the dough for subtle savory notes. Be mindful of salt adjustments with strongly flavored add-ins.
Slow-fermented artisan dough:
Reduce yeast to 1/4–1/2 teaspoon and refrigerate the dough after the first mix for 12–72 hours. This increases complexity and gives the crust a pleasant tang and extra chew.
Frequently Asked Questions
Q: Can I use active dry yeast instead of instant yeast?
A: Yes. Use about 25% more active dry yeast if you want equivalent rise speed, and proof it in the warm water with a pinch of sugar for 5–10 minutes until foamy before adding to the flour.
Q: How thin can I stretch this dough without tearing?
A: With the recommended bench rest, you can stretch fairly thin in the center while maintaining a thicker rim. If the dough snaps back, let it rest another 10 minutes to relax the gluten.
Q: Why is my crust chewy but not crisp on the bottom?
A: Likely due to insufficient heat or a cold baking surface. Preheat your stone or sheet longer, and bake at the highest oven temperature your oven allows. A pizza steel gives especially good results.
Q: Can I make this dough by hand if I don’t have a mixer?
A: Absolutely. Hand-kneading for 8–10 minutes is perfect for most home bakers. It also gives you sensory feedback on dough development.
Q: How do I prevent large air pockets forming under the toppings?
A: Dock lightly by pressing the center with your fingers or a fork if you want a more even top. Or reshape to redistribute large gas bubbles before adding toppings.
Final Thoughts
This artisan pizza dough is built for flexibility: quick enough for a weeknight and capable of slow-fermented complexity when you have time.
Try it once and you’ll understand how little technique and how much attention to basic variables like temperature and hydration can transform a simple mix into something special.
Please leave a star rating in the recipe card below if you try this, and pin this recipe to Pinterest to save it for later.
Conclusion
For more variations and deeper technique you might enjoy a few companion resources. If you want a guide with crisp, chewy, bubbly results, check out artisan pizza dough — crispy, chewy, bubbly crust.
If you’re hunting for a tried-and-true basic pizza dough tutorial, this write-up at The Best Pizza Dough Recipe – Sugar Spun Run has excellent visuals and tips.
For bakers curious about poolish and the layered flavor it brings, read this step-by-step poolish method at Poolish Pizza Dough | Easy Neapolitan Poolish Recipe.
And for a rustic, hands-on video approach, watch the technique demonstrated in the Rustic Italian Pizza Dough Recipe Video • Ciao Florentina.
Artisan Pizza Dough
Ingredients
Dough Ingredients
- 4 cups all-purpose flour Use high protein flour for chewier crust.
- 1.5 teaspoons salt Enhances flavor.
- 1 teaspoon sugar Helps yeast and adds slight sweetness.
- 1 packet (2 ¼ teaspoons) instant yeast No proofing necessary.
- 1.5 cups warm water (110°F/43°C) Wakes yeast without killing it.
- 2 tablespoons olive oil (optional) For added flavor and softer crumb.
Instructions
Preparation
- Combine dry ingredients: In a large mixing bowl, stir together the flour, salt, sugar, and instant yeast until evenly distributed.
- Add the water: Slowly pour in the warm water while mixing with a wooden spoon or your hands until a shaggy dough forms.
- Knead until smooth: Transfer the dough to a lightly floured surface. Knead for about 8–10 minutes until smooth and elastic.
- Add olive oil (optional): Incorporate the olive oil during the last few minutes of kneading.
- First rise: Place the dough in a lightly oiled bowl, cover with plastic wrap or a damp cloth, and let it rise in a warm place for 1–2 hours or until doubled in size.
- Divide and shape: Punch down the dough to release air and divide it into 2–4 equal pieces, shaping each into a tight ball.
- Second rise (rest): Place dough balls on a floured surface, cover, and let them rest for 30 minutes.
- Preheat the oven: While the dough rests, preheat your oven to the highest setting (around 475°F / 245°C) and place a pizza stone or baking sheet inside.
- Stretch and roll: Take one dough ball and stretch it into a round using your hands or a rolling pin.
- Top and bake: Add favorite toppings to the stretched dough and carefully transfer it to the preheated surface. Bake for 10–15 minutes until golden.


