
So here’s the deal. Canning tomatoes for beginners sounds intimidating, doesn’t it? Like, off-the-charts nerve-racking. I totally get that. My first time was actually a hot mess! Tomato pulp everywhere, so much boiling water, and more confusion than my dog after a bath. But, once you know a couple of tricks, it’s actually straightforward. This blog spills everything I wish I’d known the first time. Also, if you’re looking for easy wins in your kitchen game, I can’t recommend checking this out on canning pickles at home enough. Seriously, it’s a good companion guide. 
Types of Tomatoes
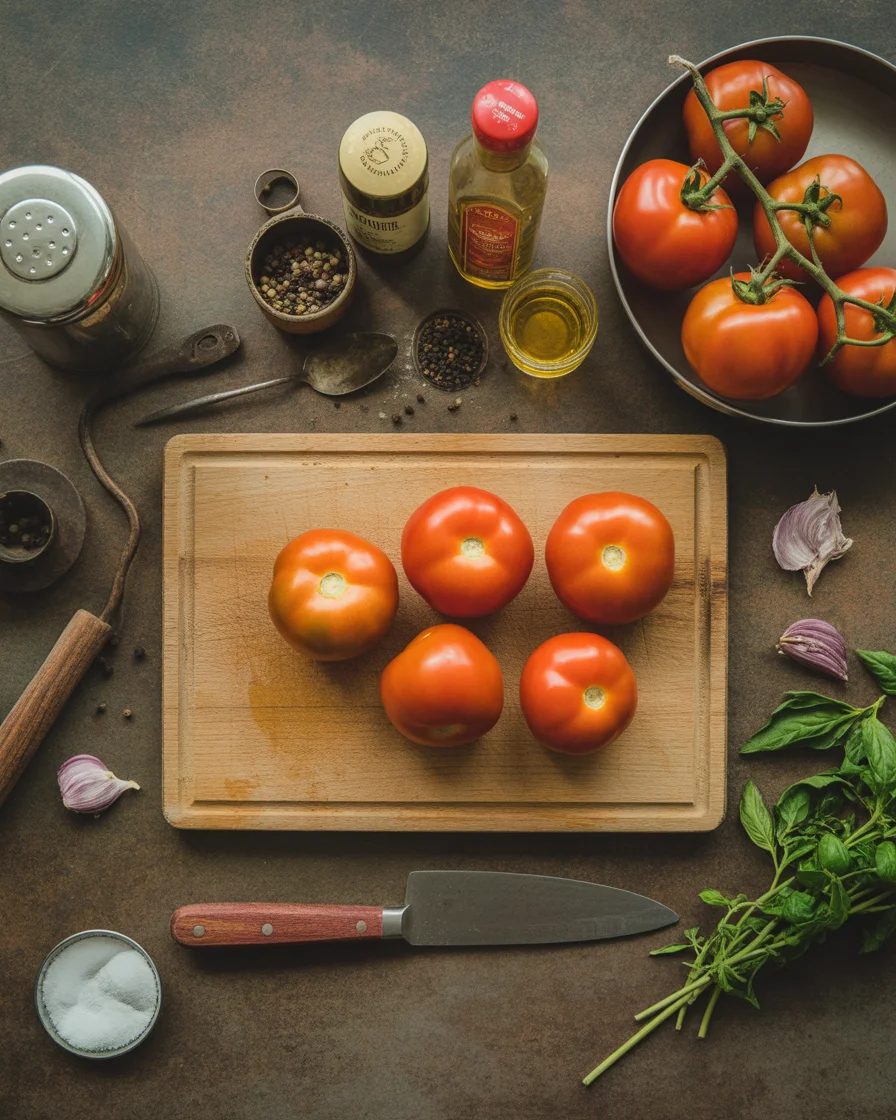
Truth: not all tomatoes are created equal. People act like any tomato will do, but honestly, that’s just setting yourself up for sadness in a jar. The best tomatoes for canning? Go for plum tomatoes or what grandmas might call “paste tomatoes” (hello, Roma tomatoes). They’re denser, less watery, and the flesh breaks down perfectly.
You can use other kinds, like beefsteak, if you’re dealing with a bumper crop from the backyard, but expect more water and maybe less rich flavor. I went all out with those yellow heirlooms one year – flavor bomb, but man, the skins were a beast. Just something to think about. If you want consistency and a thicker sauce, Romas are your best friend.
Want to get fancy? Try mixing a few varieties. It never hurts to experiment. Whatever you do, make sure they’re ripe but not mushy. And maybe taste one or two before you go wild – do not can sad tomatoes, promise me. 
Equipment
Don’t get scared off by the gear! You don’t need a professional kitchen. Here’s my “forget the fuss” rundown on must-haves:
- Big pot for boiling (hopefully one that fits plenty of jars, unless you’re aiming to work in shifts)
- Mason jars with lids and rings (duh, but you’d be amazed how easy it is to forget the rings)
- Ladle and funnel (life-savers for no-mess action)
- Tongs or jar lifter (seriously, don’t try grabbing jars bare-handed)
- Clean towels (countertop puddles happen)
- Bowl for ice water if you’re blanching
Some folks swear by a pressure canner, but for plain tomatoes, a water bath canner is good. And don’t be like me, frantically Google-searching “how to sterilize jars last minute.” Plan ahead. Wash everything and keep things hot so nasty stuff stays out of your food.
Here’s a quick table to help you keep it straight:
| Equipment | What it Does | Tips from Experience | Do You Really Need It? |
|---|---|---|---|
| Water Bath Canner | Boils jars to seal | Use a stockpot with rack if you’re new | Yes |
| Ladle & Funnel | Moves tomatoes to jars, keeps mess down | Use a measuring cup if you don’t have a ladle | Yes |
| Jar Lifter | Grabs the hot jars | Dish towels can work in a pinch, but risky | Yes (for safety!) |
Step-by-step
Alright, here’s where things really come together. And don’t stress – I’ll keep this basic, just like I’d tell my sister.
First, wash those tomatoes like they rolled through mud (sometimes they did). Cut out any bruised spots. You don’t want yuck up in your jars.
Next, boil a big batch of water. Drop tomatoes in for about a minute (until skins split). Chuck ’em in ice water quick. Yes, you’re basically giving the tomatoes a spa day.
Slip the skins right off. Cut up your tomatoes however you want them in jars – halves, quarters, whatever floats your boat.
Get your jars hot (either run them through the dishwasher or keep them in simmering water). No one wants raw tomatoes meeting cold jars.
Pack those tomatoes in the jars. Squish gently so you can fit more but don’t be crazy – leave some room at the top.
Here’s my big tip: Always add bottled lemon juice or citric acid. The acidity keeps things safe, so ignore the “old-timey” urge to skip it.
Wipe rims, add lids and rings (just fingertip tight). Lower them into boiling water carefully.
Process for however long your recipe (and altitude!) says, usually 40 to 50 minutes.
Once they’re done, let them cool without poking the lids like a curious toddler (I can never resist, it’s bad). You’ll hear the seals “pop” if you did it right – so satisfying!
After a day, check those seals, label your jars, and show off your work. Done and done.
Tips for Beginners
Oh, buddy. Let me just say – my first few times canning tomatoes for beginners made me question my life choices. But with some tough love and honest blunders, here’s my best advice:
If you’re nervous, start with a small batch. Less pressure, less drama.
Have all your stuff set out before you start. You want a “station” vibe, not a frantic mess.
Don’t tweak your recipe much the first time. Tomatoes need the right acid to be safe – so follow the basics.
The jars and lids should be hot and clean. No exceptions.
Taste matters, but safety matters more. Trust yourself, but also trust the process.
One more thing you can’t skip: check for proper sealing. If the jar lid pops back when pressed, toss it in the fridge and eat it soon. Don’t risk it!
And talk about game changers: learning proper headspace (that little gap at the top) honestly stopped 90% of my canning failures. Also, if you want to branch into fun kitchen projects, check my guide for how to make homemade jam. It’s addicting once you get started!
Common Questions
Do I really need to add lemon juice?
Yep. Even if tomatoes taste acidic, safety first. Bottled juice is best.
Can you reuse old jars and lids?
You can reuse jars, but the lids need to be new each time for safety. Learned that the hard way.
What if I mess up the seal?
No biggie. Store those in the fridge and eat them within a week or so.
Can I add herbs or garlic for flavor?
Keep it plain the first time. Spices can sometimes cause issues with acidity.
What’s the best place to store canned tomatoes?
Somewhere dark, cool, and dry. Not above the stove or near a sunny window.
Your Next Tomato Adventure Awaits!
Canning tomatoes for beginners isn’t rocket science, I promise you. All it takes is a bit of prep, a dash of patience, and a strong sense of humor for those little mishaps. Pretty soon you’ll have rows of jars that look like they belong in a five-star restaurant pantry. If you want even more tomato tips, the How to Can Tomatoes Guide – Perfect for Beginners is actually incredible (really, check it out for extra details), and you’ll be over here sharing tomatoes like you’re the local produce king. Seriously, just grab some ripe ones and start – you won’t regret it. 

Canning Tomatoes for Beginners
- Total Time: 70 minutes
- Yield: 4-6 jars
- Diet: Vegetarian
Description
A straightforward guide to canning tomatoes for beginners, emphasizing the right techniques and equipment for successful results.
Ingredients
- Plum tomatoes or Roma tomatoes
- Bottled lemon juice or citric acid
Instructions
- Wash tomatoes thoroughly and remove any bruised spots.
- Boil a large pot of water and drop in tomatoes for about one minute (until skins split).
- Transfer tomatoes to an ice water bath to cool.
- Slip off the skins and cut tomatoes as desired.
- Heat jars in a dishwasher or simmering water.
- Pack tomatoes in jars, leaving some headspace.
- Add bottled lemon juice or citric acid for safety.
- Wipe jar rims, place lids and rings on, and seal fingertip tight.
- Lower jars into boiling water and process for 40 to 50 minutes based on your recipe.
- Let cool without touching the lids, and check seals after a day.
- Label jars and store safely.
Notes
Starting with small batches can reduce pressure. Always ensure jars and lids are hot and clean before use.
- Prep Time: 20 minutes
- Cook Time: 50 minutes
- Category: Preserving
- Method: Canning
- Cuisine: American
Nutrition
- Serving Size: 1 jar
- Calories: 80
- Sugar: 4g
- Sodium: 5mg
- Fat: 0g
- Saturated Fat: 0g
- Unsaturated Fat: 0g
- Trans Fat: 0g
- Carbohydrates: 18g
- Fiber: 3g
- Protein: 2g
- Cholesterol: 0mg