The first time I made these brownie bites I thought they sounded too simple to work.
Three pantry ingredients, five minutes of hands-on time, and they actually tasted like fudgy brownies.
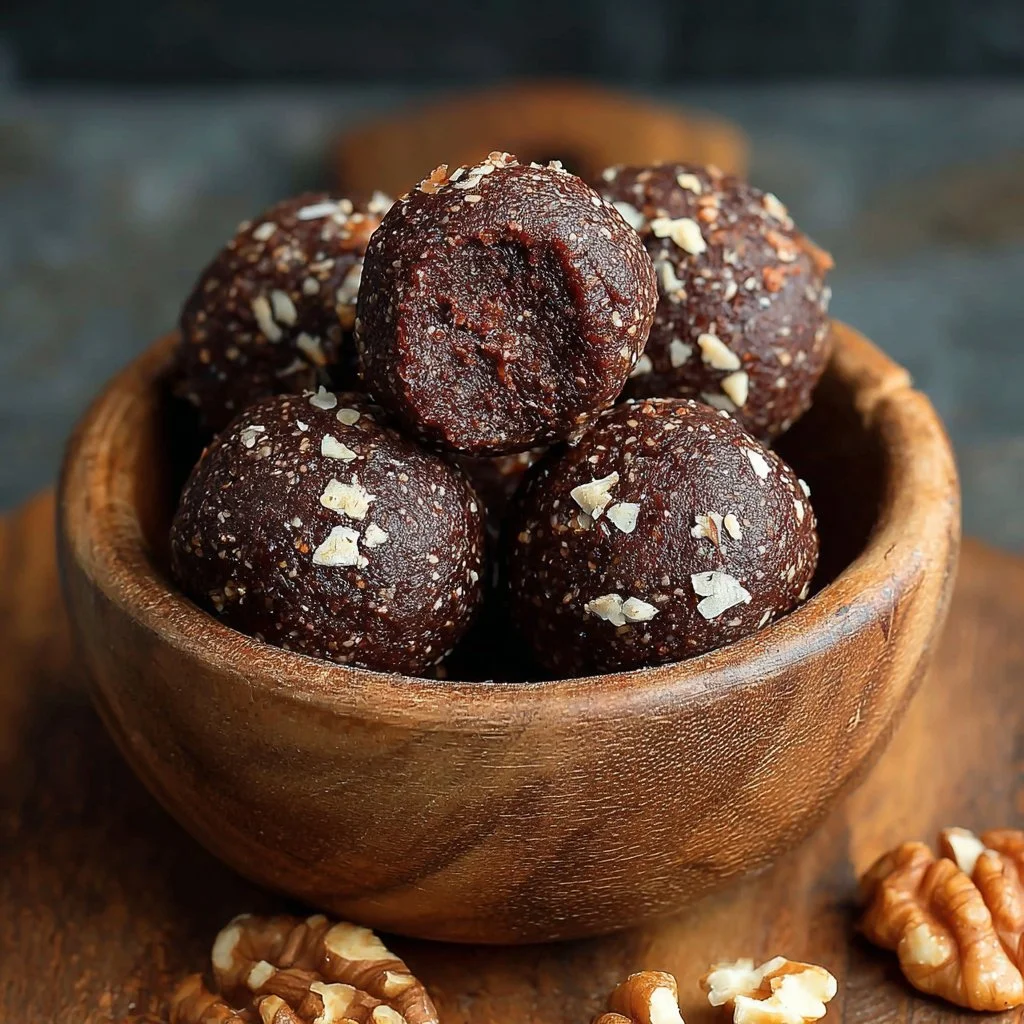
They are sweet without refined sugar and have a chewy, slightly nutty bite that satisfies chocolate cravings fast.
If you want a grab-and-go snack or a quick dessert for guests, these are a tiny win every time.
Why You’ll Love This Recipe
- 3 ingredients and no baking required — plain and gloriously simple.
- Naturally sweetened with dates, so there’s no added sugar.
- Portable, kid-friendly, and perfect for lunchboxes or coffee breaks.
- Ready in about 10 minutes plus a short chill time.
These brownie bites deliver a dense, fudgy texture rather than a cakey one. The walnuts provide a firm structure and a subtle crunch, while the dates keep everything sticky and cohesive. Cocoa powder adds deep chocolate flavor and a slightly bitter balance that keeps the bites from tasting overly sweet.
“Five stars — they fooled my chocolate-loving friends into thinking they were real brownies. Easy, chewy, and dangerously addictive.” — reader review
Key Ingredients
Dates (1 cup, pitted)
Dates are the natural sweetener and binder in this recipe. Medjool dates are ideal because they are soft and caramel-sweet; if your dates are dry, soak them in warm water for 10 minutes and drain before using. For a milder sweetness, try Deglet Noor, but note they may need extra processing to become smooth.
Walnuts (1 cup)
Walnuts give these bites body and a nutty depth that mimics the richness of brown butter in traditional brownies. Use raw walnuts for the freshest flavor; toasted walnuts deepen the nuttiness but can make the mixture drier, so pulse cautiously. If you prefer a subtler taste, substitute half the walnuts with almonds.
Cocoa powder (1/3 cup)
Cocoa powder supplies the chocolate backbone and a touch of bitterness to balance the dates. Dutch-processed cocoa gives a smoother, more chocolatey flavor; natural unsweetened cocoa will be slightly brighter and tangier. Choose a quality brand — the cocoa is the main flavor here, so it matters.
Full Ingredients List:
- 1 cup dates, pitted
- 1 cup walnuts
- 1/3 cup cocoa powder
Step-by-Step Instructions
Step 1: Prep your equipment
Start by lining a sheet pan or plate with parchment for the finished bites.
Have a food processor ready and measure your cocoa into a small bowl.
Pro Tip: Use a small bowl to scoop cocoa into the processor — it blends more evenly when added gradually.
Step 2: Blend the dates and walnuts
Add the pitted dates and walnuts to the food processor.
Pulse in 10- to 15-second bursts until the mixture breaks down into a sticky, clumping mass.
You want a texture that holds together when squeezed without large nut chunks.
Pro Tip: If the mixture sticks to the bowl and isn’t coming together, scrape down the sides and pulse more. You’ll know it’s ready when it forms a single sticky ball.
Step 3: Add the cocoa
Sprinkle the cocoa powder over the date-walnut mixture.
Blend in short pulses, stopping to scrape the sides, until the color is uniform and the cocoa is fully incorporated.
Taste a tiny pinch — it should be pleasantly chocolatey and not overly sweet.
Visual cue: The mix should change from light brown to a deep chocolate tone and feel dry enough to roll but still tacky.
Step 4: Shape into bites
Use a tablespoon or small cookie scoop to portion the mixture.
Roll each portion between your palms into tight, even balls. Place them on the prepared parchment.
If the mixture is too sticky, dampen your hands lightly or chill the dough for 10 minutes.
Pro Tip: For uniform bites, weigh portions at roughly 15–18 grams each; this helps with even chilling and presentation.
Step 5: Chill and set
Place the tray of rolled bites in the refrigerator for at least 30 minutes.
Chilling firms them up, making the texture more brownie-like and easier to handle.
After chilling, serve cold or at room temperature for a chewier bite.
Visual cue: They’re ready when the surface firms and they no longer leave a sticky residue on your fingers.

Expert Tips for Success
- Use fresh, soft dates for the best texture. If your dates are dry, soak them in hot water for 10 minutes, drain, then pat dry before processing. This keeps the bites moist and prevents over-processing.
- Pulse in short bursts. Over-processing walnuts can release their oils and turn the mixture greasy. Short pulses preserve tiny nut fragments for pleasant texture.
- Toast walnuts for a depth boost, but cool them completely first. Toasting enhances aroma and gives a richer background flavor, but warm nuts can make the mix too oily.
- Control sweetness and bitterness by adjusting cocoa. If you prefer sweeter bites, use a tablespoon less cocoa and add a pinch of flaky salt to balance flavors. For darker chocolate notes, increase the cocoa by a tablespoon.
- Keep the work surface and hands slightly damp when rolling. This prevents sticking without adding extra moisture to the dough. A quick splash of water on your palms before rolling does wonders.
- Make a batch ahead: these bites keep well and actually improve after 24 hours as the flavors meld. Store in the fridge in an airtight container separated by parchment to prevent sticking.
- For uniform appearance and texture, chill the blended mixture for 10–15 minutes before scooping if your kitchen is very warm. This firms up the fats and makes rolling easier.
- If your processor struggles, chop the walnuts first by hand or use a high-speed blender. A small food processor is fine, but a larger bowl helps prevent clumping on the sides.
Storage & Freezing
Fridge: Store the bites in a single layer or stacked with parchment in an airtight container.
They keep in the refrigerator for up to 2 weeks. Check for any off smells; dates keep well but nuts can turn if exposed to air.
Freezer: Freeze on a lined tray until solid, then transfer to a zip-top freezer bag or airtight container.
Properly stored, they last up to 3 months in the freezer without significant texture loss.
To thaw: Move bites from freezer to fridge for a few hours or overnight. For quick serving, let them sit at room temperature for 20–30 minutes before eating. Avoid microwaving frozen bites directly, as heat makes them oily and softens the structure.
Reheating: These are best cold or at room temp, but if you prefer a slightly softer, warm center, microwave a single bite for 7–10 seconds on low power. Test one first — you want warm, not melted.
Variations & Substitutions
- Add-ins: Stir in a tablespoon of mini chocolate chips, a teaspoon of vanilla extract, or a tablespoon of chia seeds for texture and nutrients. Add-ins change texture, so fold them in by hand after blending.
- Nut swaps: Substitute pecans or almonds for walnuts. Pecans are softer and give a buttery note; almonds add crunch. When swapping, toast the nut of choice for flavor parity.
- Flavor twists: Add 1/4 teaspoon ground espresso or instant coffee granules for a mocha edge. Orange zest (about 1/2 teaspoon) adds a bright citrus lift that pairs beautifully with cocoa.
- Make them nut-free: Replace walnuts with 1 cup sunflower seeds or pumpkin seeds for a nut-free version. Toast seeds lightly for better flavor and process until they act like the original nut texture.
Frequently Asked Questions
Q: Can I use other dried fruits instead of dates?
A: You can, but dates are uniquely sticky and sweet, which makes them ideal as a binder. Dried figs are the closest substitute but may alter flavor. Apricots or raisins will work if they’re very soft — soak them first to achieve the right consistency.
Q: Do these bites contain added sugar?
A: No. The sweetness comes entirely from the dates. If you need them sweeter, add a teaspoon of maple syrup or a few extra dates, but taste as you go to avoid over-sweetening.
Q: Will the mixture become oily if I over-process the nuts?
A: Yes. Over-processing releases the nut oils and can make the mixture greasy and hard to roll. Use short pulses and stop as soon as the mixture clumps together.
Q: How many bites does this recipe make?
A: Using tablespoon-sized portions, you’ll get about 16–20 bites depending on exact portion size. Smaller 1-teaspoon bites will yield more and are great for parties.
Q: Can I freeze the dough before rolling?
A: Yes. Shape the mixture into a log, wrap tightly in plastic, and freeze. Slice and roll from semi-frozen pieces, or thaw slightly and roll. Freezing can make rolling easier and creates bite-size uniformity.
Final Thoughts
These 3-ingredient no-bake brownie bites are proof that simple ingredients can make something special.
They’re perfect for a sugar-smart treat, an easy hostess gift, or a last-minute sweet to pull from the fridge.
Please leave a star rating in the recipe card below and pin this to Pinterest if you loved it.
For inspiration and similar no-bake ideas, check this roundup of No Bake Brownie Bites {3 Ingredients} – The Big Man’s World ® and this approachable version at No Bake Brownie Bites – 3 Ingredient, Easy Recipe!

No-Bake Brownie Bites
Ingredients
Brownie Bite Mixture
- 1 cup dates, pitted Use Medjool dates for best results; soak dried dates in warm water if necessary.
- 1 cup walnuts Use raw walnuts for freshness; can substitute with almonds or pecans.
- 1/3 cup cocoa powder Dutch-processed cocoa is preferred for a smoother flavor.
Instructions
Preparation
- Line a sheet pan or plate with parchment for the finished bites.
- Have a food processor ready and measure your cocoa into a small bowl.
Mixing
- Add the pitted dates and walnuts to the food processor. Pulse in 10- to 15-second bursts until the mixture breaks down into a sticky, clumping mass.
- Sprinkle the cocoa powder over the date-walnut mixture and blend until incorporated.
Shaping
- Use a tablespoon or small cookie scoop to portion the mixture. Roll each portion into tight, even balls and place them on the prepared parchment.
Chilling
- Chill the tray of rolled bites in the refrigerator for at least 30 minutes until firm.